21 Tall Wainscoting Ideas with a Classic Plate Rail for Timeless Walls
A classic plate rail can make a plain wall feel considered and complete. Tall paneling adds structure, while the ledge gives favorite plates or artwork a place to shine.
These tall wainscoting ideas show how color, panel style, and rail details can shape a room without overwhelming it. You’ll find options for dining rooms, hallways, breakfast nooks, and other spaces, with practical notes on proportions, finishes, and installation. If you are unsure how high to place the panels or what to display above the rail, use the examples as a starting point and adjust them to suit your ceiling, trim, and furniture. In my experience, careful measuring and testing paint samples before installation help the finished wall look balanced and intentional.
Crisp White Panels
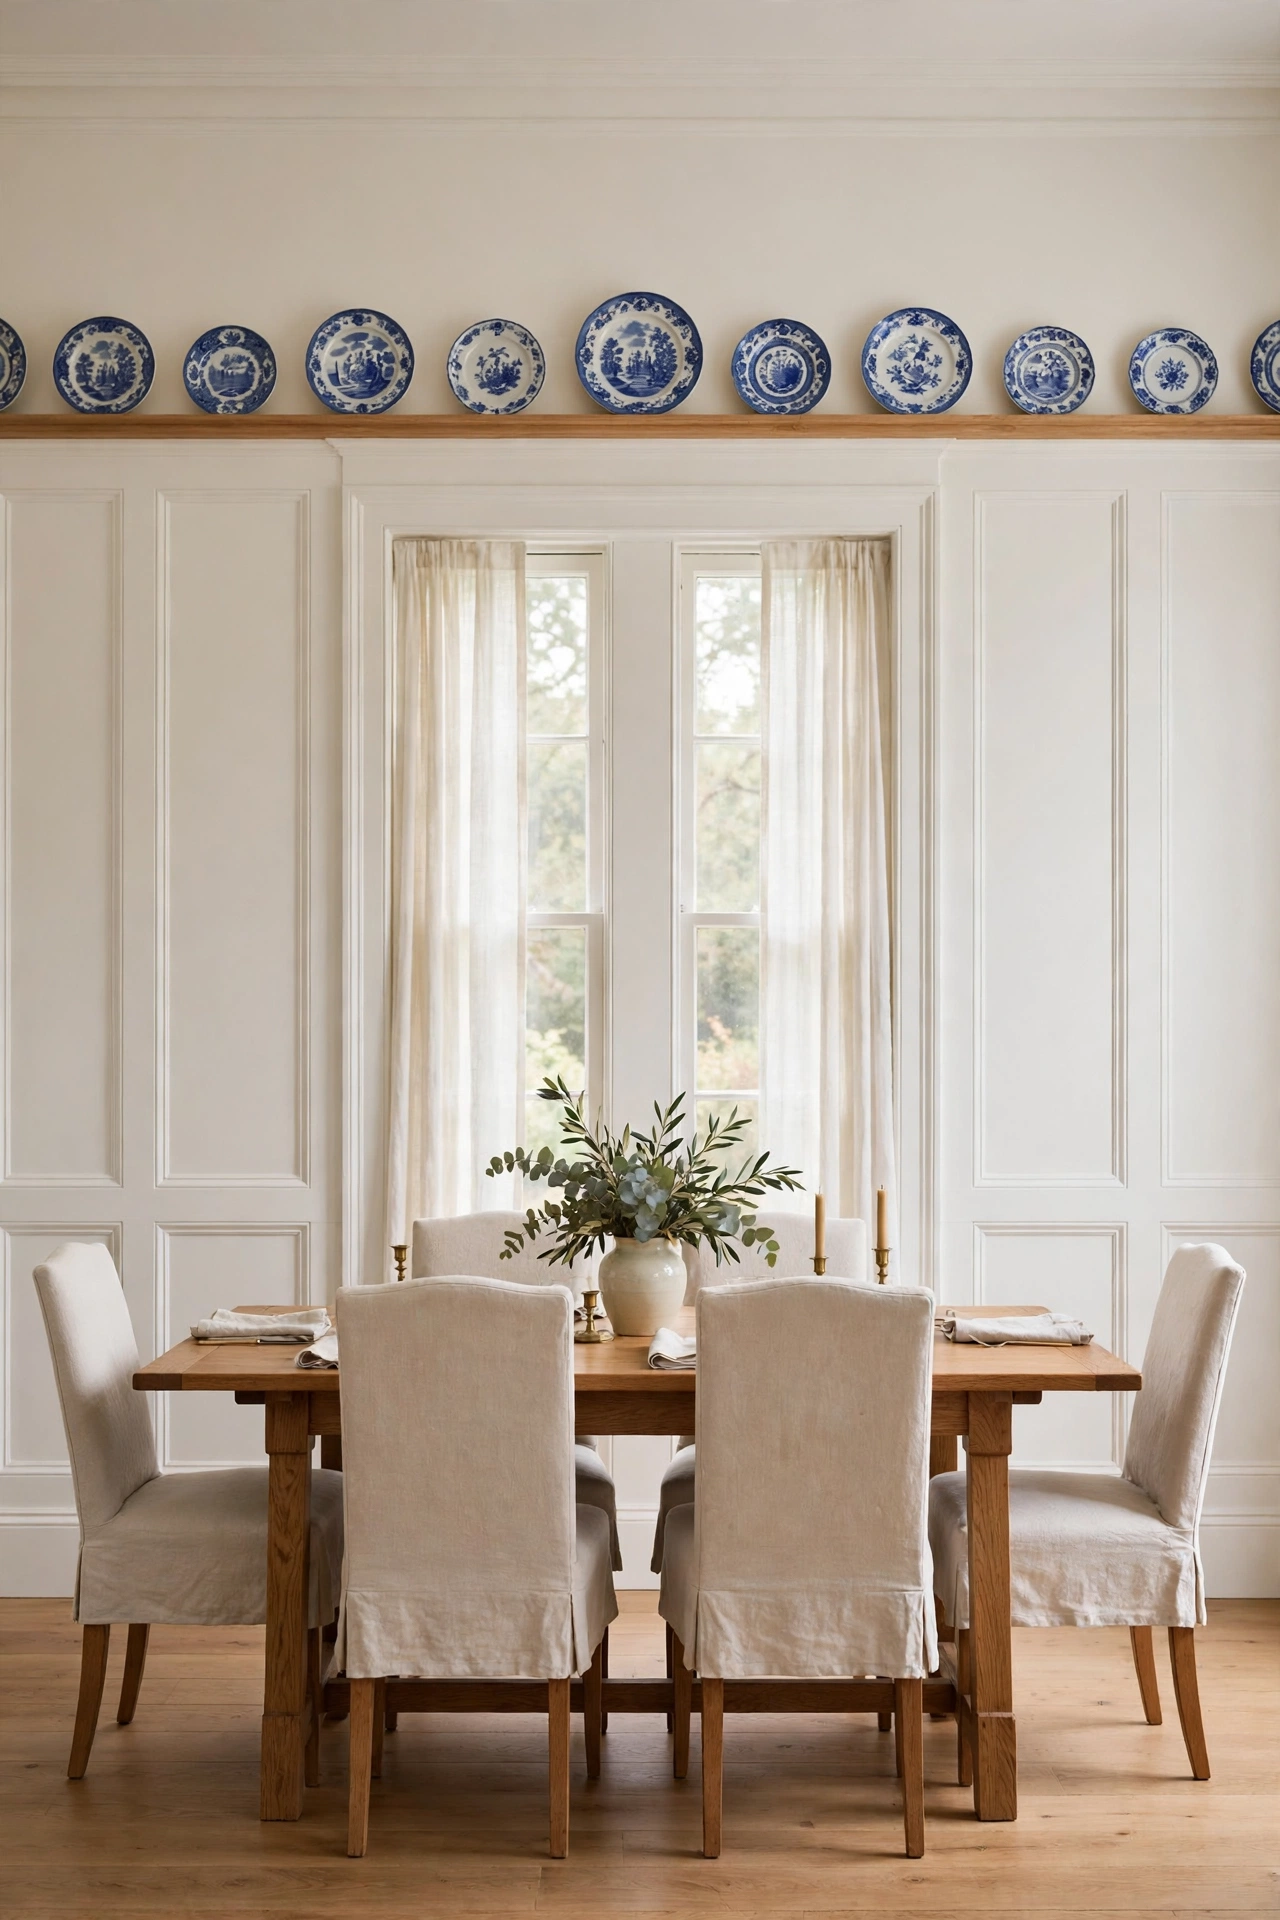
Tall white panels give a room a graceful sense of height and structure. The plate rail adds a narrow ledge for artwork or ceramics without needing bulky shelves. This pairing works especially well in dining rooms and hallways where the upper wall needs a little visual balance.
For tall wainscoting ideas that feel timeless, paint the panels and trim the same white, then add contrast with framed prints or blue-and-white plates. Before installing, mark the rail height around the room and check it against door casings and window trim. Consistent alignment makes the detail feel intentional.
Warm Oak Rail
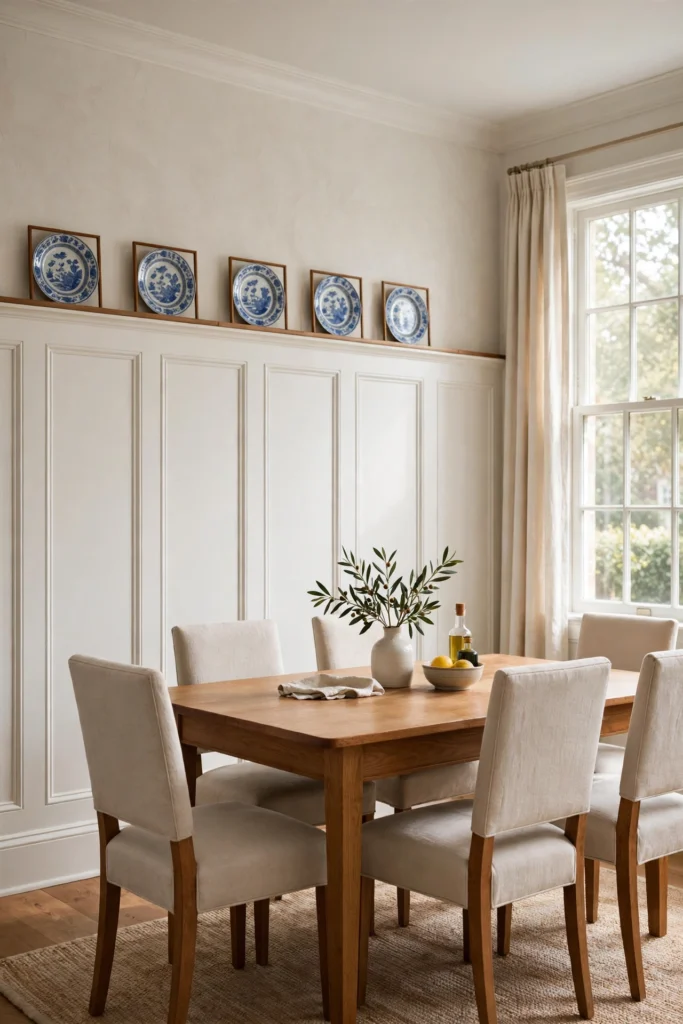
- Let the oak rail stand out against painted panels for a warm, layered look.
- Repeat the same wood tone in a table, frame, or chair legs.
- Choose a clear finish that protects the rail while showing its grain.
- Keep displayed plates lightweight and secure them with plate hangers.
- Test a sample stain beside the floor before finishing the full rail.
A wood rail adds natural warmth to painted paneling and helps connect the wall detail with existing furniture. Oak suits cream, greige, and soft green paint especially well. If your room has several wood finishes, use a sample board to check how the rail looks in both daylight and evening light.
Soft Sage Dining Room
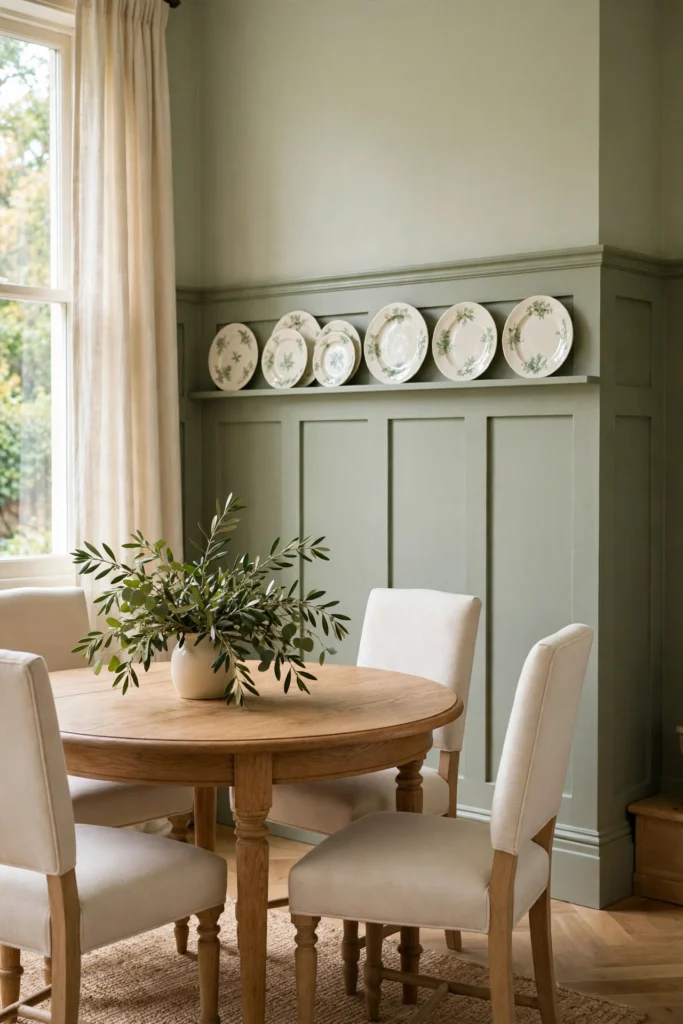
Quick Tip: Test sage paint on a large sample beside the floor and furniture before painting the panels. Green can look cooler in north-facing light and warmer in a sunny room.
A muted green lower wall gives a dining room color while keeping the room calm and classic. Display a few white plates or small botanical prints above the rail so the details feel connected. Satin or eggshell paint is practical for busy areas because it is easier to wipe than a flat finish.
Deep Navy Panels
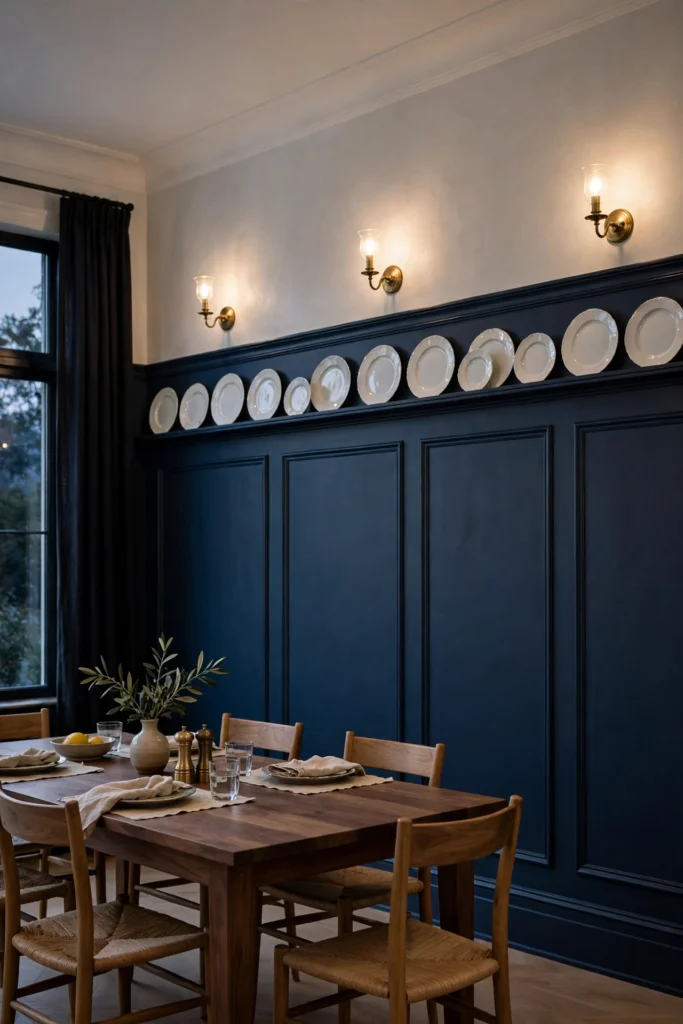
BEFORE: Pale walls can make a large dining room feel plain, while a dark accent wall may seem too bold. The lower wall has no clear visual detail.
AFTER: Deep navy panels create a grounded base, and the plate rail adds a clean break before the lighter upper wall. White ceramics above the rail brighten the contrast.
Use a sample board to check the navy in morning and evening light before painting the full wall. A satin finish on the lower panels is easier to wipe after meals, while a matte upper wall keeps glare low. Repeat navy in a cushion or lampshade for a connected look.
Wallpaper Above the Rail
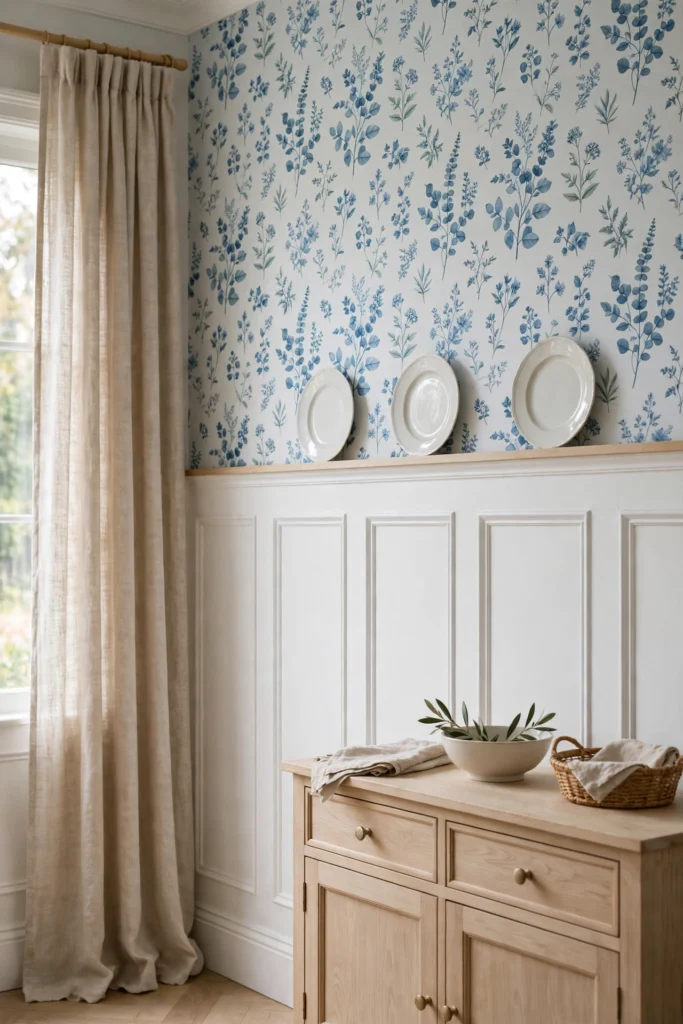
- Set the rail height. Mark a level line that leaves enough paneling below and visible wallpaper above.
- Choose a calm pattern. Small florals or fine stripes complement the detailed lower panels.
- Hang the wallpaper. Align the pattern carefully at corners and around windows.
- Style the rail. Display a few simple plates or leave it clear to let the print stand out.
Wallpaper above the rail gives the wall personality while the painted panels keep the room visually grounded. Measure the wall carefully and order extra paper for pattern matching. If the room is narrow, a small-scale print usually feels less busy than a large, high-contrast motif.
Option A vs Option B
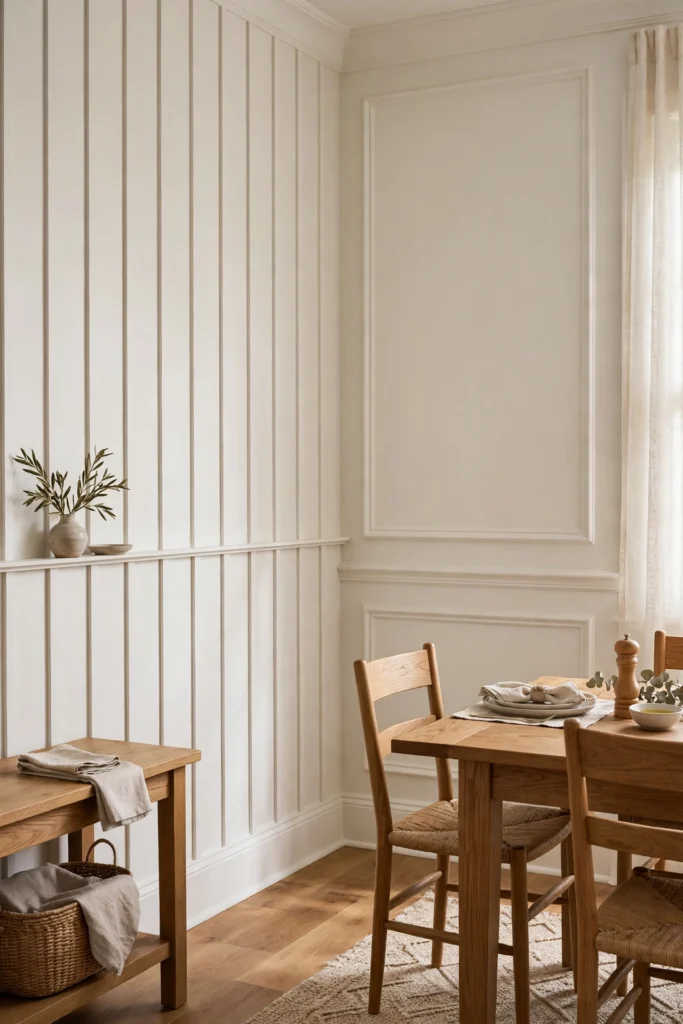
| Detail | Option A: Narrow Battens | Option B: Broad Panels |
|---|---|---|
| Visual effect | Taller, more rhythmic lines | Calm, spacious rectangles |
| Best for | Narrow rooms or smaller walls | Wide dining room walls |
| Styling above rail | Simple plates or small art | Larger framed pieces |
| Installation | More layout marks | Fewer, wider sections |
Narrow battens draw the eye upward and can suit a compact room, while broader panels create a quieter backdrop on a wide wall. Keep spacing consistent and plan around outlets, doors, and radiators before cutting trim. A full-size paper mockup helps you judge the pattern before installation.
Two-Tone Contrast
DO
- Choose two related shades with enough contrast to define the rail.
- Paint the plate rail to match the lower panels for a unified band.
- Test both colors beside the flooring and trim.
- Use the lighter shade above to keep the room bright.
DON’T
- Pick colors from tiny paint chips alone.
- Ignore how the tones change under evening bulbs.
- Add several competing accent colors to the same wall.
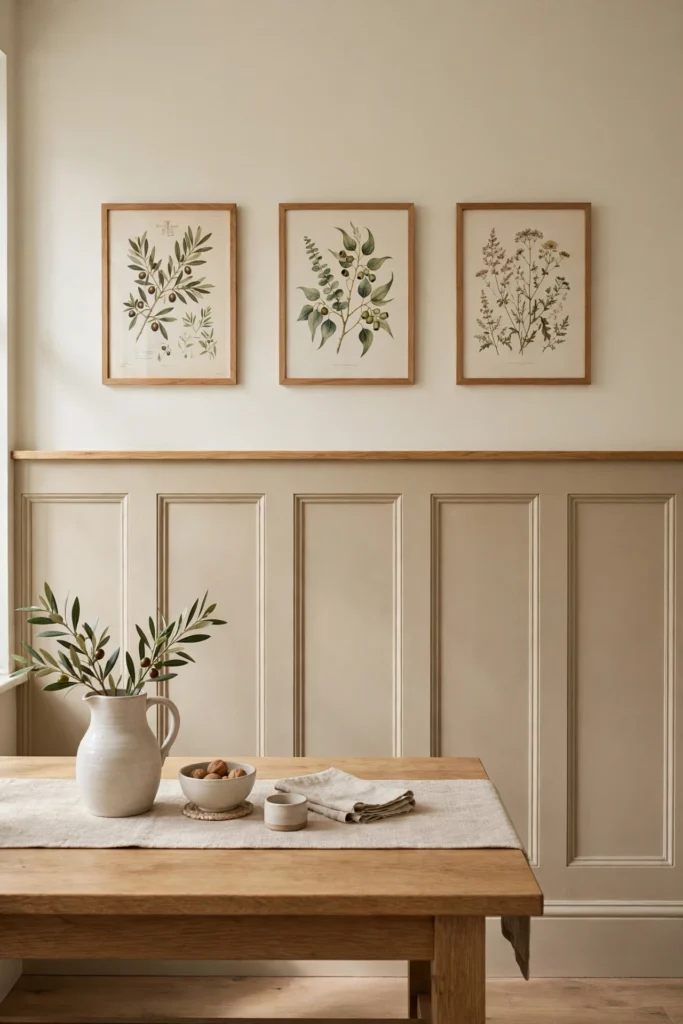
A two-tone wall makes the height of the paneling clear and gives the room a tailored finish. In my experience, a warm neutral below and a lighter shade above are easier to live with than sharp contrast. Sample both colors on the wall before committing to the full room.
Plate Rail Gallery
Cost: Low to moderate, depending on the plates
Time: One afternoon to arrange
Skill Level: Beginner
Best For: Dining rooms and breakfast nooks
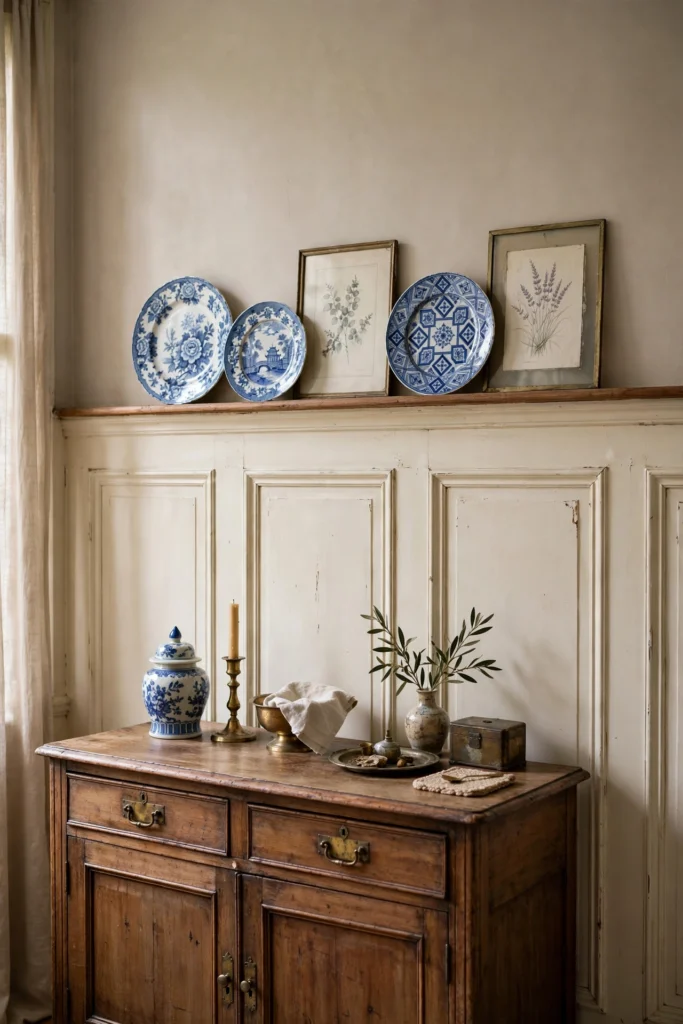
A plate rail makes it easy to change the display without adding rows of wall holes. Combine plates with a few small framed sketches, but keep similar colors or frame finishes to connect them. Use plate stands or secure hangers, and check that each piece sits firmly on the ledge.
Beadboard Panels
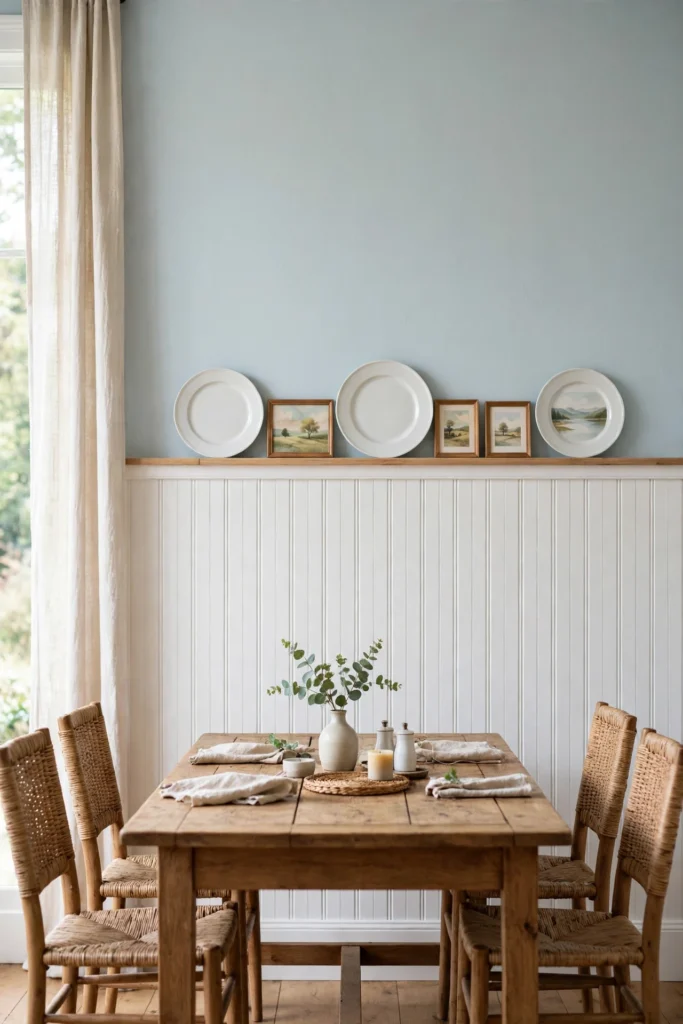
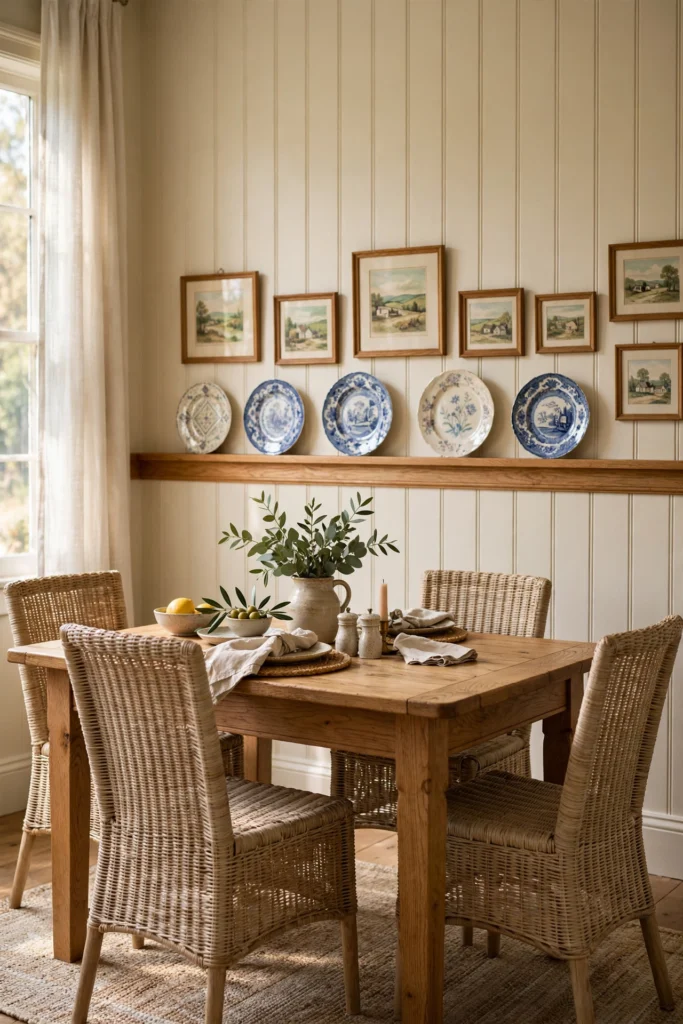
Vertical beadboard grooves bring texture to a room, while the plate rail adds a useful place to display small art. This style suits cottages, breakfast rooms, and relaxed traditional homes. For tall wainscoting ideas with a lighter look, keep the beadboard white and choose a muted shade for the upper wall.
Before installing, check the wall for uneven spots and mark every stud so the boards or panels can be secured properly. Paint the beadboard before fitting it if you want cleaner grooves and fewer touch-ups. A narrow cap rail gives the top edge a finished line and helps protect the ledge.
Hallway Panel Wrap
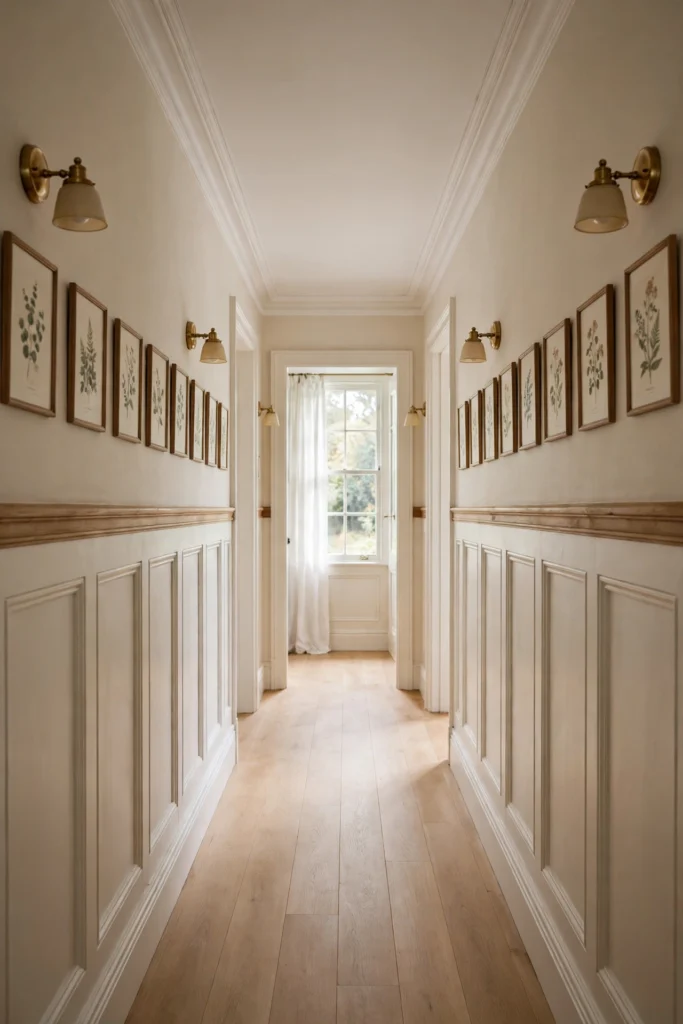
- Let the rail run continuously along the hallway to guide the eye forward.
- Repeat the same panel spacing on both sides for a balanced look.
- Keep the upper-wall art small and evenly spaced.
- Match the rail to the wainscoting for a calm, unified finish.
- Check clearances around door frames and light switches before installing.
A continuous rail makes a narrow hallway feel more intentional and gives the walls a clear visual rhythm. Measure from the same floor reference at several points, since older floors may not be level. Keep the ledge shallow so bags and shoulders do not catch as people pass.
Continuous Chair Rail
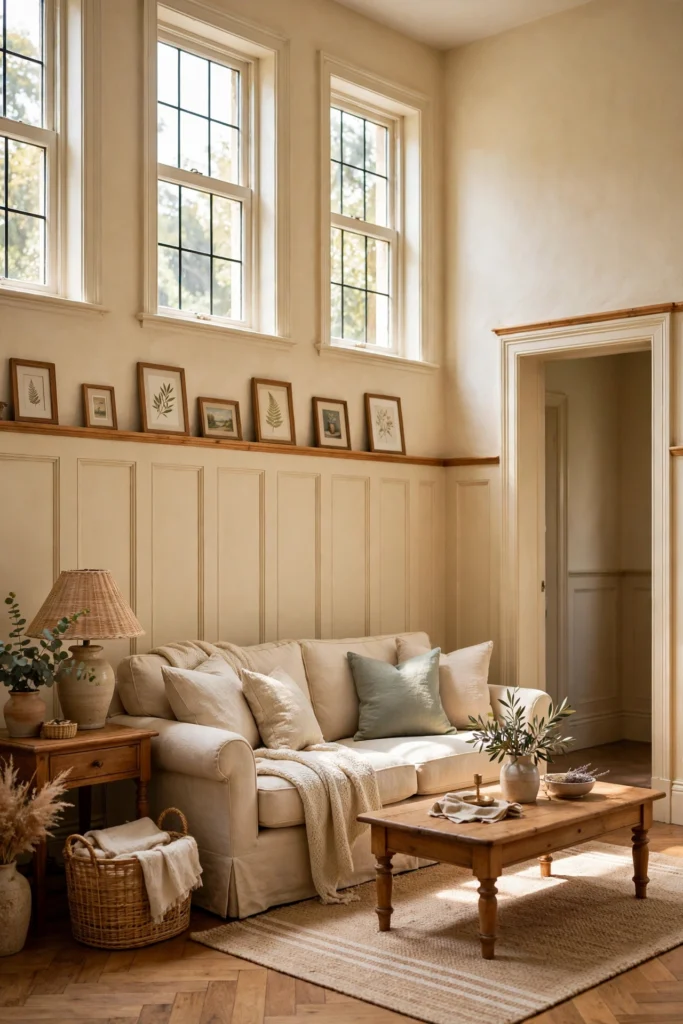
Quick Tip: Carry the plate rail around the room at one consistent height, but plan how it meets window trim, door casings, and built-ins. A measured drawing can reveal awkward transitions before any trim is cut.
A continuous horizontal line helps separate the tall lower panels from the upper wall and makes a room feel connected. If the rail must stop at a doorway, finish the end with a clean return rather than leaving a raw cut. Small details like these make the carpentry look deliberate.
Black Rail Accent
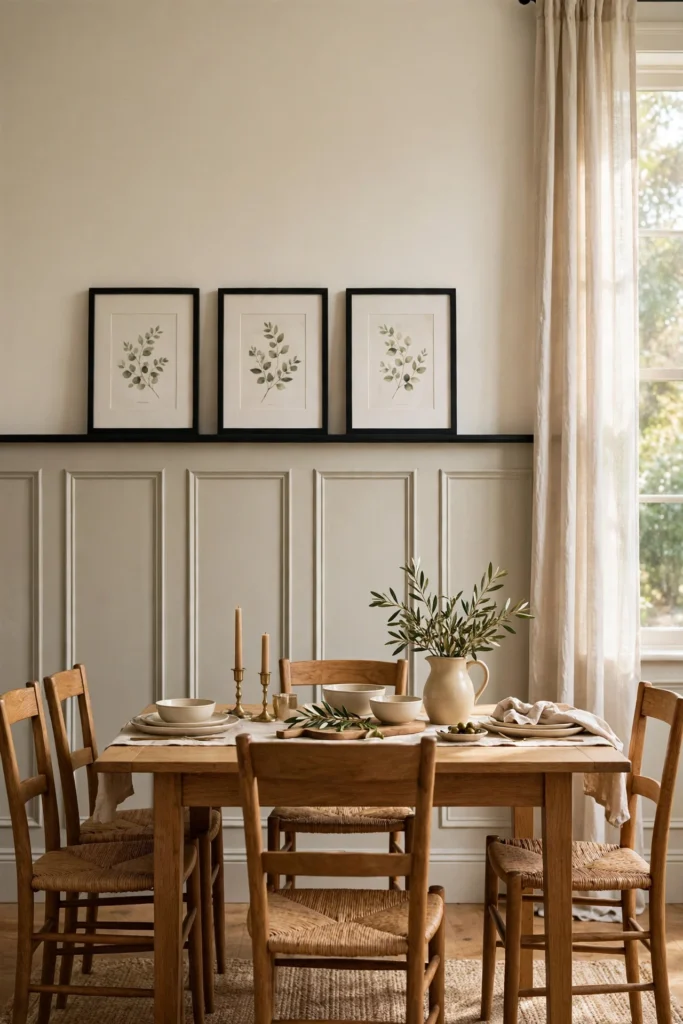
BEFORE: A pale wall treatment can look soft but lack definition, especially in a room with light furniture and neutral flooring. The top edge of the paneling may blend into the wall.
AFTER: A slim black rail creates a crisp line above the panels and ties in with dark frames or hardware. The contrast gives the wall detail a sharper, more tailored look.
Use a small sample of black paint or stained wood to check the contrast against your panels. Repeat the dark tone in just a few accents so the rail feels connected, not isolated. A thinner profile keeps the line elegant and avoids making the room feel divided.
Layered Rail Molding
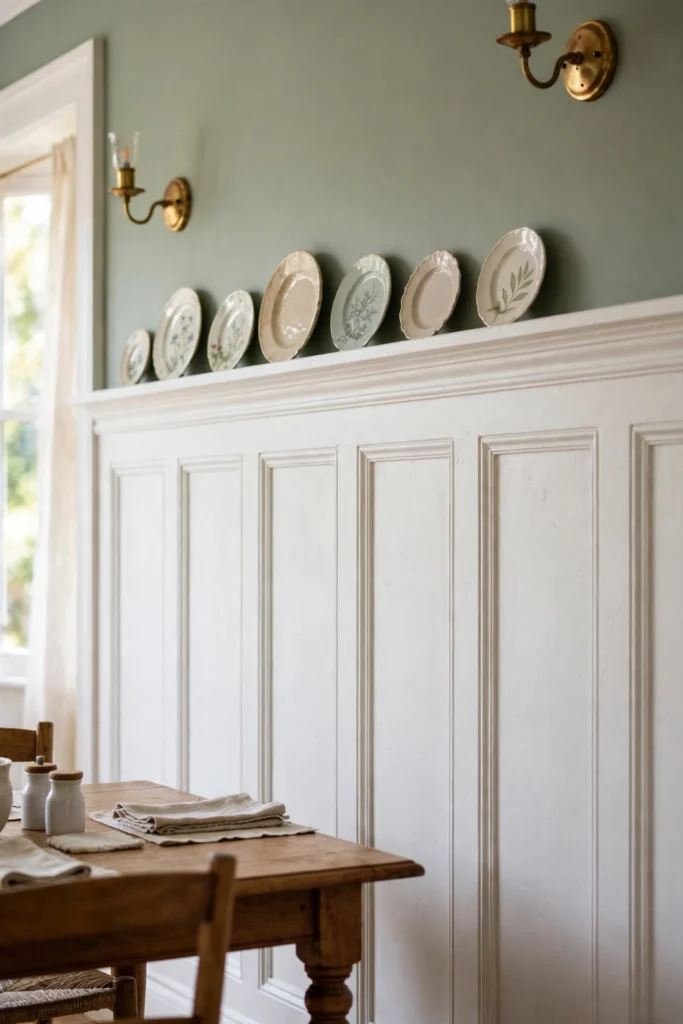
- Choose a simple profile. Pair a shallow ledge with a modest molding strip beneath it.
- Measure the wall. Account for corners, window casings, and door trim before ordering materials.
- Locate the studs. Mark them so the rail can be fastened securely.
- Test the finish. Paint or stain a sample before completing the full length.
Layered molding gives the rail a finished architectural edge and a little more presence on a tall wall. Keep the profile in scale with the paneling; oversized trim can feel heavy in a smaller room. Secure the ledge to framing, especially if you plan to display ceramics.
Option A vs Option B
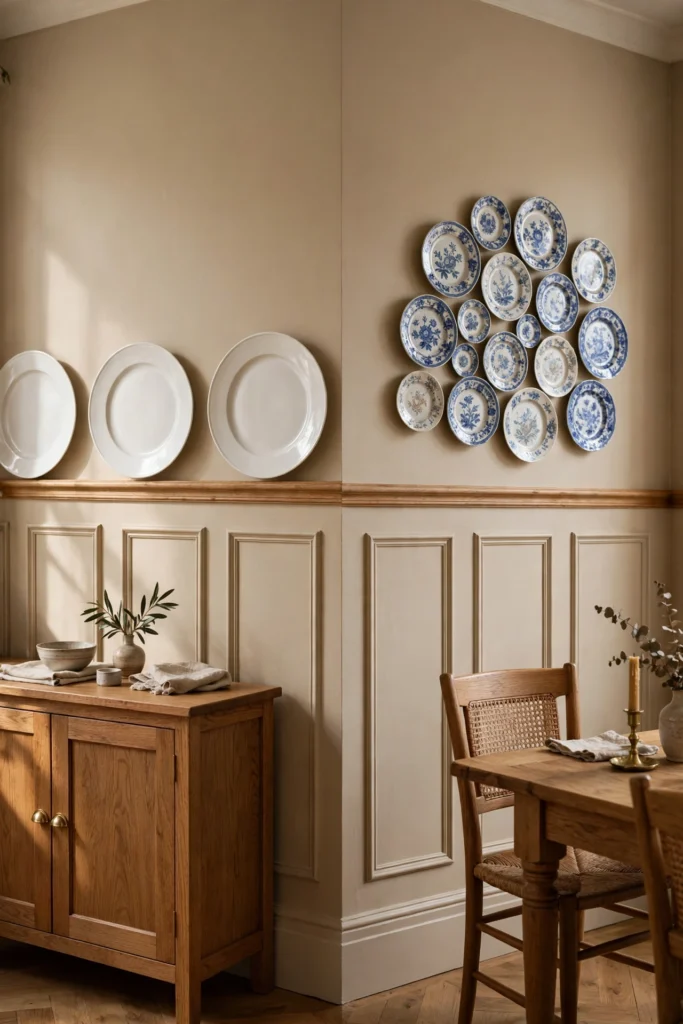
| Detail | Option A: Few Large Plates | Option B: Small Plate Group |
|---|---|---|
| Visual feel | Calm and spacious | Detailed and collected |
| Wall size | Suits a short rail | Fills a longer rail |
| Spacing | Wide gaps between pieces | Tighter, balanced grouping |
| Best for | Minimal rooms | A layered traditional look |
Choose the display scale to match the length of the rail and the size of the room. A few larger plates create breathing space, while a cluster of small pieces adds detail. Lay out the arrangement on the floor first, then transfer the spacing to the wall.
Wallpaper Panel Inserts
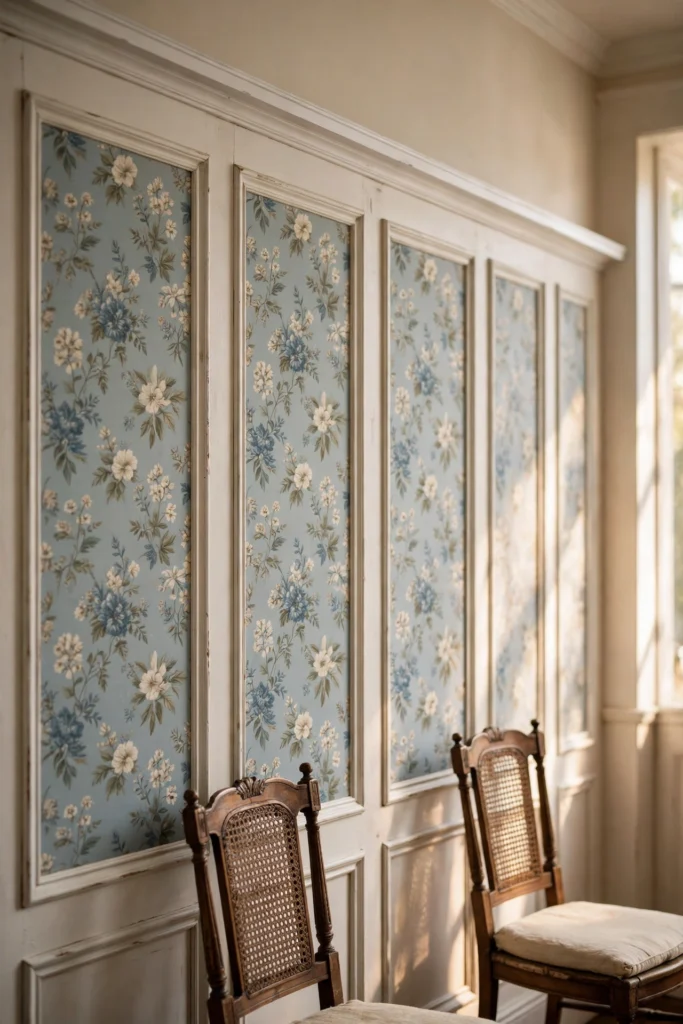
DO
- Pick a small-scale print that remains clear inside each panel.
- Cut wallpaper carefully, allowing for pattern alignment.
- Paint the surrounding trim in a color pulled from the paper.
- Test one panel before covering the entire wall.
DON’T
- Use a large, busy pattern in narrow panel inserts.
- Apply wallpaper over dusty or uneven surfaces.
- Ignore how the pattern meets at panel corners.
Wallpaper inside the frames adds color and pattern without covering the whole wall. It works especially well when the plate rail and trim stay simple. Use peel-and-stick paper for a reversible update, but test adhesion on a hidden area first to protect the paint beneath.
Natural Oak Panels
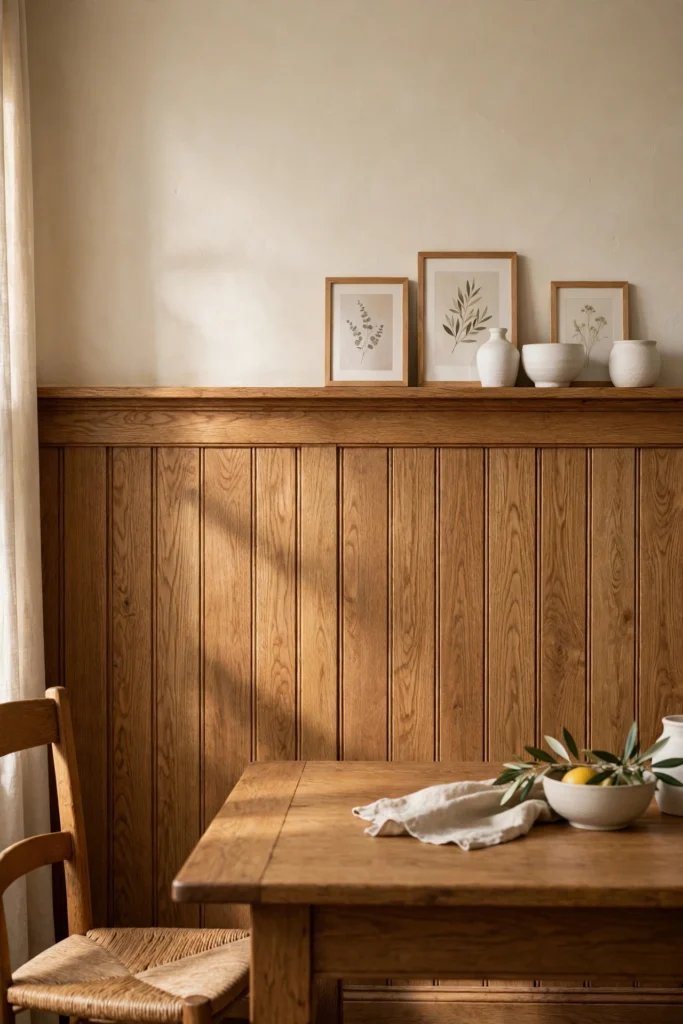
Cost: Moderate to high, depending on the wood
Time: Several days for installation and finishing
Skill Level: Intermediate
Best For: Traditional homes with warm wood accents
Natural oak panels bring warmth and texture to a room, while the matching rail creates a useful display ledge. Keep the upper wall light so the wood remains the main feature. Seal the surface with a clear finish, and use a sample to check how the grain looks beside your flooring.
Muted Rose Panels
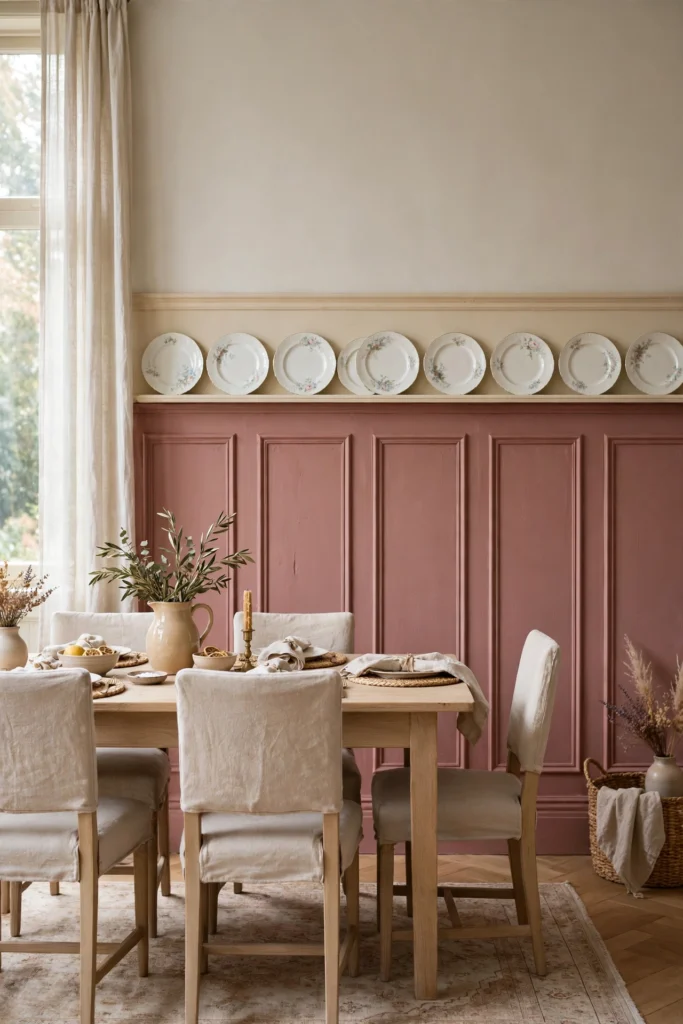
Muted rose panels give a traditional wall treatment a gentle wash of color. Pair dusty pink with a cream rail and simple white ceramics so the combination feels warm rather than sugary. A matte finish softens the look, while white trim around doors and windows keeps the color contained.
Before painting the whole room, test the shade on a large board and view it beside your furniture at different times of day. Rose tones can shift noticeably under warm bulbs. Repeat a little of the color in flowers or artwork, then let neutral fabrics keep the room balanced.
Rail Display Lighting
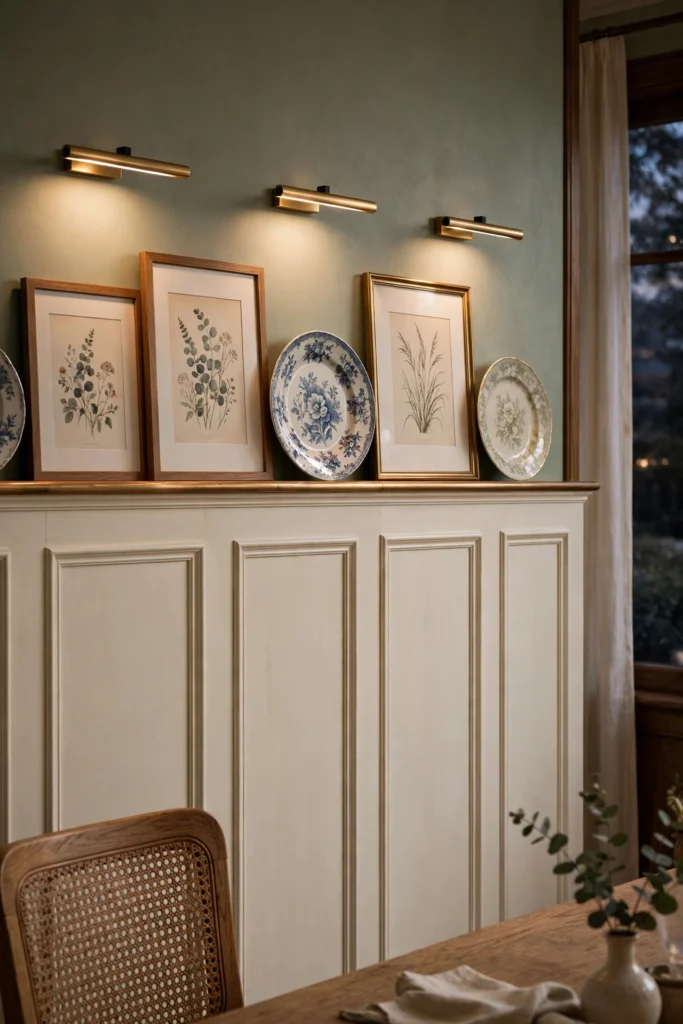
- Use small picture lights to highlight artwork or plates above the rail.
- Choose warm white bulbs for a comfortable evening glow.
- Position each light to avoid glare on glass frames.
- Hide cords neatly or choose rechargeable fixtures.
- Keep fixtures clear of curtains and other materials.
Focused lighting draws attention to the display and gives the wall depth after dark. Measure the spacing before mounting several lights, and check the beam from seated eye level. Rechargeable or battery-operated fixtures can simplify installation when wiring would require opening the wall.
Cream and Charcoal
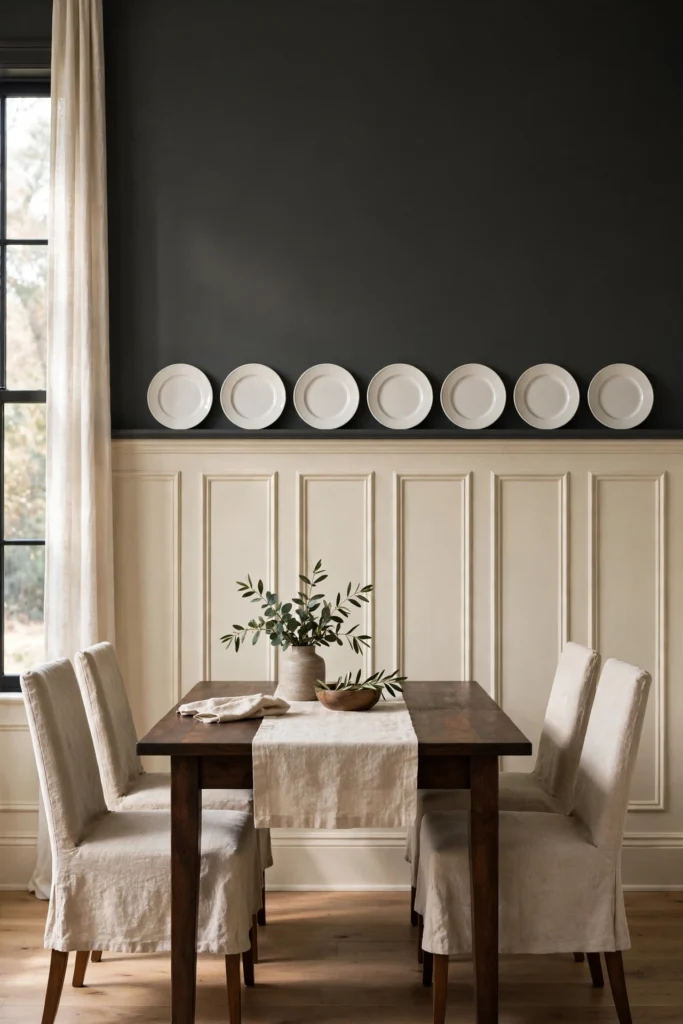
Cost: Low to moderate, mostly paint and trim
Time: A weekend for prep and painting
Skill Level: Beginner to intermediate
Best For: Rooms needing clear contrast
Cream panels keep the lower wall light, while charcoal above the rail adds depth and definition. Use a narrow rail so the dark line does not dominate the room. Test the colors beside your flooring, and repeat charcoal in a frame or light fixture to connect the palette.
Wrapped Corner Rail
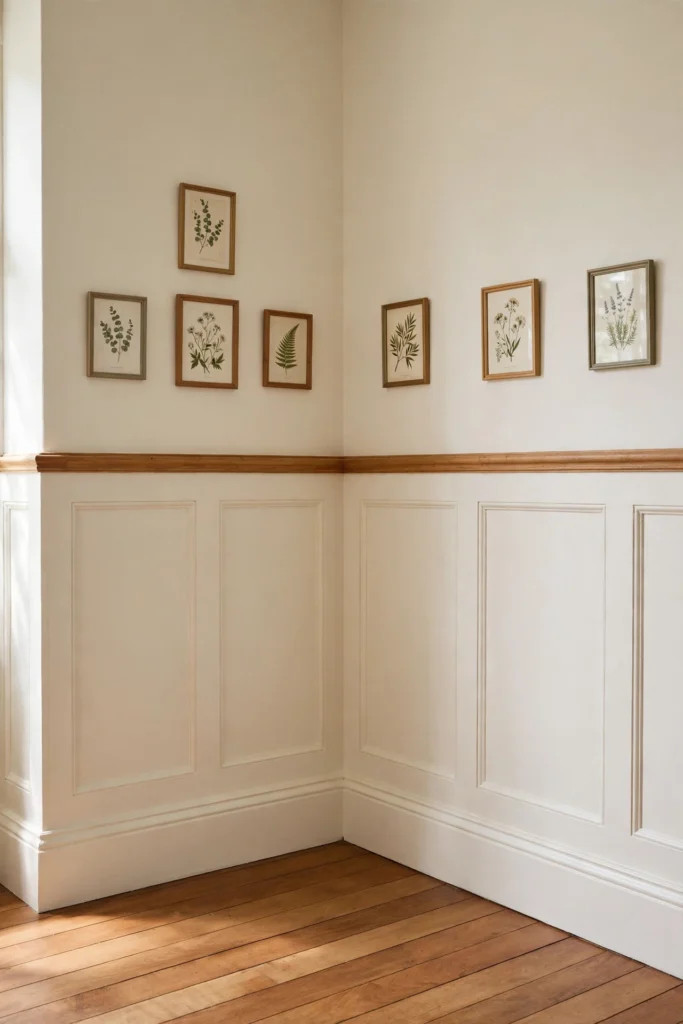
A plate rail that continues around a corner makes the wall treatment feel carefully planned. Measure each run from the corner and check that the rail stays level on both walls. For an inside corner, use a neat miter or return the molding to the wall so the cut edge is hidden.
Keep the panel spacing consistent as the trim turns, and account for nearby doors or windows before placing the final section. A short offcut helps you test the joint before cutting the finished pieces. That extra fitting step can prevent visible gaps at eye level.
Breakfast Nook Panels
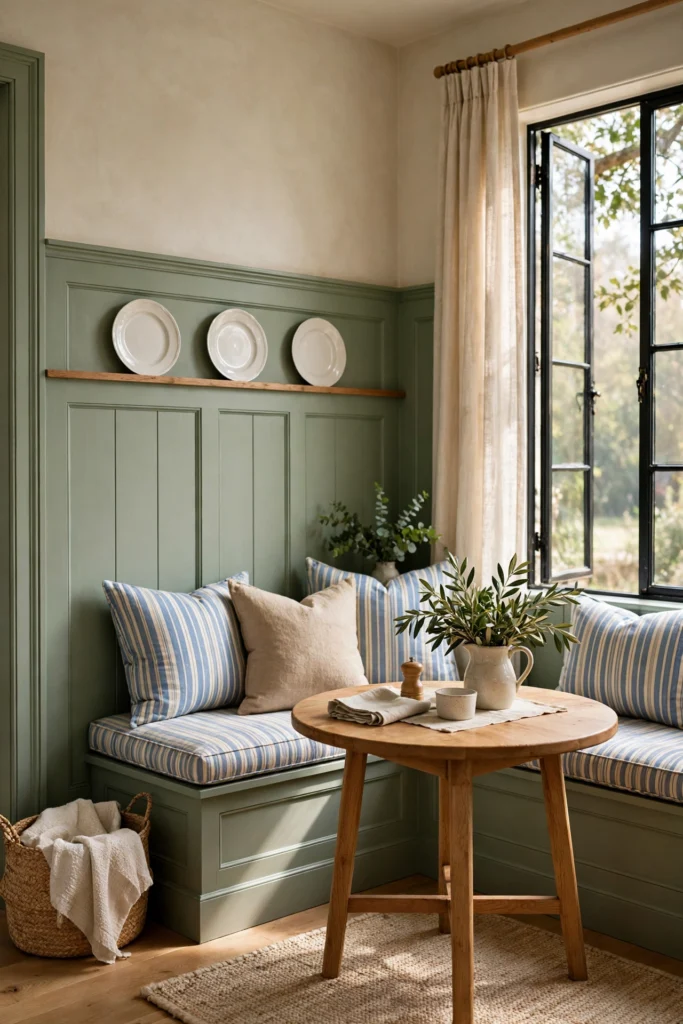
- Carry the paneling around the nook to define the seating area.
- Set the plate rail above the bench back so displayed pieces stay clear of cushions.
- Choose a wipeable paint finish for a busy eating spot.
- Keep the ledge shallow and secure plates with hangers.
- Repeat the panel color in one cushion or table accessory.
Tall paneling gives a breakfast nook a finished, built-in feel, while the rail adds a display spot above the seating. Measure from the bench back before setting the rail height, leaving room for people to sit comfortably. Keep plates lightweight and securely positioned in this high-traffic corner.
CONCLUSION
Tall paneling and a plate rail can bring timeless character to a room while offering a practical ledge for plates, prints, or small decor. From crisp white panels to deep colors, wallpaper, and natural wood, these ideas offer ways to make the detail fit your home and style. Start by measuring the wall and choosing a panel height that works with nearby doors and windows. Then test colors and finishes before committing. Save this collection on Pinterest, try the details that suit your space, and share it with someone planning a home refresh. The right design can make an ordinary wall feel thoughtfully finished.