25 Hot Cocoa Bar Ideas for a Cozy and Inviting Setup
A cozy cocoa station can make a winter gathering feel special without taking over your kitchen. These hot cocoa bar ideas help you serve guests with less fuss.
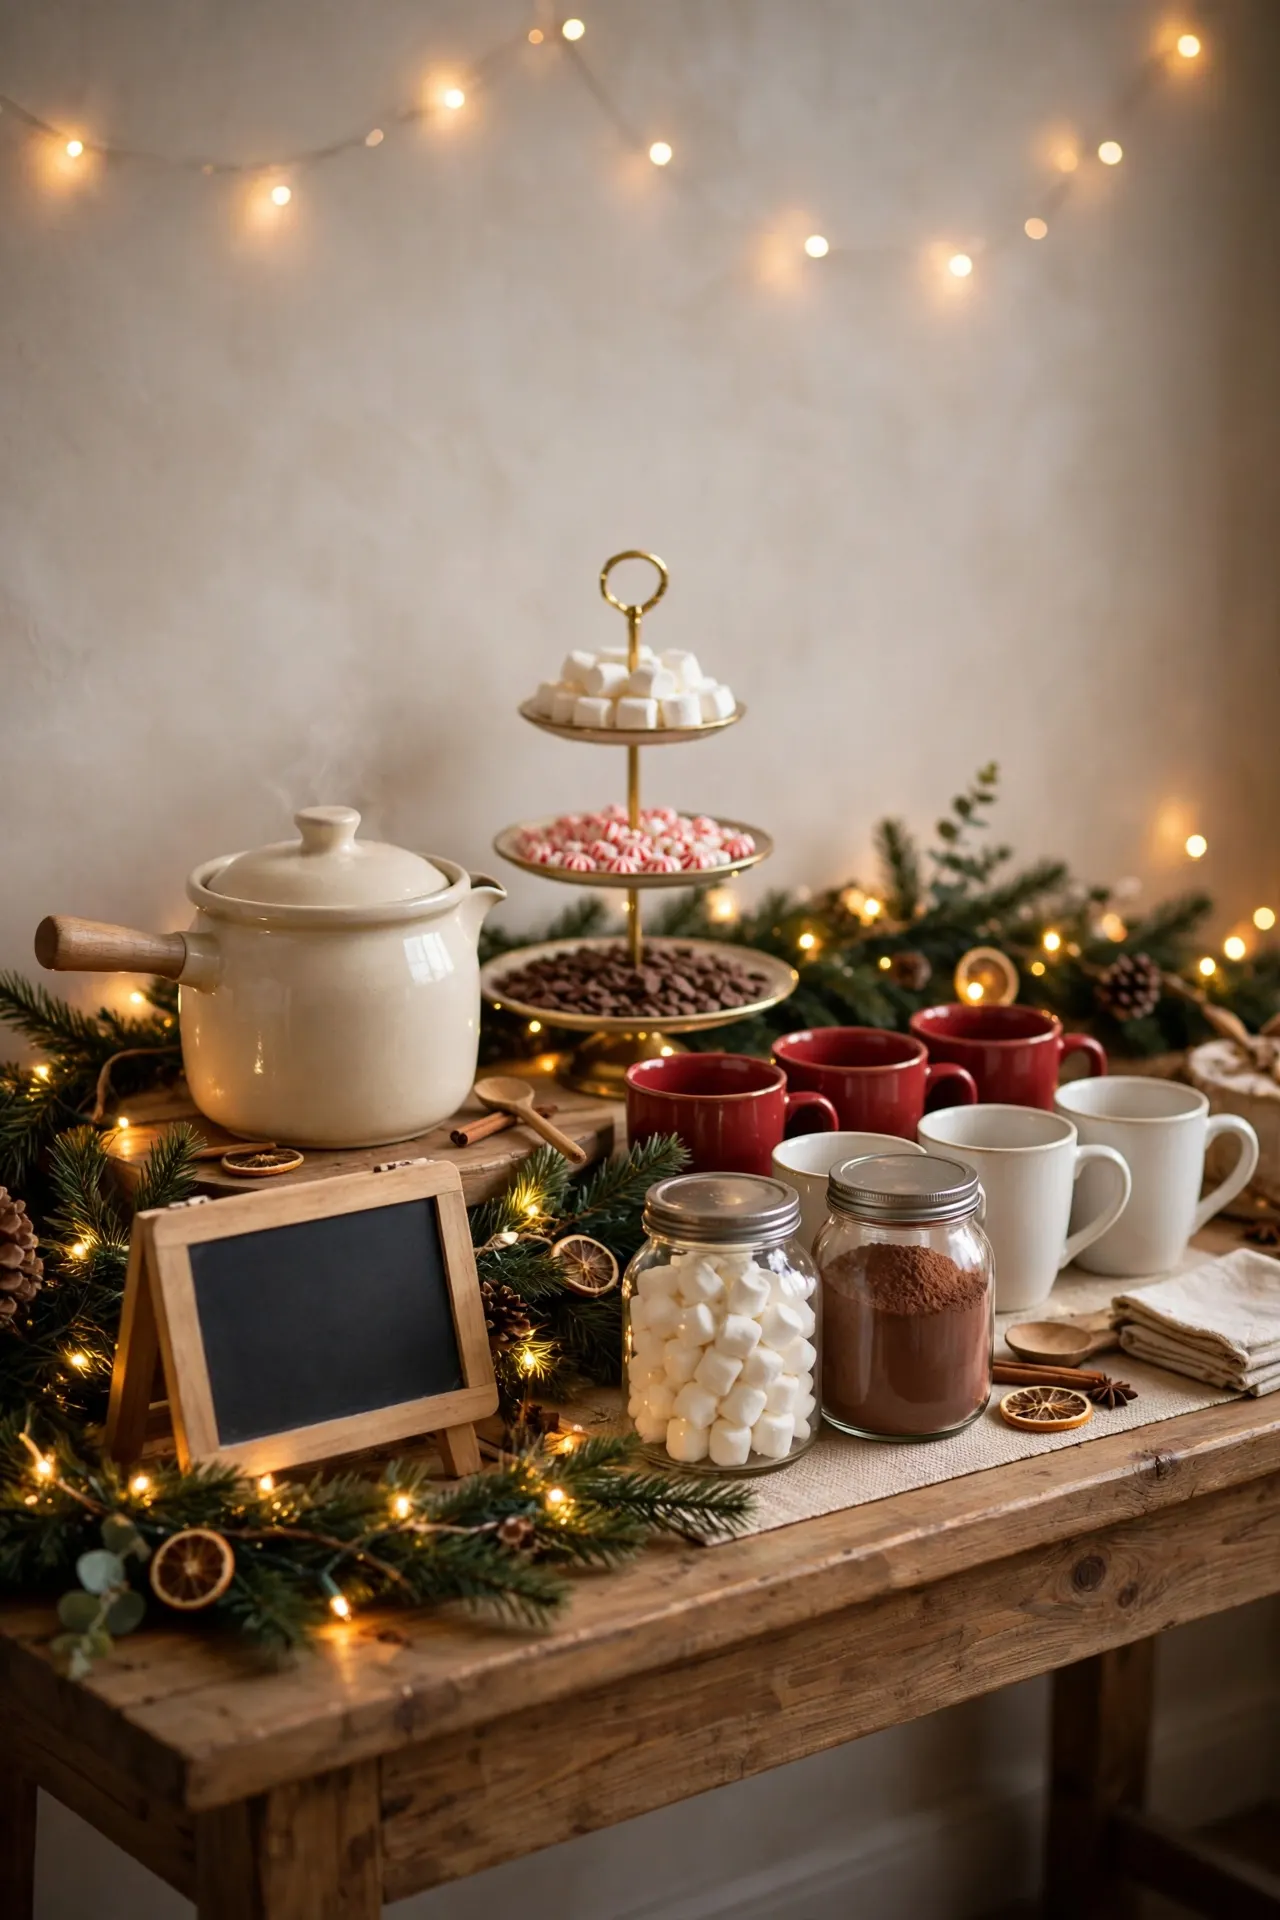
Set up a simple drink station with mugs, cocoa, and toppings guests can choose for themselves, much like these coffee station ideas. A counter, cart, or small table can work well, even when space is limited. Arrange items in serving order, from cups to cocoa to toppings, so guests can move through the setup easily. Clear labels help everyone spot their favorite additions, while a tray keeps small jars and spoons together. Add a little seasonal color with napkins, greenery, or warm lights. The result is an inviting station that suits a family movie night, holiday party, or casual evening with friends.
Rustic Cocoa Station
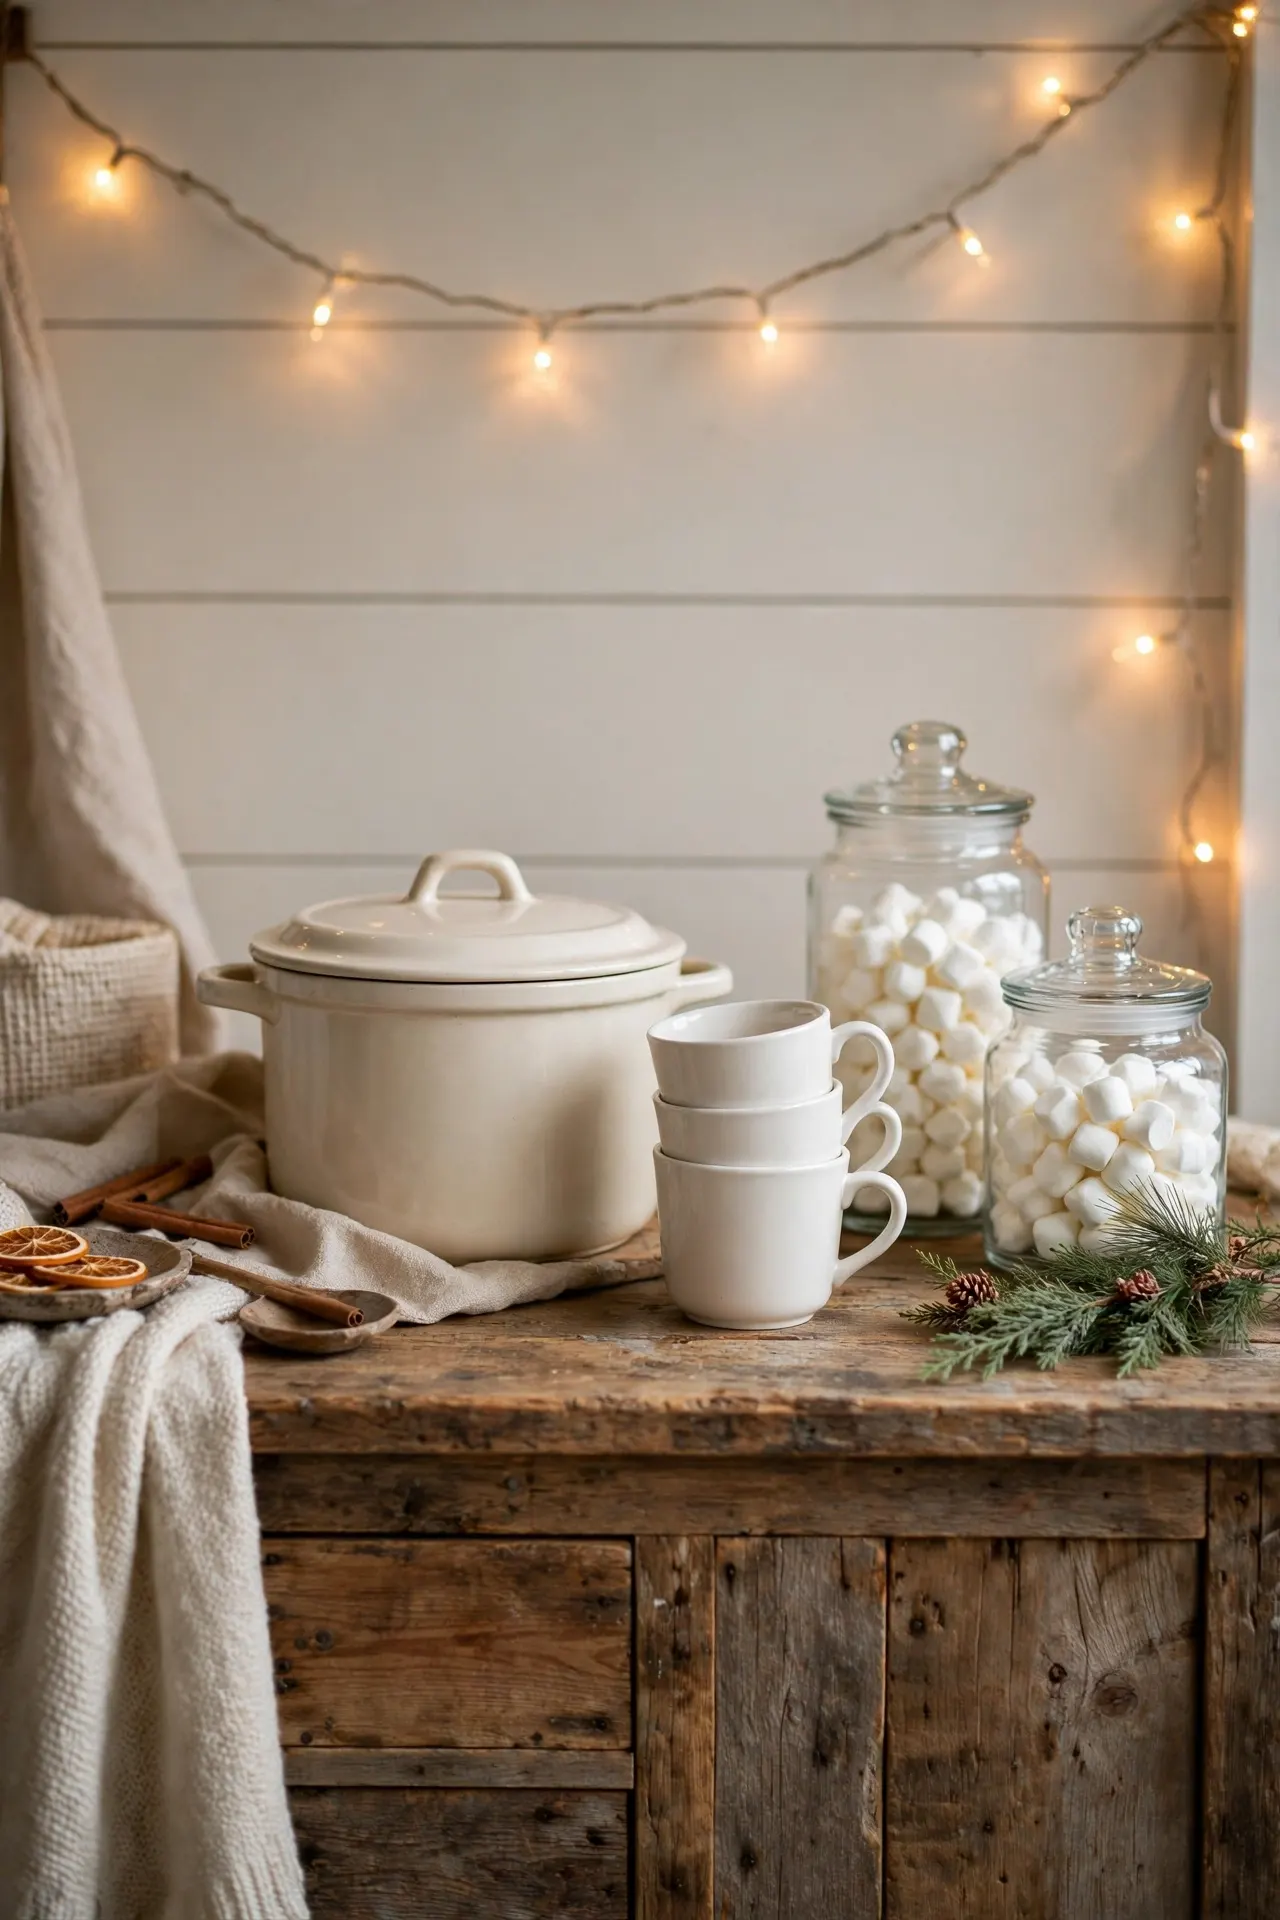
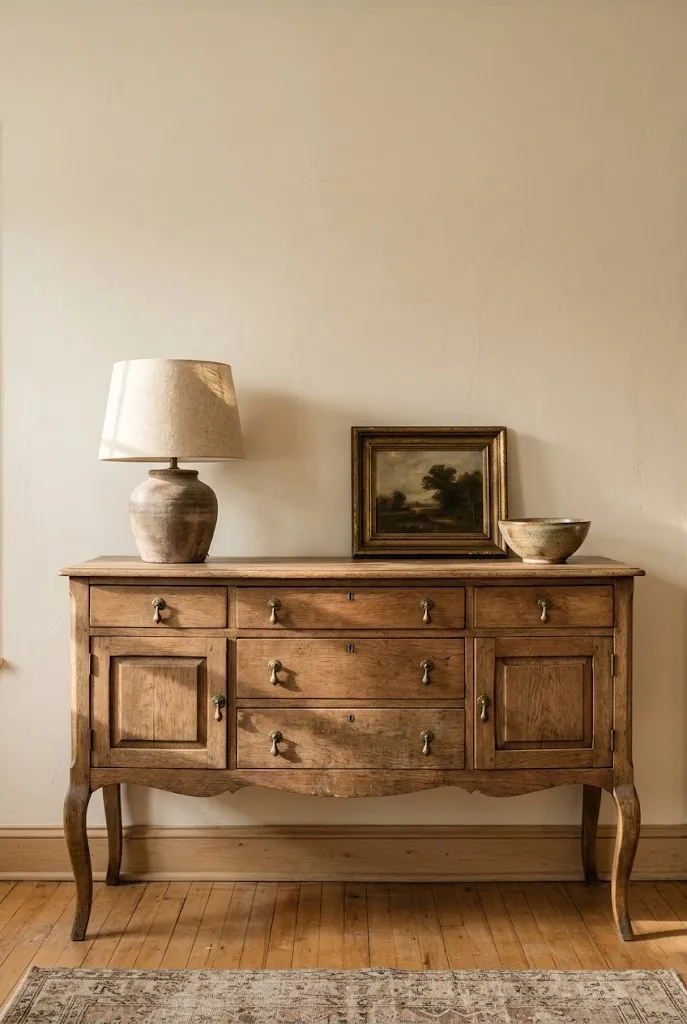
A rustic cocoa station turns a quiet corner into a welcoming spot for guests. These hot cocoa bar ideas start with a sturdy console or kitchen counter, a pot of cocoa, and a few labeled jars. Add a small tray to group the essentials and keep the surface tidy.
Use a neutral cloth or wooden board to soften the display, then add one seasonal touch, such as greenery or a mini wreath. Leave room for guests to set down their mugs. In my experience, keeping the setup near a sink makes refills and cleanup much easier.
Tiered Topping Stand

- Use the top tier for lightweight toppings like sprinkles and cinnamon.
- Set heavier bowls of marshmallows and chocolate on the lower level.
- Add small spoons so guests can serve themselves neatly.
- Label toppings for easy browsing and allergy awareness.
A tiered stand keeps small toppings visible without spreading them across the counter. Choose bowls that fit securely on each level, and refill them in small amounts during the gathering. This setup works especially well when counter space is limited or several guests are building drinks at once.
Mug Display Wall

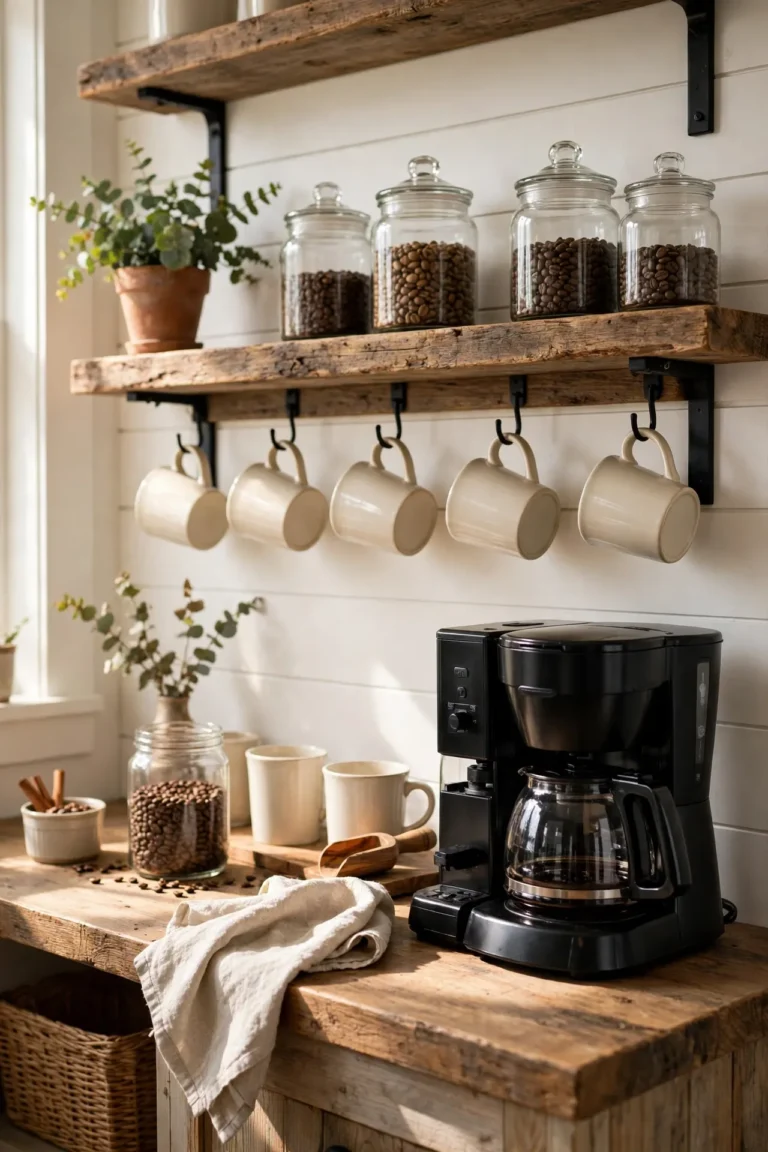
Quick Tip: Hang mugs from sturdy hooks or arrange them in a compact stack on a tray. Keep handles facing outward so guests can grab one easily, and place the display away from the edge of the counter.
A dedicated mug spot makes the drink station feel organized and helps guests move through the setup smoothly. Mix a few colors or patterns for a cheerful look, but keep the collection easy to reach. If wall hooks are not practical, use a small shelf or basket instead.
Slow Cooker Cocoa

BEFORE: Guests may have to wait while separate cups of cocoa are heated. A crowded kitchen can form around the microwave or stovetop.
AFTER: A slow cooker keeps a larger batch warm and ready to serve. Guests can ladle their own drinks while the host enjoys the gathering.
Stir the cocoa before guests arrive, then set the cooker to its lowest warm setting and keep the lid nearby. Use a ladle with a heat-safe handle, and place the appliance on a stable surface away from the edge. Check the temperature occasionally so the cocoa stays pleasant to drink.
Labeled Topping Jars
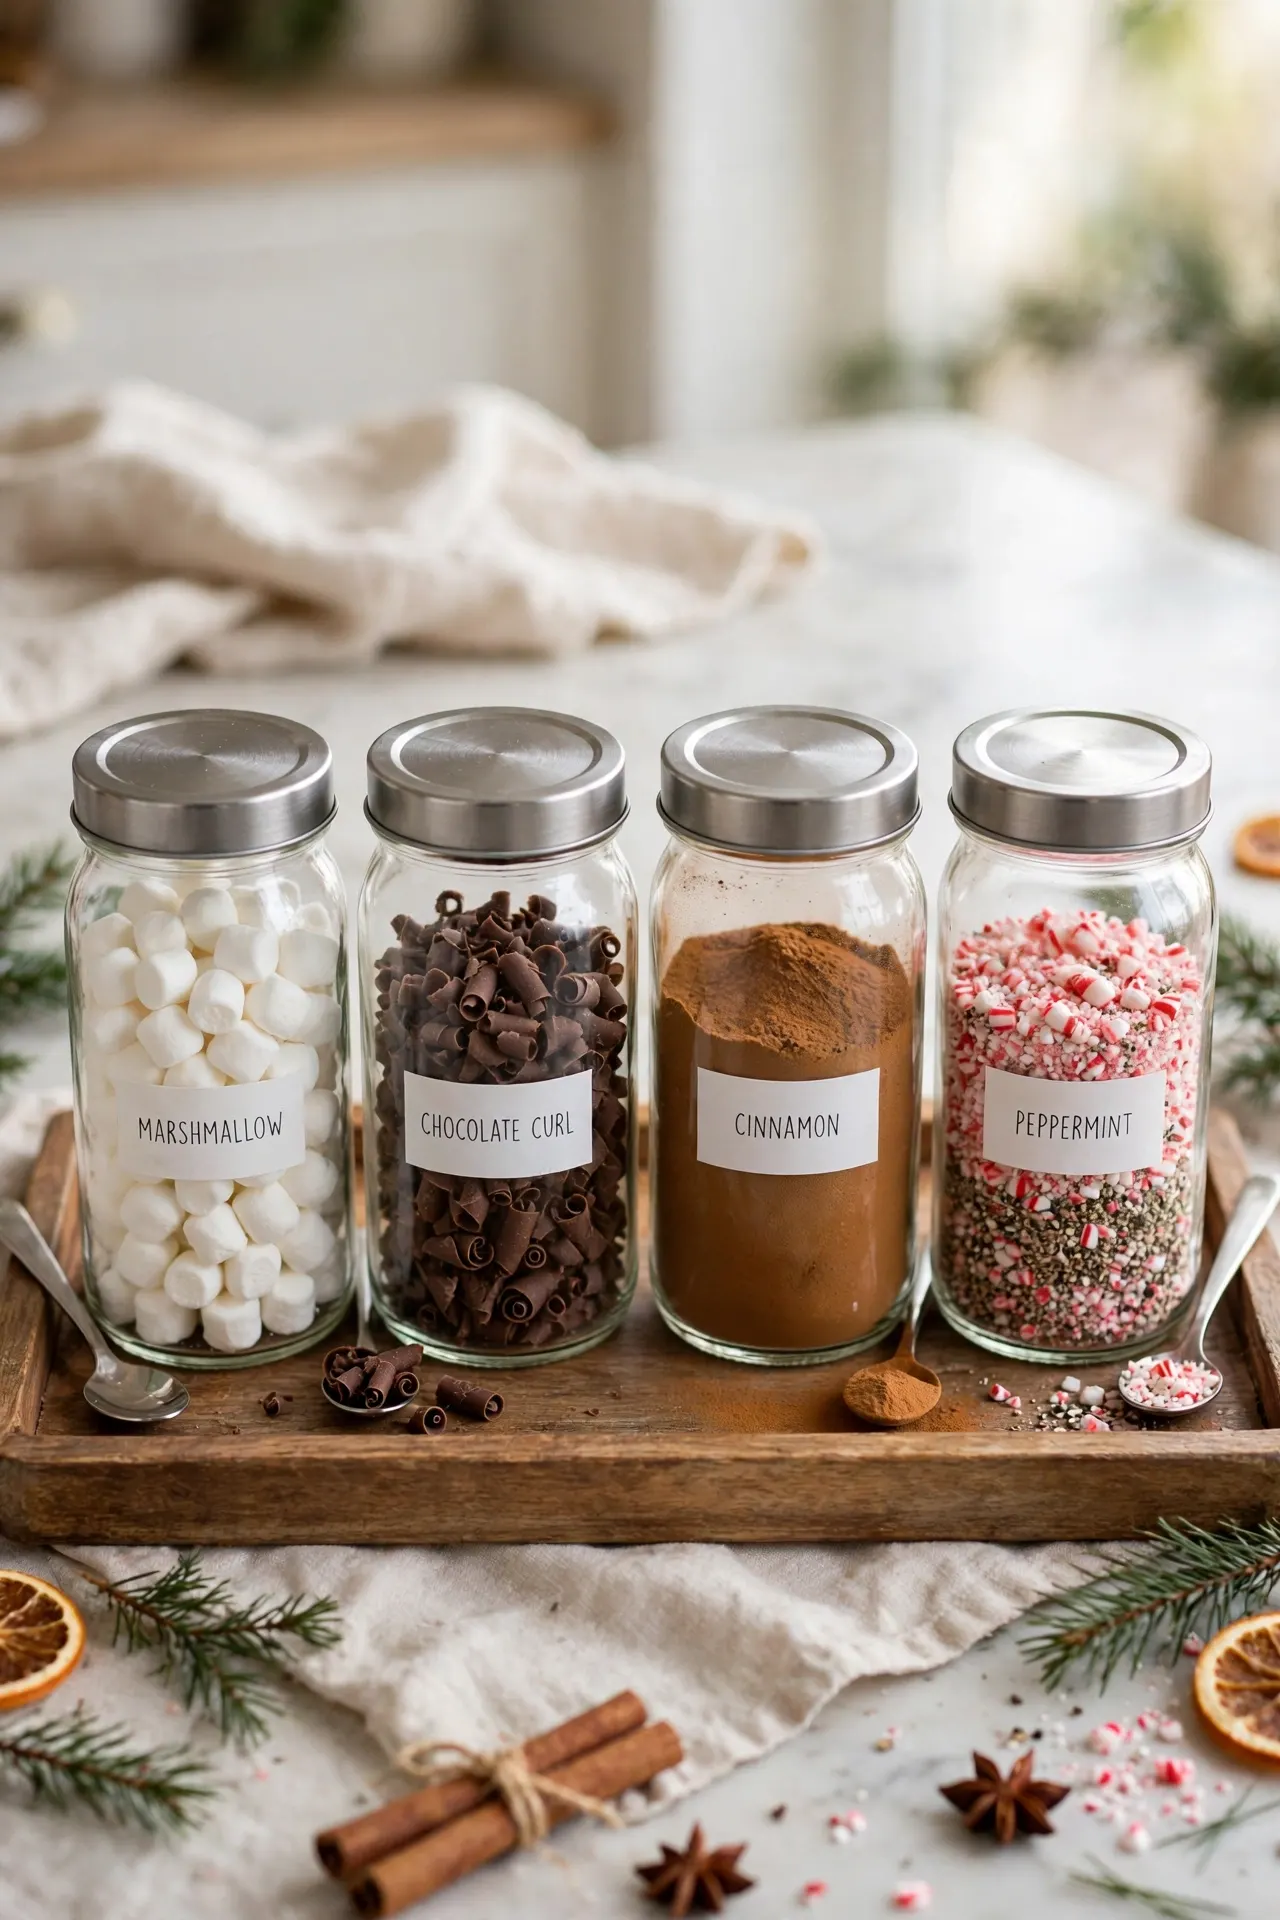
- Choose clear jars with openings wide enough for serving spoons.
- Fill each jar with one topping, leaving room to scoop.
- Add readable labels, including allergy notes where needed.
- Arrange the jars from mild flavors to bold additions.
Clear labels make the toppings easy to browse and help guests identify ingredients quickly. Use jars with secure lids if the station will sit out for several hours, and refill them with clean utensils. Keeping each topping separate also makes the setup simpler to reset between gatherings.
Peppermint Garnish Tray

Peppermint can add a cool, festive finish to cocoa, and the serving style changes the experience.
| Peppermint Sticks | Crushed Candy Canes | |
| Use | Stir drinks slowly | Sprinkle over whipped cream |
| Texture | Smooth, gradual flavor | Sweet crunch in each sip |
| Prep | Ready to serve | Crush and portion ahead |
Offer both choices in separate dishes so guests can decide how strong or crunchy they want the peppermint. Keep crushed candy in a covered bowl to prevent it from clumping in humid rooms. A small tray contains crumbs and keeps the garnish area easy to wipe clean.
Whipped Cream Finish
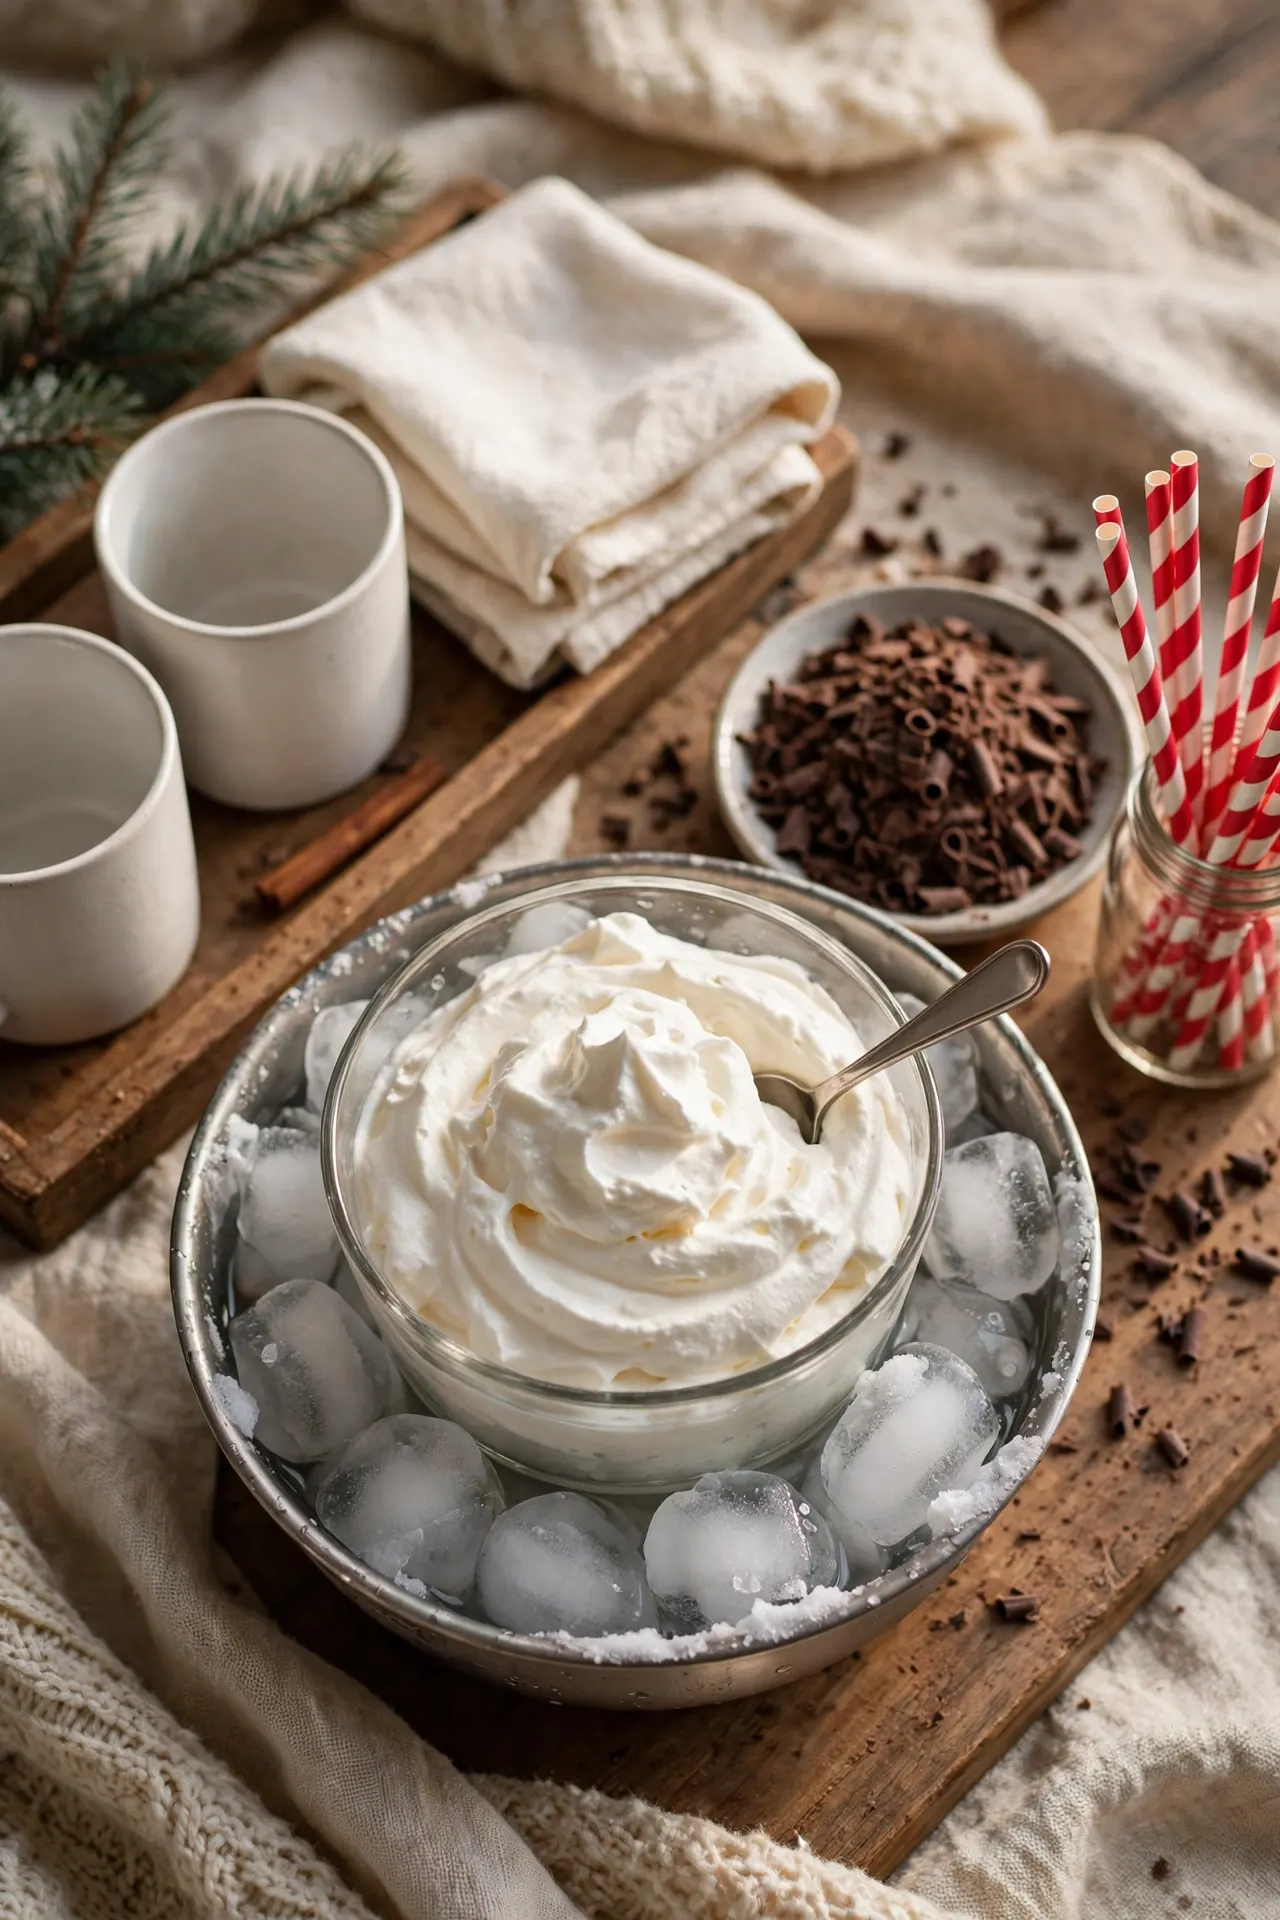
DO
- Keep whipped cream chilled until serving time.
- Set it in a small bowl with a clean spoon.
- Offer chocolate shavings or cinnamon beside it.
- Refill the bowl in small batches.
DON’T
- Leave dairy toppings out for the entire gathering.
- Use one spoon for every topping.
- Set the bowl beside a warm slow cooker.
- Fill the serving dish beyond what guests will use soon.
Whipped cream adds a soft, creamy finish, but it needs a little planning. Place a small bowl on the station and keep the rest refrigerated until needed. Refill it with a clean spoon to keep the topping fresh and the serving area neat.
Cocoa Bomb Display
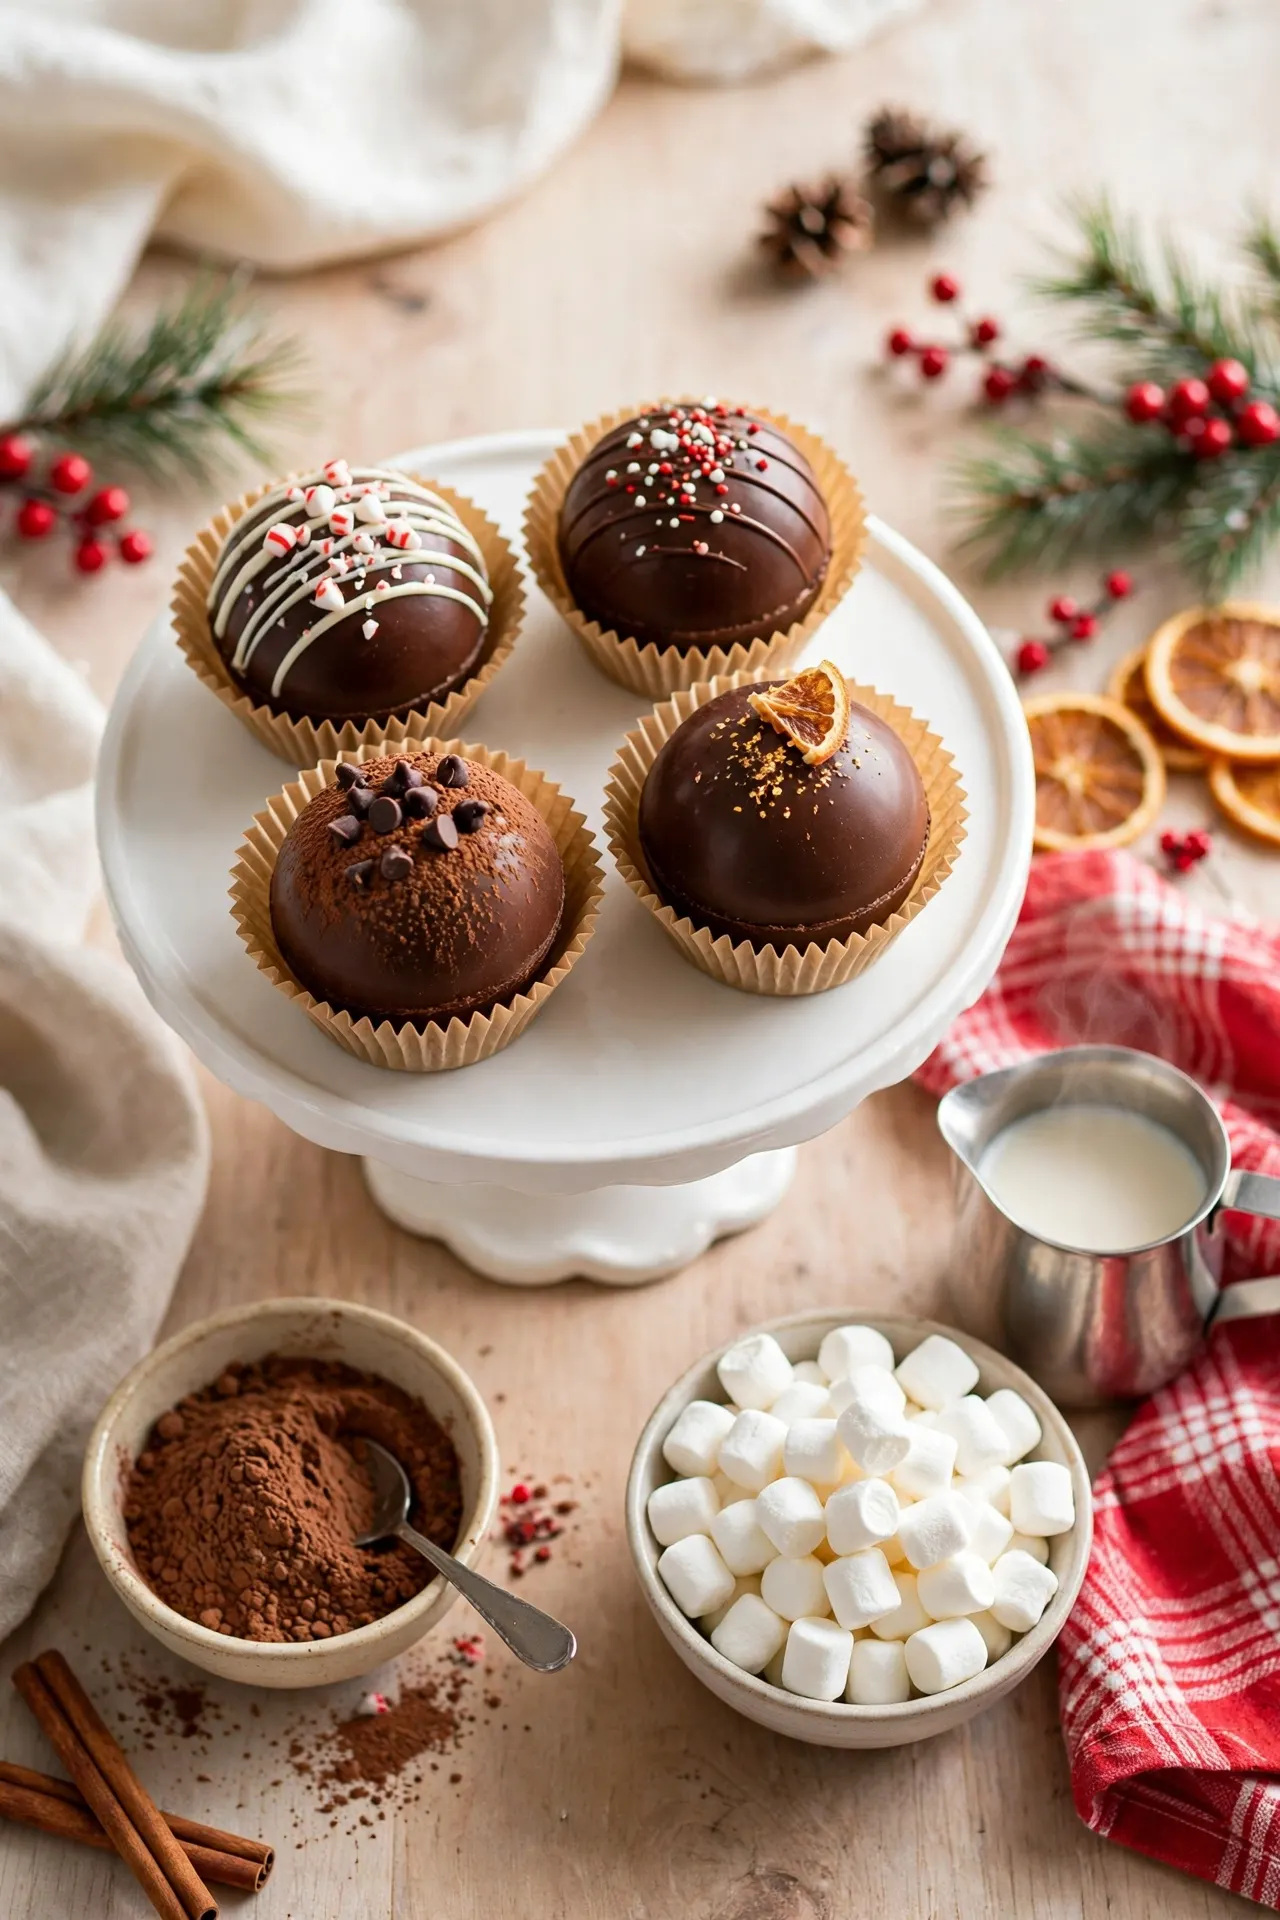
Best For: Guests who enjoy a hands-on drink
Prep Time: About 10 minutes to arrange
Display: Use cupcake liners to keep bombs from rolling
Serving Tip: Pair each bomb with a mug and warm milk
Cocoa bombs make the drink station interactive and add a polished treat display. Keep them in a cool, dry place until serving so the chocolate stays firm. Set out a small instruction card explaining to pour warm milk over the bomb, then stir after it opens.
Chalkboard Menu Sign

A small menu sign helps guests see their choices before they reach for toppings. Write the cocoa flavors and key add-ins in large, readable lettering.
Place the sign near the start of the station, where it will not block mugs or jars. Keep the list short, and note common allergens beside relevant toppings. A simple frame or a few seasonal accents can tie the sign into the display without making the counter feel crowded.
Marshmallow Skewer Cups

- Stand skewers upright in short, stable jars.
- Offer plain marshmallows alongside chocolate-dipped versions.
- Use food-safe sticks with smooth, blunt ends.
- Keep finished skewers covered until serving.
- Set a small plate nearby for used sticks.
Marshmallow skewers make a playful topping that guests can grab without reaching into a shared bowl. Prepare them shortly before the gathering, then keep them covered in a cool spot. Use short skewers for children, and place the jars where they cannot tip easily.
Cocoa Flavor Syrups
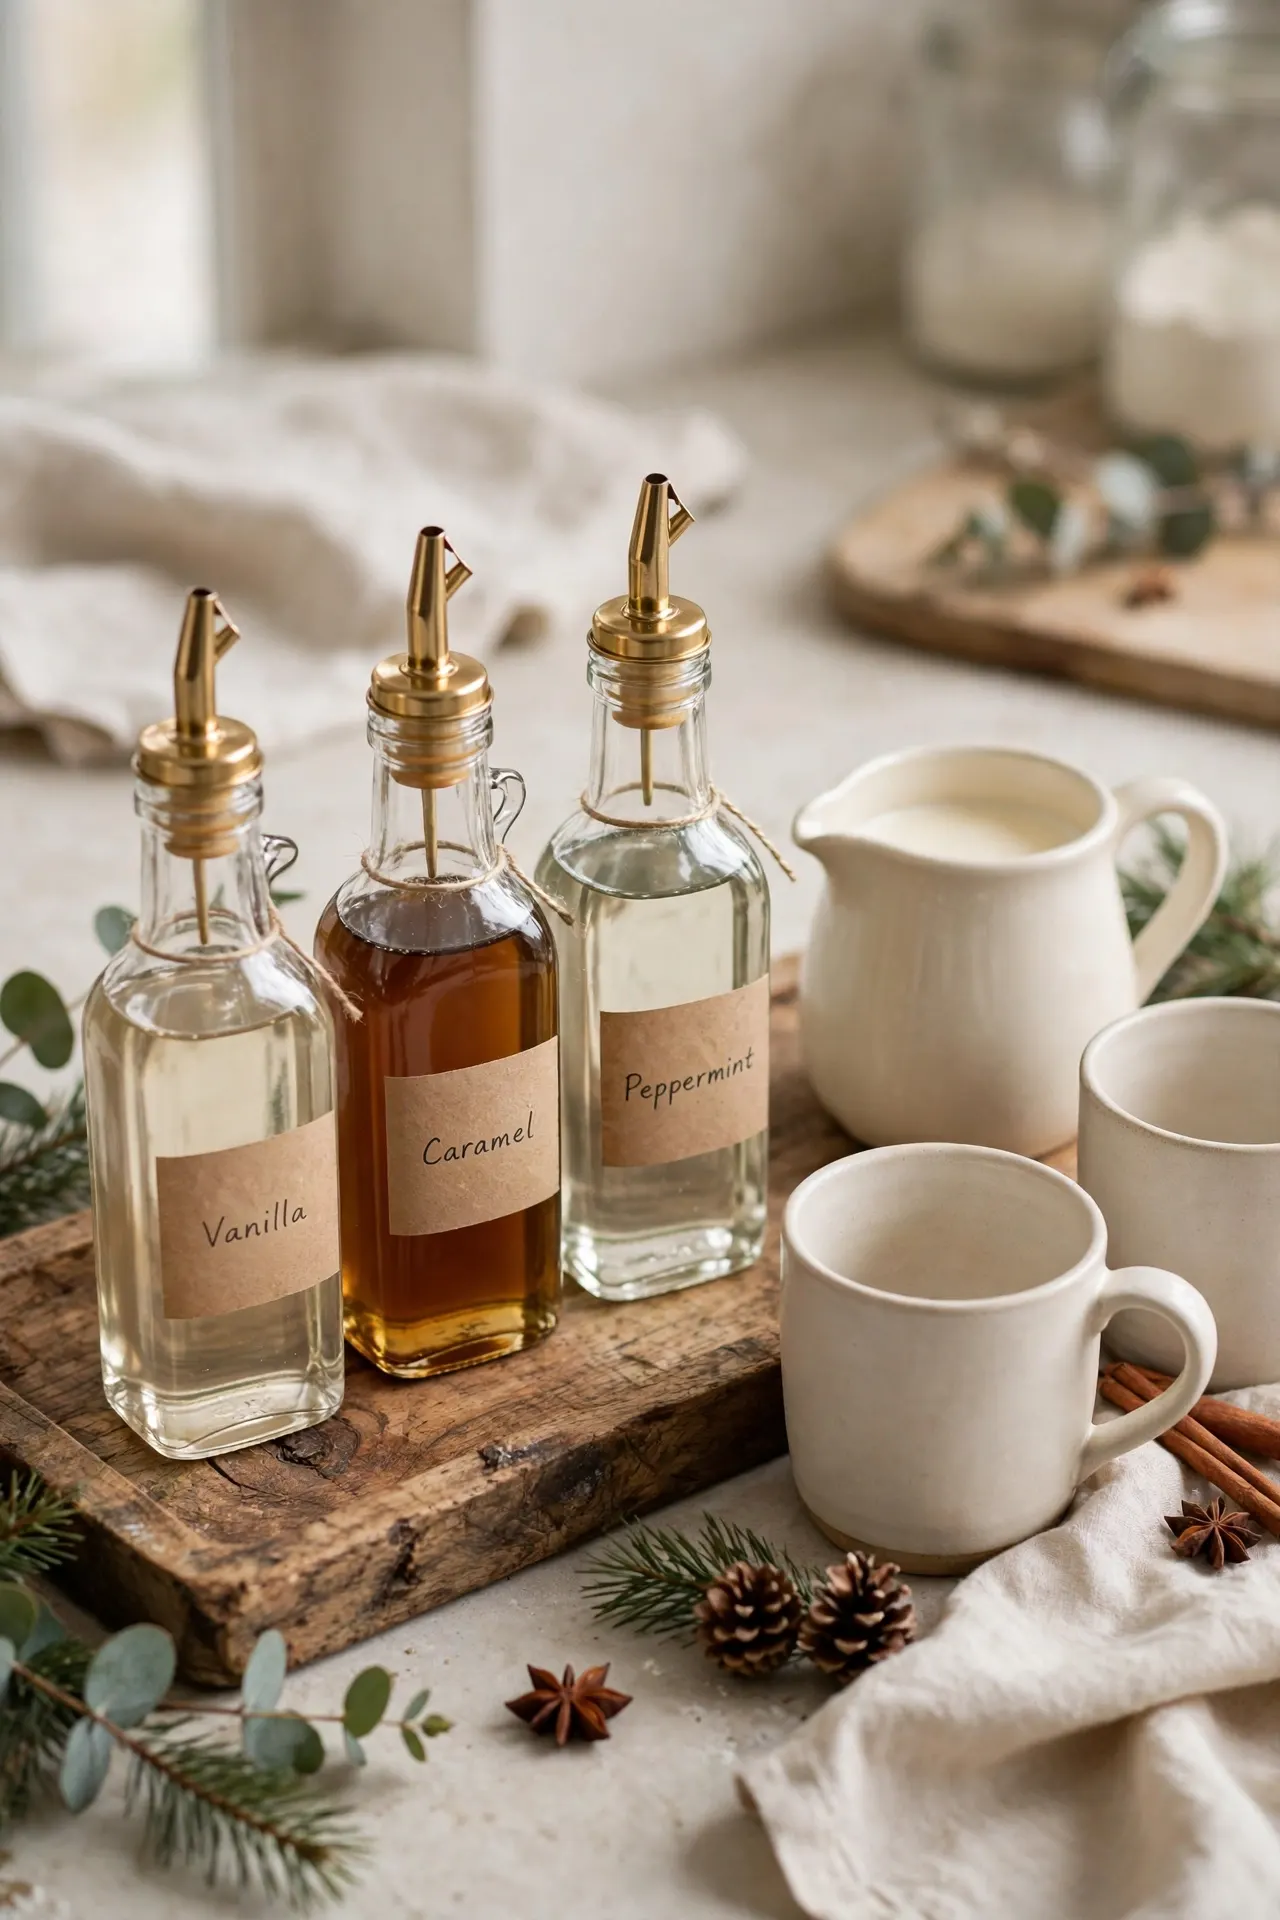
Quick Tip: Offer two or three syrup flavors instead of a large selection. Use small bottles with pumps or pour spouts, and label each one clearly.
A few syrups let guests customize their cocoa without crowding the station. Place teaspoons beside the bottles so people can add a measured amount before tasting. Keep sticky drips under control with a small tray, and wipe the bottle necks during the gathering.
Compact Cocoa Cart

BEFORE: Mugs, toppings, and cocoa supplies spread across the kitchen counter, leaving little room for food preparation. Guests gather in the busiest part of the room.
AFTER: A compact cart holds the drink essentials in one movable spot. Guests can serve themselves while the counter stays clear. For a matching farmhouse look year-round, see these farmhouse coffee bar ideas.
Group the most-used items on the top shelf and reserve the lower level for backups or extra napkins. Lock the wheels before guests arrive, especially if the cart will be on a hard floor. Keep hot liquids on a stable surface away from the cart’s edge.
Cookie Pairing Platter

- Choose two or three cookie styles with different textures.
- Arrange them on a platter beside the mugs.
- Add small tongs or napkins for easy serving.
- Refill the platter in small batches to keep cookies fresh.
A cookie platter gives guests an easy snack to enjoy with their drinks. Mix crisp cookies with softer ones, and keep the selection manageable so the station stays tidy. If you are serving homemade treats, label common allergens and place them in separate sections. Serve the platter alongside these fall table centerpiece ideas for a cozy seasonal table.
Cocoa Flavor Flight
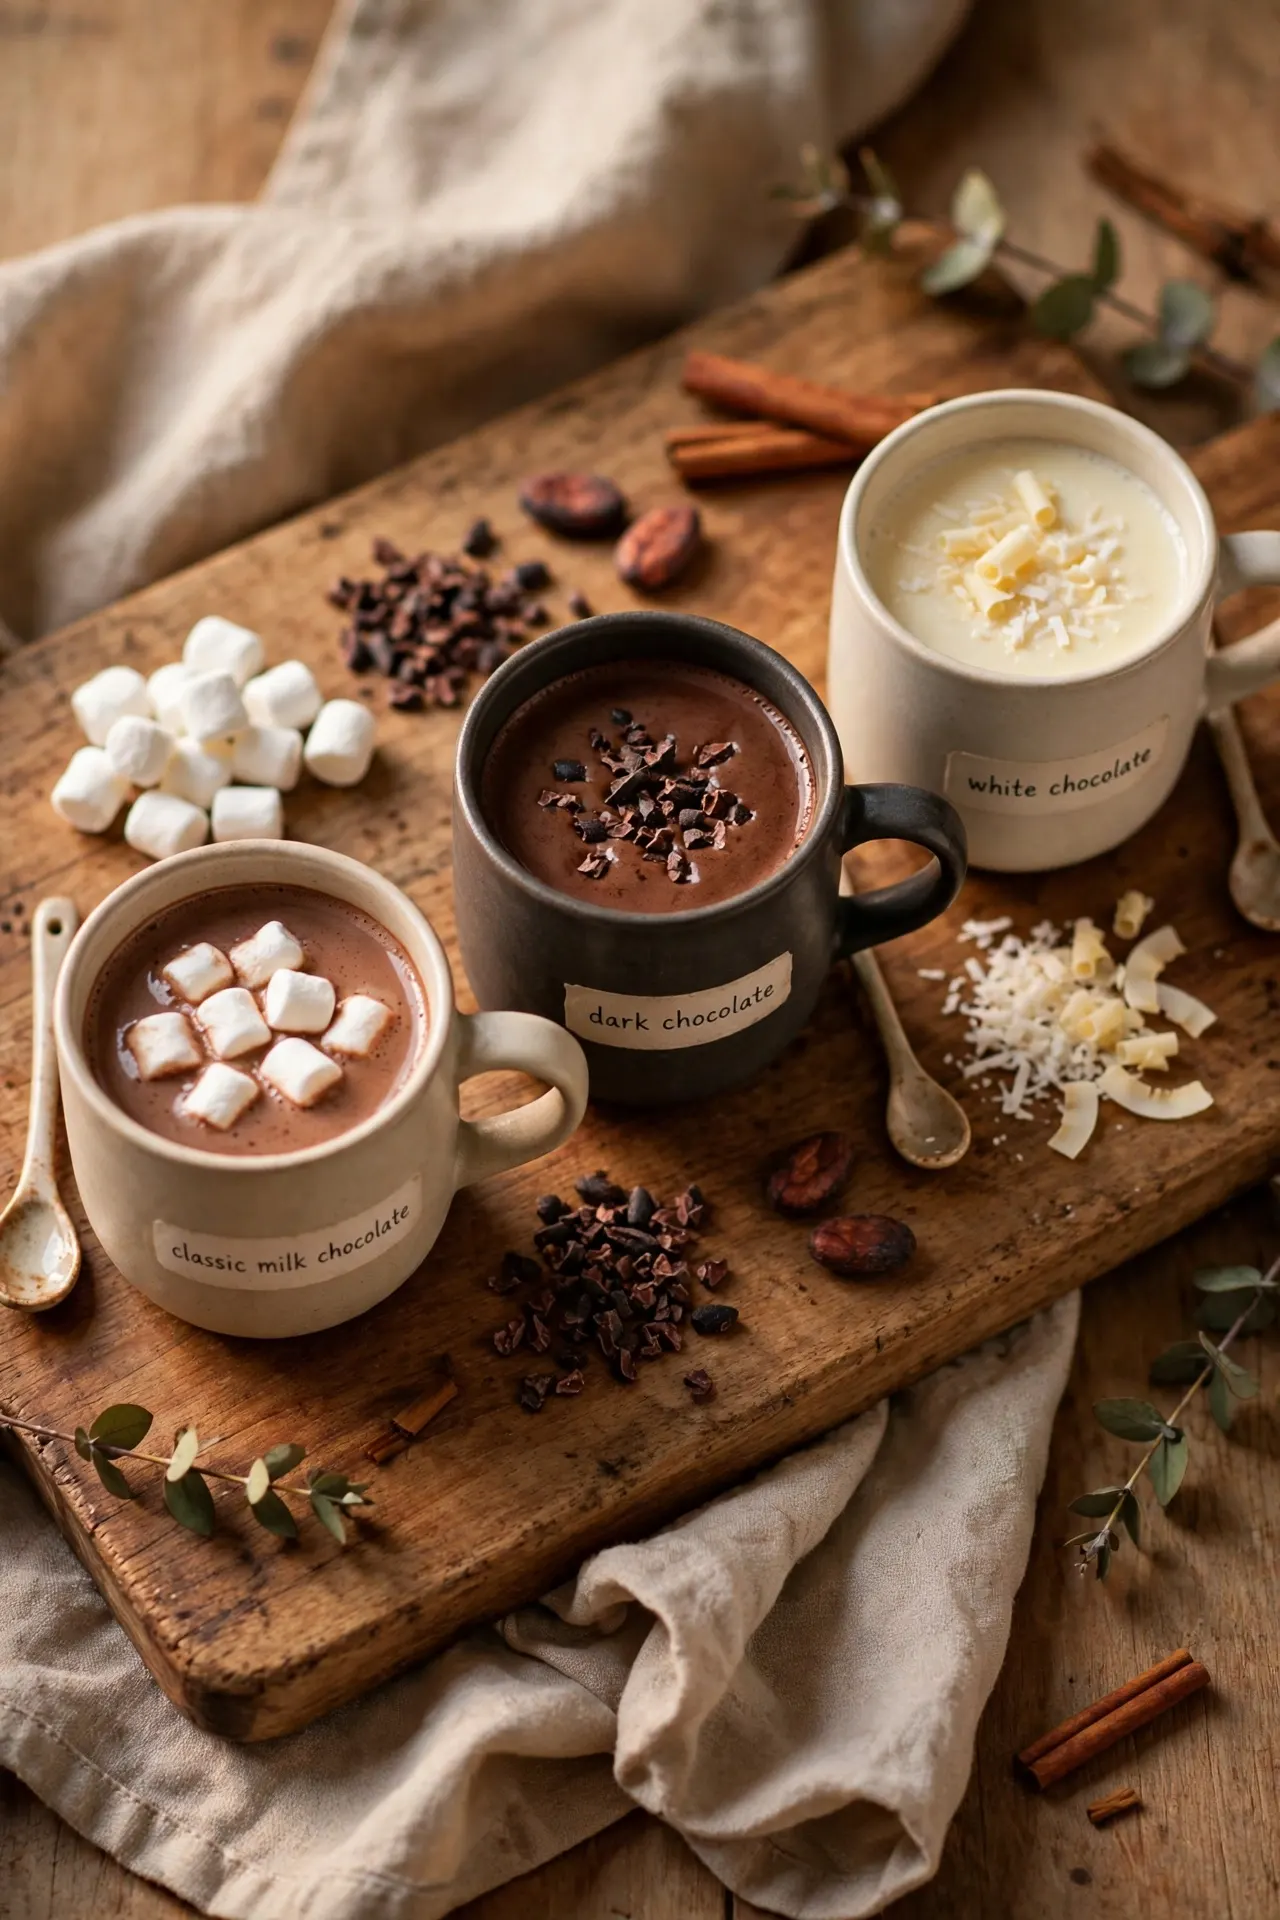
A mini tasting flight lets guests sample different cocoa styles without committing to a full mug.
| Classic Milk Chocolate | Dark Chocolate | |
| Flavor | Sweet and familiar | Rich with less sweetness |
| Best topping | Marshmallows or sprinkles | Whipped cream or cinnamon |
| Serving size | Small tasting cup | Small tasting cup |
Label each flavor clearly and serve them in small portions so guests can compare without waste. Keep extra cocoa warm in covered pots, then refill tasting cups as needed. This setup works especially well for a small gathering where guests enjoy trying a few combinations.
Festive Spoon Bundles
DO
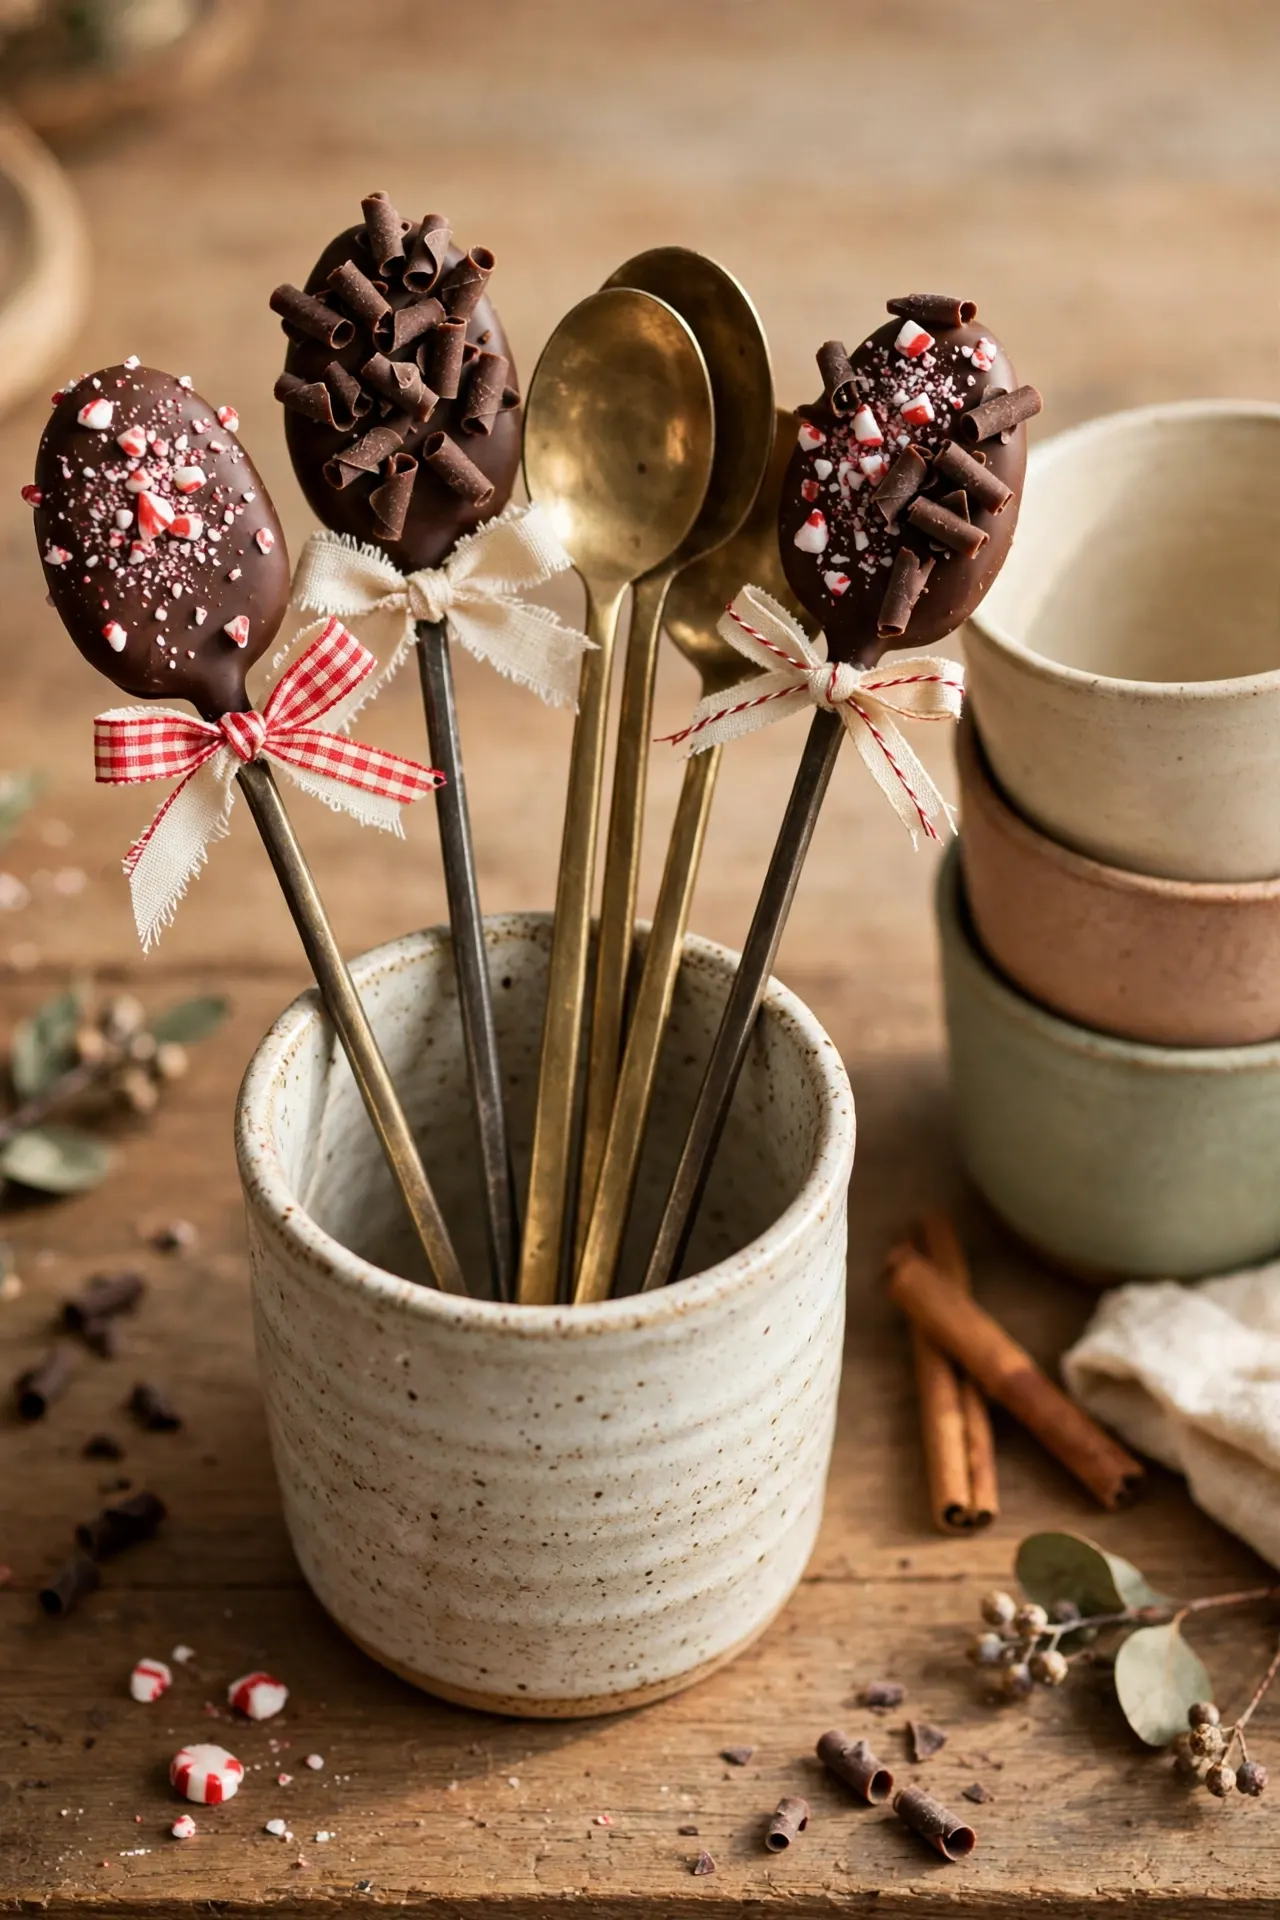
- Dip clean, dry spoons in melted chocolate.
- Add sprinkles or crushed peppermint before the coating sets.
- Let the spoons cool fully before arranging them.
- Place them upright in a sturdy cup.
DON’T
- Use wet spoons that can cause chocolate to seize.
- Add toppings after the chocolate has hardened.
- Store finished spoons in a warm room.
- Tie ribbons near the chocolate end.
Chocolate-dipped spoons make a useful stir-in and a charming detail for the drink station. Prepare them a day ahead and store them in an airtight container in a cool place. Set out only what guests will use soon, especially if the room is warm.
Take-Home Cocoa Kits
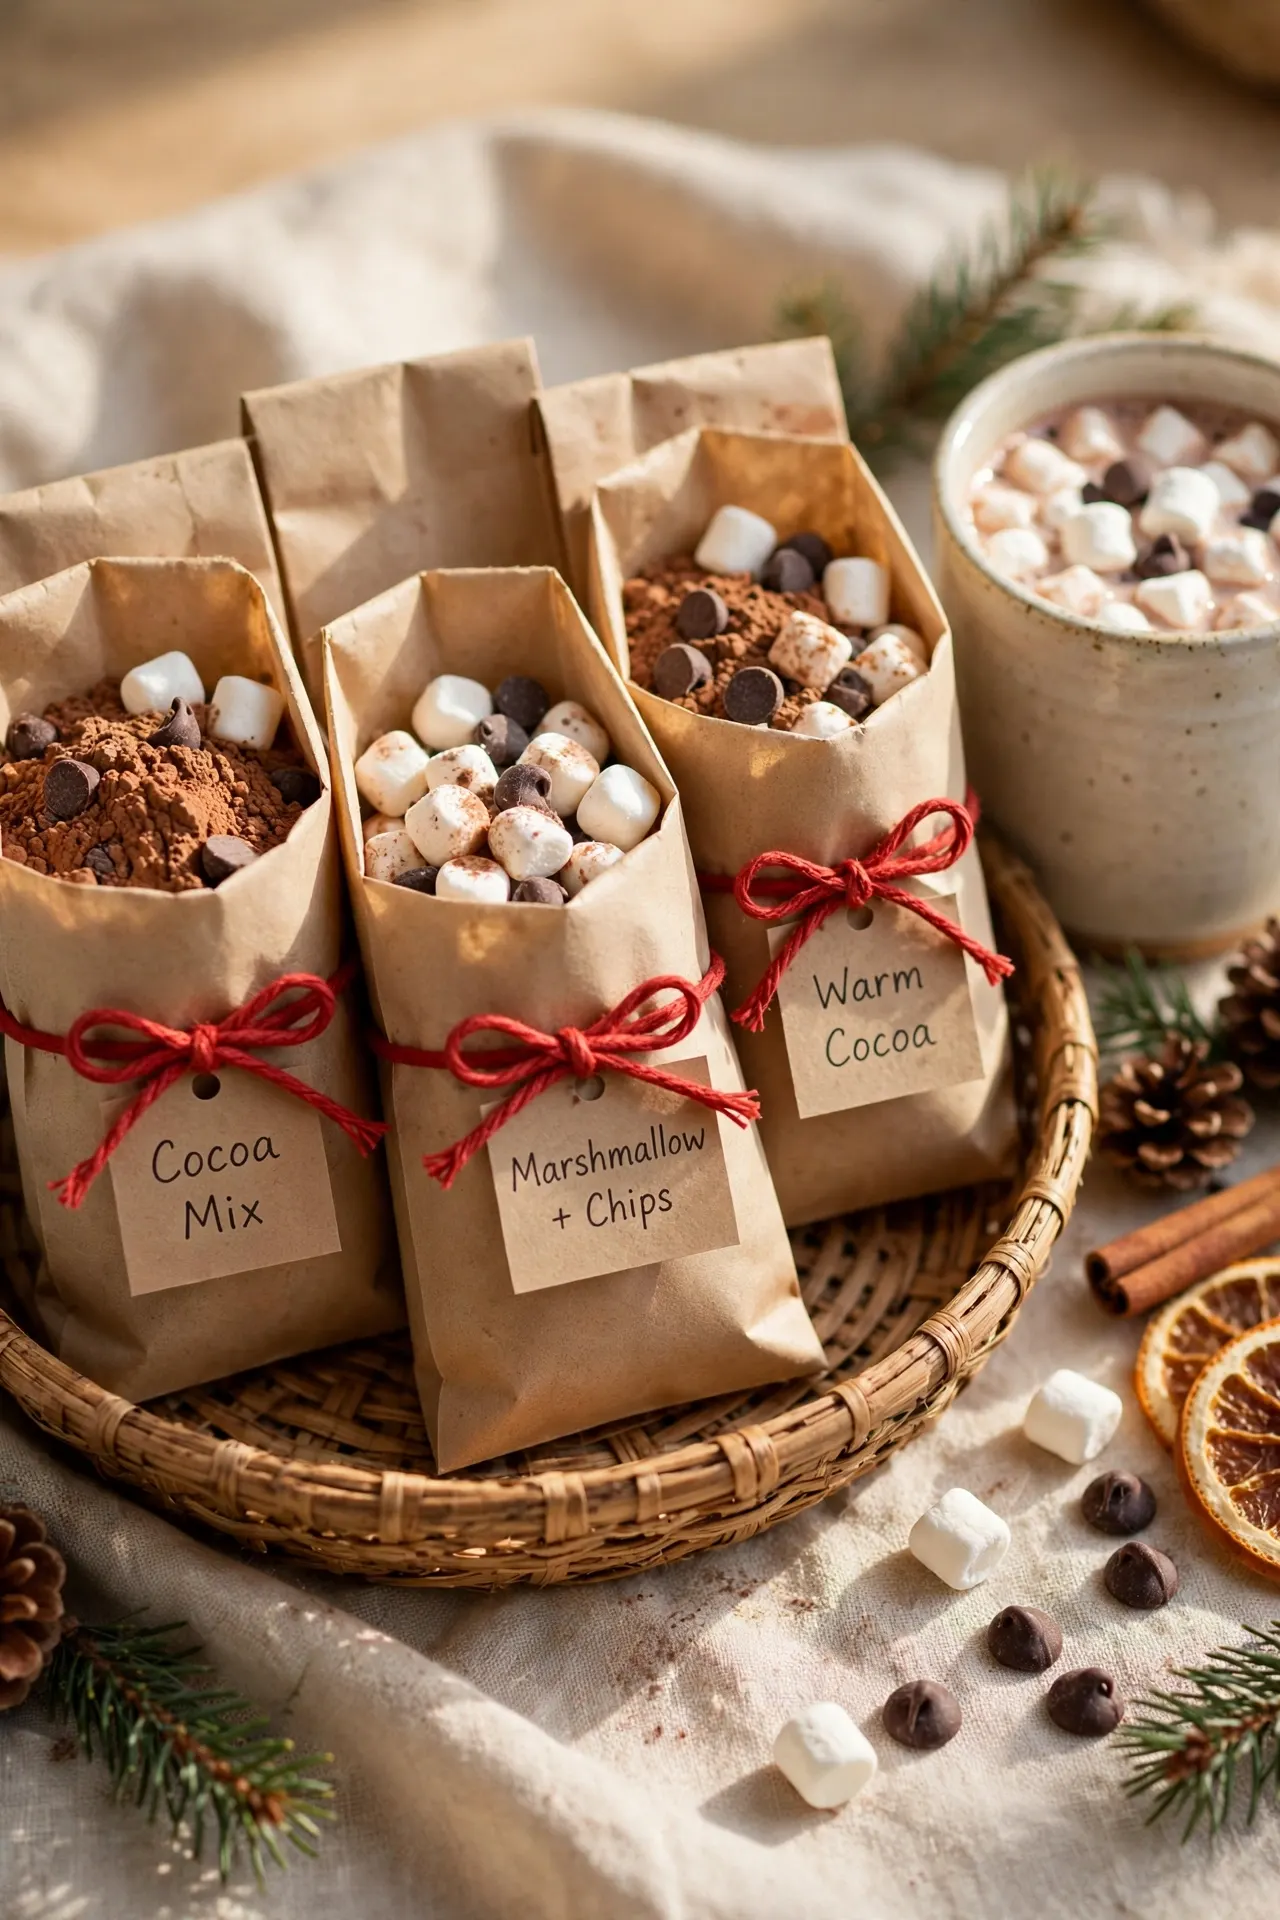
Cost: Low, especially when packed in batches
Prep Time: About 20 minutes
Best For: Guests who enjoy a small take-home treat
Storage: Keep sealed bags in a cool, dry place
Portion cocoa mix into small bags or jars, then add a separate packet of marshmallows or chocolate chips. Include a simple label with serving directions and ingredients. Set the kits near the exit so guests can take one as they leave without crowding the drink station.
Insulated Cocoa Carafe
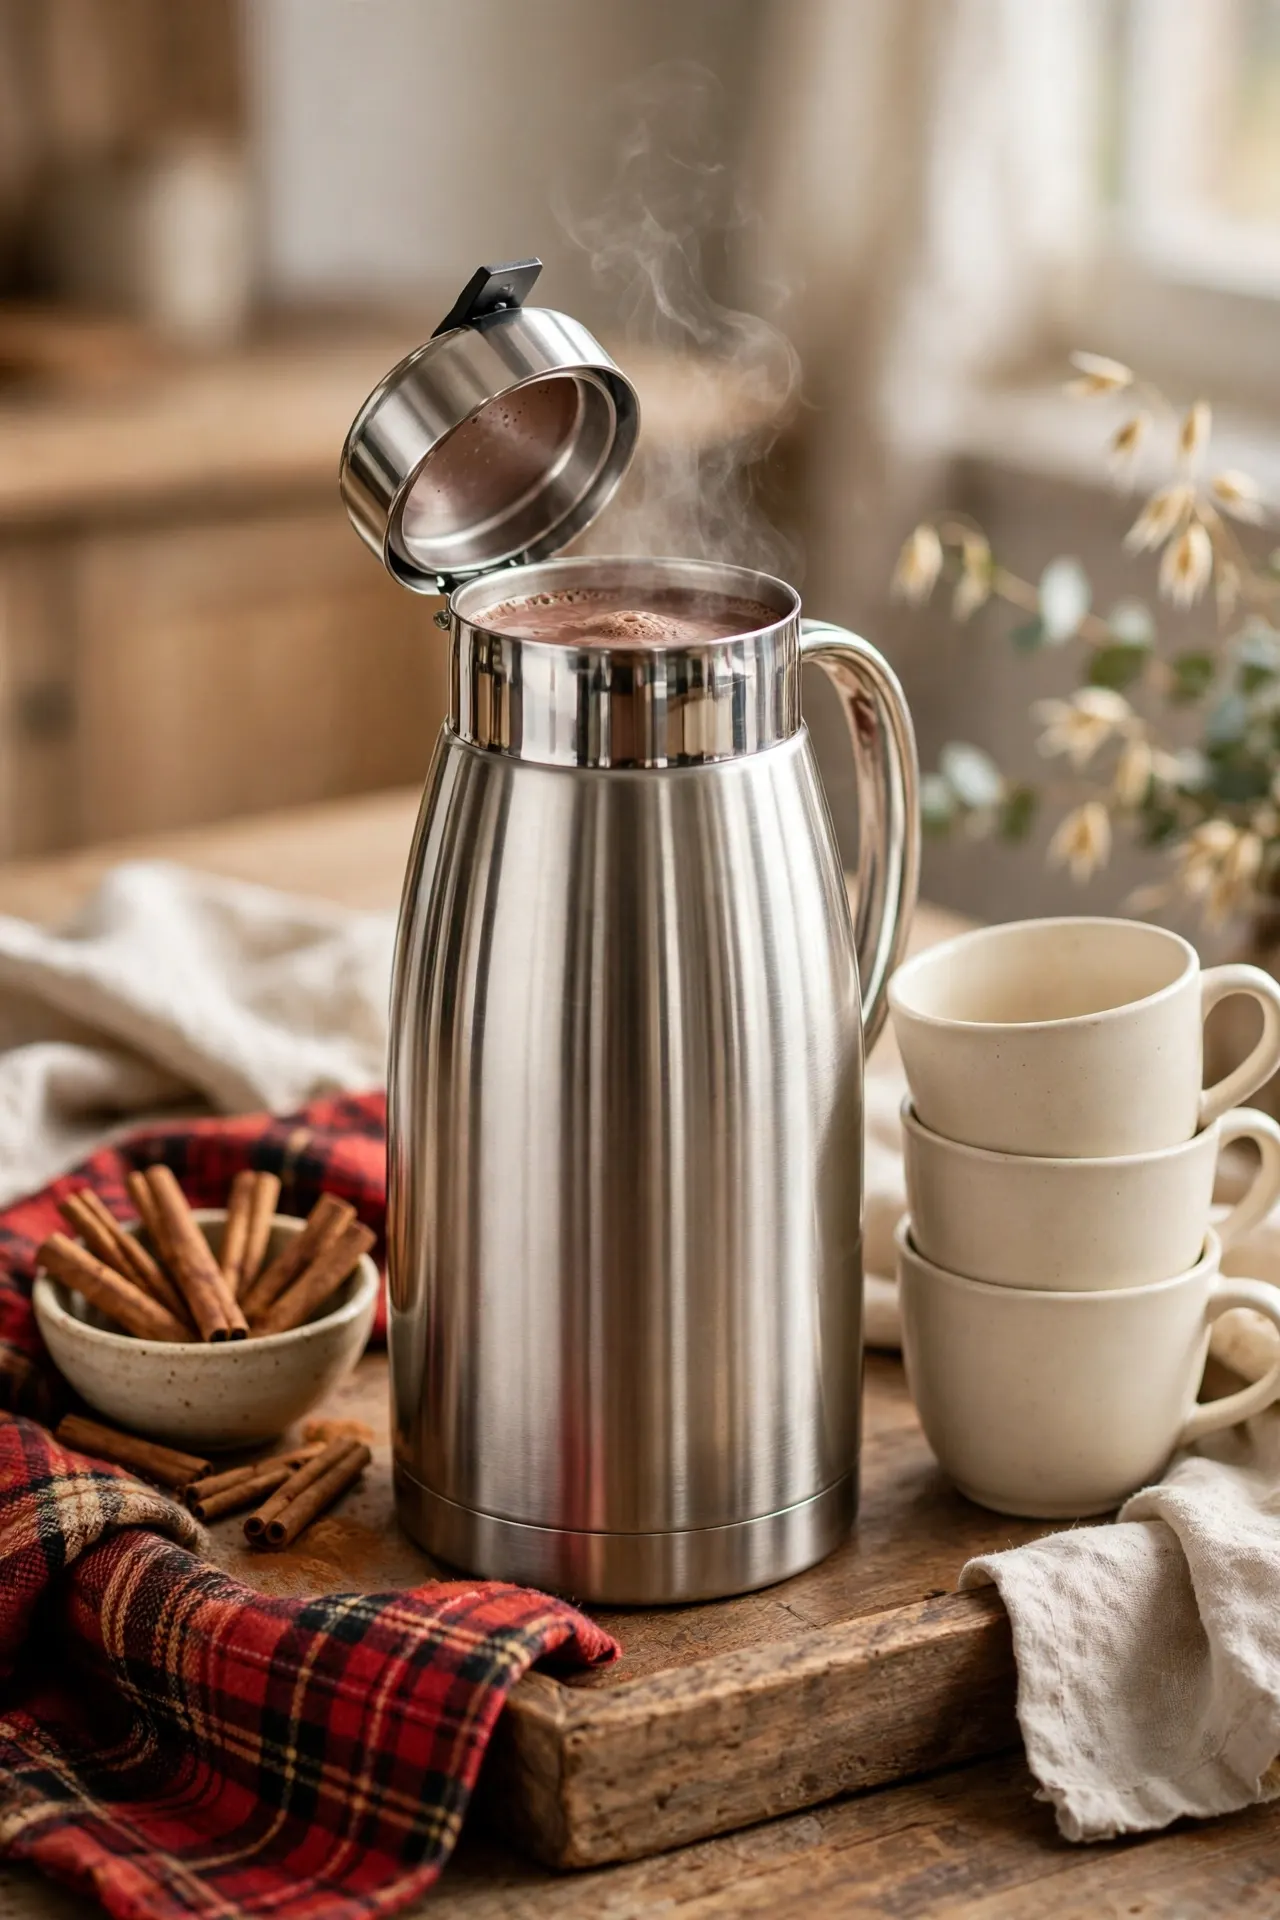
An insulated carafe keeps cocoa warm while freeing the host from constant trips to the stove. Choose a model with a steady pour spout, then place it on a tray beside mugs and napkins.
Preheat the carafe with hot water, empty it, then add freshly prepared cocoa. Label the carafe so guests know what it holds, especially if other drinks are nearby. Set out a small spoon for stirring, and refill before the container gets too low.
Child-Friendly Cocoa Cups

- Choose small, sturdy mugs with easy-to-hold handles.
- Serve cocoa warm, not scalding hot.
- Put toppings in shallow bowls with child-safe spoons.
- Place the station on a stable surface away from hot appliances.
- Ask an adult to help younger children pour.
A kid-friendly setup lets children choose toppings while keeping hot drinks manageable. Fill cups only partway to reduce spills, and keep the cocoa pot under adult supervision. If several children are attending, mark each mug with a name tag so everyone can keep track of their drink.
Dairy-Free Cocoa
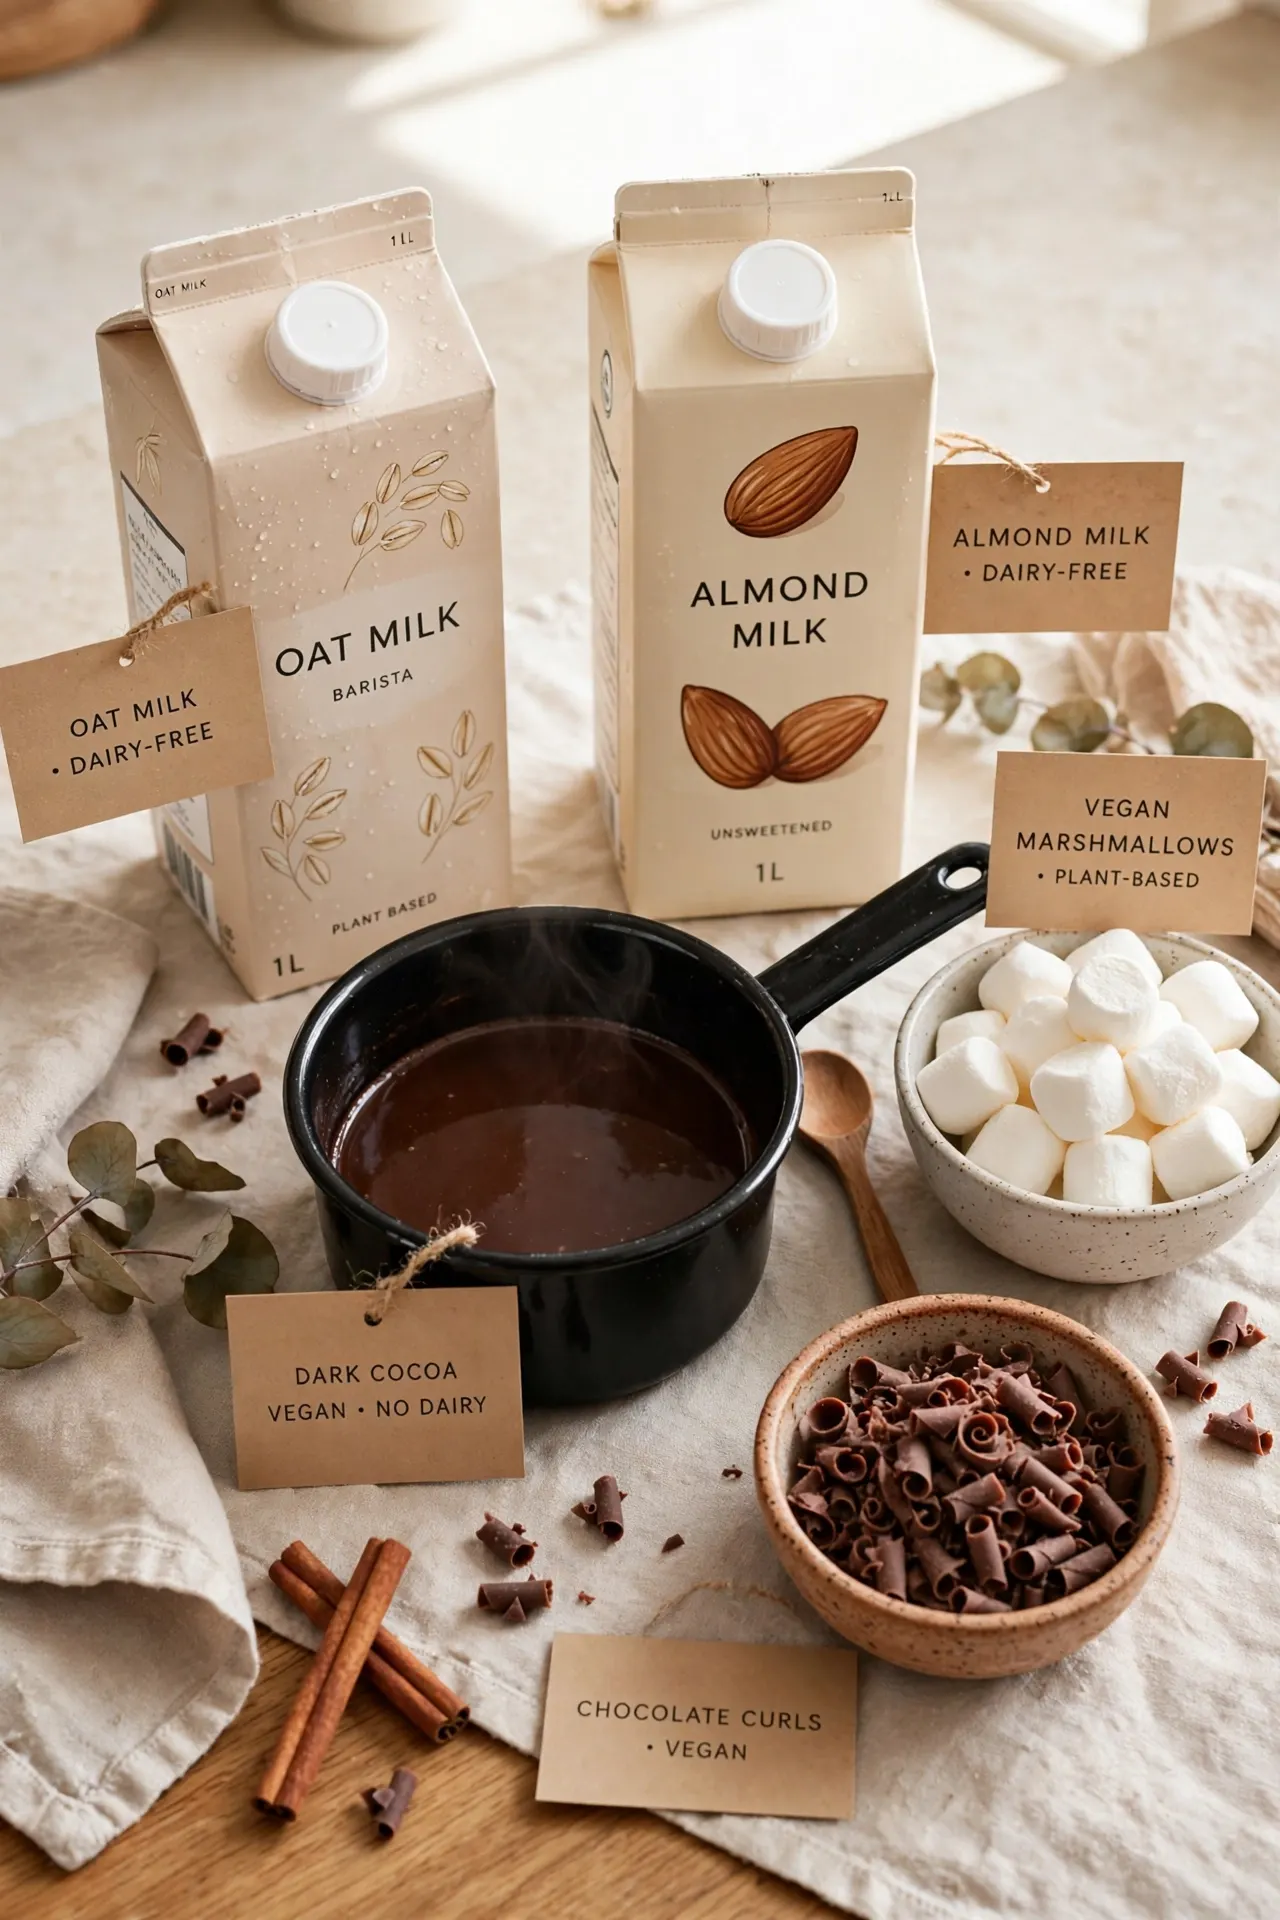
Quick Tip: Offer one or two plant-based milk choices and label them clearly. Check cocoa powder, chocolate, and toppings for dairy ingredients before setting them out.
Separate serving spoons help guests avoid mixing ingredients between bowls. If you are using a shared cocoa pot, prepare a clearly marked dairy-free batch in a clean saucepan or carafe. This small detail makes it easier for guests with dietary needs to serve themselves comfortably.
Window Seat Cocoa Nook

BEFORE: A window seat may sit unused during a gathering, while guests cluster around the kitchen counter for drinks. The room feels less relaxed than it could.
AFTER: A small tray of cocoa and mugs turns the seat into a warm retreat. A blanket and cushions invite guests to pause and enjoy their drinks.
Keep the tray small enough to leave room for guests to sit comfortably. Use lidded mugs if people will be moving between rooms, and keep hot cocoa away from the window edge. A few soft cushions make the nook welcoming without turning it into an overflow storage spot.
Mini S’mores Station
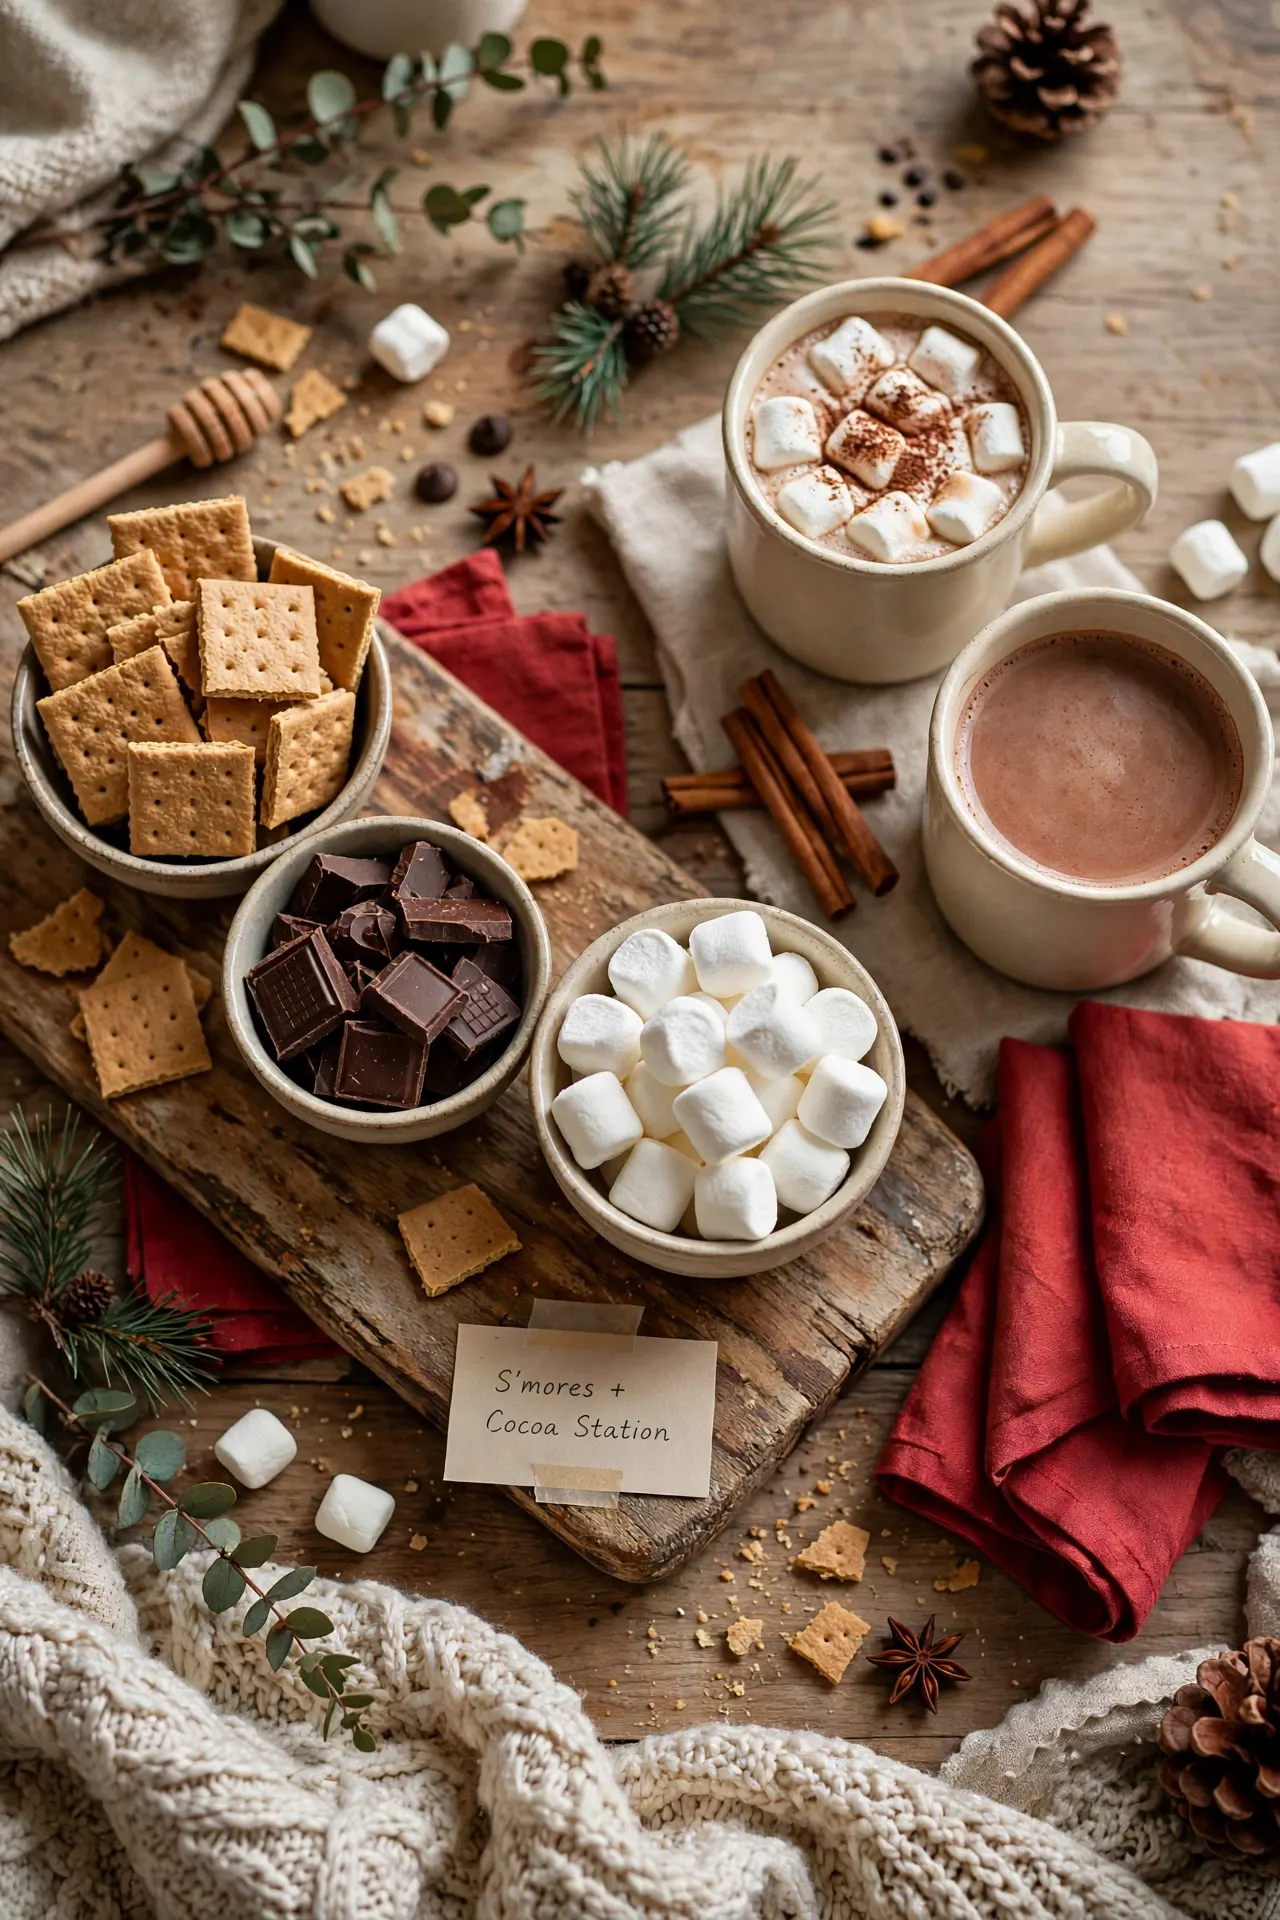
- Set graham crackers, chocolate, and marshmallows in separate bowls.
- Add small tongs or spoons for each ingredient.
- Keep the board beside the cocoa mugs for easy pairing.
- Include a small card with simple assembly directions.
A s’mores station adds a sweet snack option without needing a large dessert table. Use bite-size portions so guests can assemble a treat neatly, and keep ingredients covered until serving. If you plan to toast marshmallows, use a safe, designated method away from paper decor and crowded surfaces.
Wooden Cocoa Crate

A wooden crate groups drink supplies neatly, and the finish changes the mood of the display.
| Natural Wood Crate | Painted Crate | |
| Look | Warm and rustic | Bright and coordinated |
| Best palette | Cream, brown, evergreen | Red, white, or soft blue |
| Practical tip | Add a washable liner | Use a finish safe for indoor decor |
Choose a crate with smooth edges and enough room for mugs to stand securely. Keep heavier supplies at the bottom, and place toppings in sealed jars to prevent spills. If the crate is deep, use a small box inside to keep packets upright and easy to reach.
Cinnamon Stick Garnish

DO
- Offer clean cinnamon sticks as stirrers.
- Set them in a dry cup beside the mugs.
- Pair them with cocoa, whipped cream, or orange slices.
- Refill the cup as guests use them.
DON’T
- Use cinnamon sticks that are damp or crumbling.
- Place them in a container with loose ground spices.
- Leave them beside a hot appliance.
- Let guests reuse a stick between drinks.
Cinnamon sticks add gentle aroma and a simple finishing touch. Keep them dry and separate from other garnishes so guests can pick one up easily. A small cup or narrow jar works well, and a brief label helps guests know the sticks are for stirring.
Fireside Mug Basket
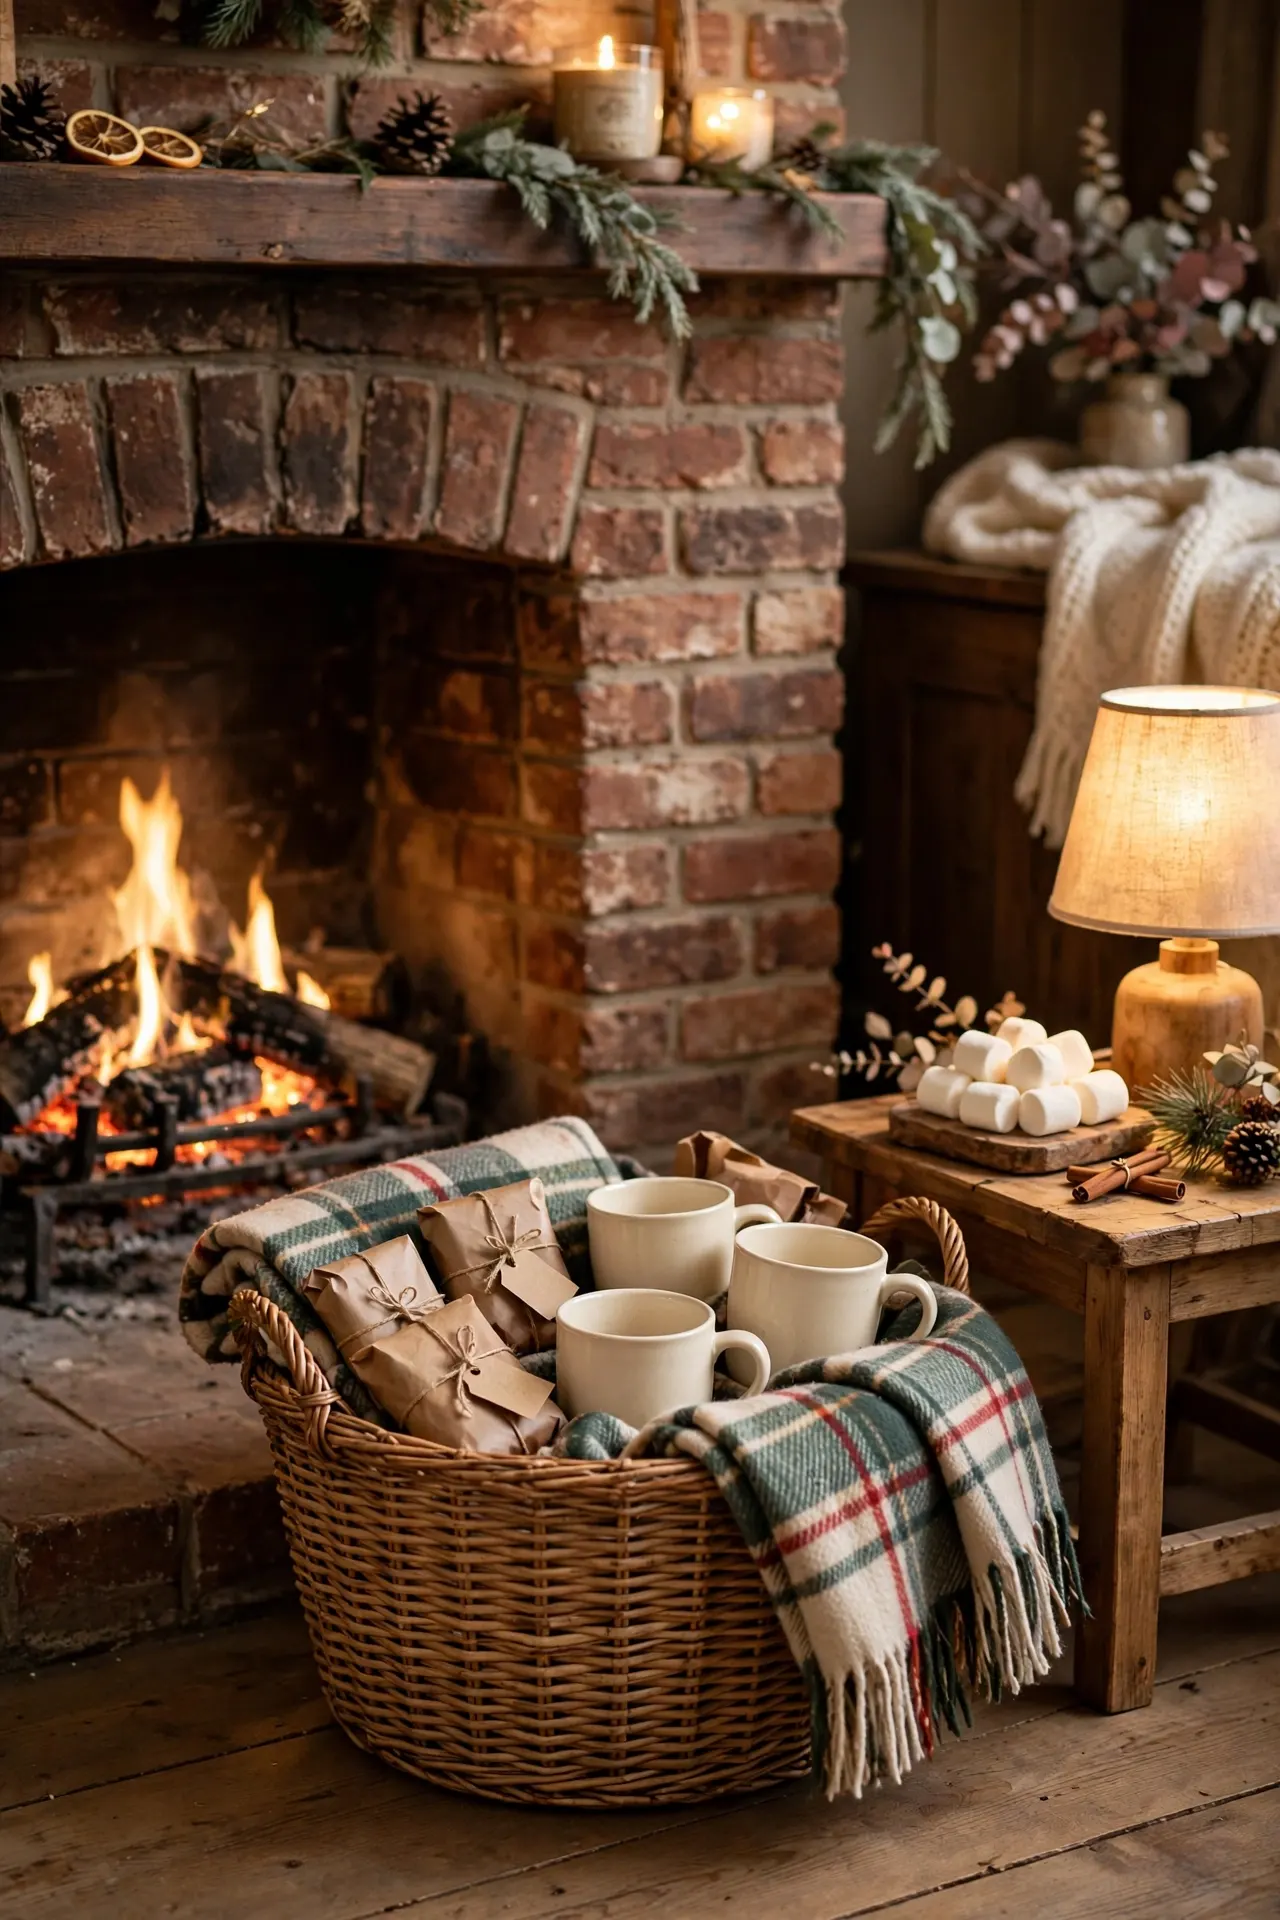
Best For: A living room cocoa corner
Basket: Use a sturdy woven or fabric-lined style
Include: Mugs, wrapped cocoa packets, and napkins
Safety: Keep the basket well away from the fireplace
A mug basket makes it easy to bring drink supplies into the living room without carrying everything by hand. Keep cocoa and toppings on a nearby table, and leave a clear path between the seating and fireplace. Place the basket far enough from heat and sparks to protect its contents. For a complete holiday setup, pair it with these christmas table centerpieces.
Chocolate Dipped Mugs

A chocolate-dipped rim makes each mug feel like part of the treat. Melt chocolate wafers until smooth, dip the outside edge of clean, dry mugs, then roll it lightly through crushed peppermint or sprinkles. Chill the mugs on a lined tray until the coating sets.
Prepare the mugs shortly before guests arrive, and keep them cool until serving so the chocolate stays firm. Offer a plain mug option for anyone who prefers an undecorated rim, and label ingredients such as nuts or dairy. Set the mugs out on a tray to catch loose sprinkles.
Conclusion
A welcoming cocoa station can be as simple as warm drinks, favorite toppings, and a spot where guests can serve themselves. Choose hot cocoa bar ideas that suit your space, then add details that make the setup feel personal. Keep cups easy to reach, label toppings clearly, and refill small bowls as needed. Save this article on Pinterest so you can revisit the ideas before your next gathering. Try one setup at home, then share the article with a friend who enjoys hosting. A few thoughtful touches can make sharing a warm mug even more memorable.