22 Halloween Crafts for Children: Joyful Project Ideas
Little hands love turning simple supplies into Halloween characters.
A few scraps of paper, paint, and glue can make a memorable afternoon.
These halloween crafts for children range from paper plate ghosts and tube bats to window silhouettes and keepsake art. Most use supplies found at home, so families can choose a quick activity without planning a big shopping trip. Pick projects that match the child’s age and attention span, and prepare cutting or gluing steps ahead of time when needed. Washable materials make cleanup easier, while a clear workspace helps everyone focus on creating. Whether you’re crafting with one child or leading a group, these ideas offer simple ways to add handmade fun to the Halloween season.
Paper Plate Ghosts
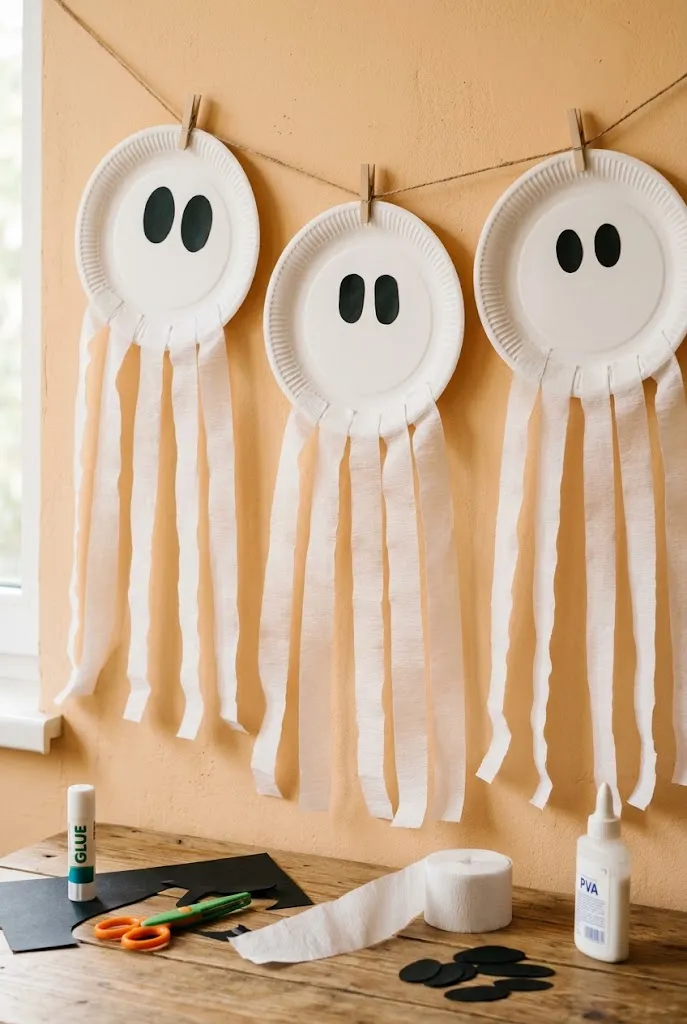
Paper plate ghosts turn a few inexpensive supplies into cheerful Halloween decorations. Paint a plate white, then add two oval eyes and a wavy mouth with black paper or washable marker. Cut crepe paper into strips and tape them along the lower edge to create a floating fringe.
These halloween crafts for children are simple enough for a short afternoon activity, and older kids can help cut the paper while younger children decorate the plates. Add a loop of string to hang each ghost, or line several across a window for a playful handmade garland.
Toilet Tube Bats
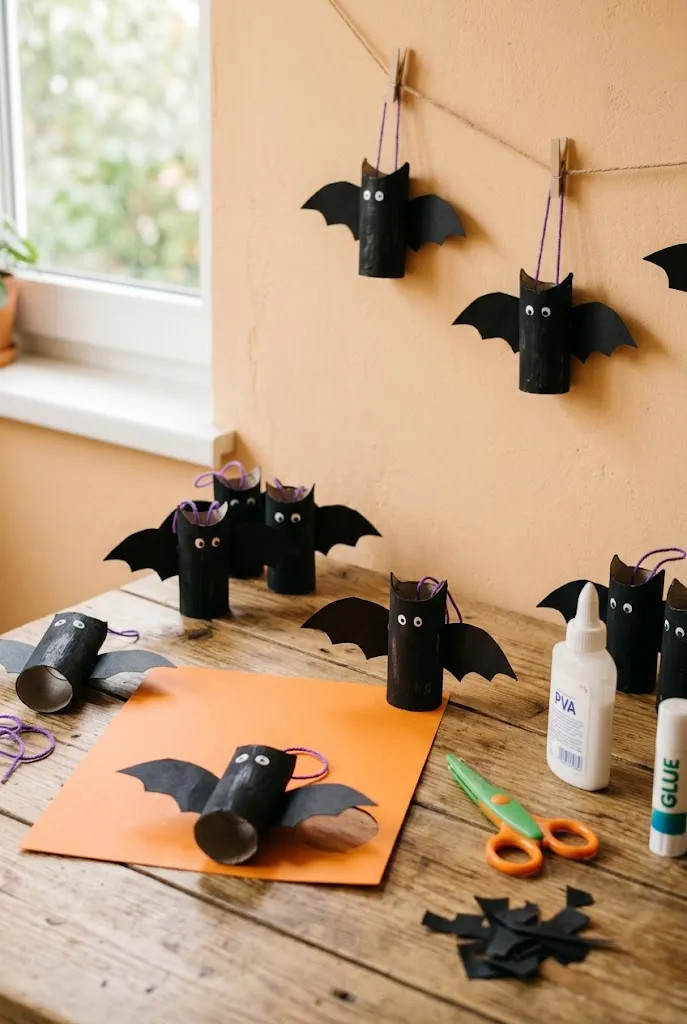
- Flatten an empty cardboard tube and fold the top edges inward to shape ears.
- Cut two simple wings from black construction paper.
- Glue on paper eyes and draw a small smile with a white marker.
- Add a string loop to hang the bat or stand it on a shelf.
Cardboard tube bats give recycled materials a fun second use. Keep the wing shapes simple so children can cut them safely, or prepare them in advance for younger crafters. A small group looks charming on a windowsill, and each child can personalize a bat with a different expression.
Pumpkin Handprint Art
Quick Tip: Use washable, non-toxic paint and cover the work surface before starting. Keep a damp cloth nearby for quick cleanup, and let each print dry fully before adding details.
Handprint pumpkins make a sweet keepsake and give children a chance to add their own colors. Press an orange-painted hand onto cardstock, fingers pointing down, then add a green stem and a curled paper vine. Write the child’s name and date on the back before displaying it. For more pumpkin inspiration, explore these pumpkin theme ideas for a cozy fall celebration.
Popsicle Stick Haunted House
BEFORE: Plain craft sticks and paper scraps can feel like a pile of supplies without a clear plan. Younger children may need help lining up the pieces.
AFTER: A simple stick frame becomes a little haunted house. Add a paper door, crooked windows, and a friendly ghost for a playful finish.
Glue the frame onto cardboard before decorating so it stays sturdy. Children can choose their own colors and add paper bats or a moon. Let the glue dry completely before standing the house on a shelf or using it in a Halloween display.
Tissue Paper Pumpkins
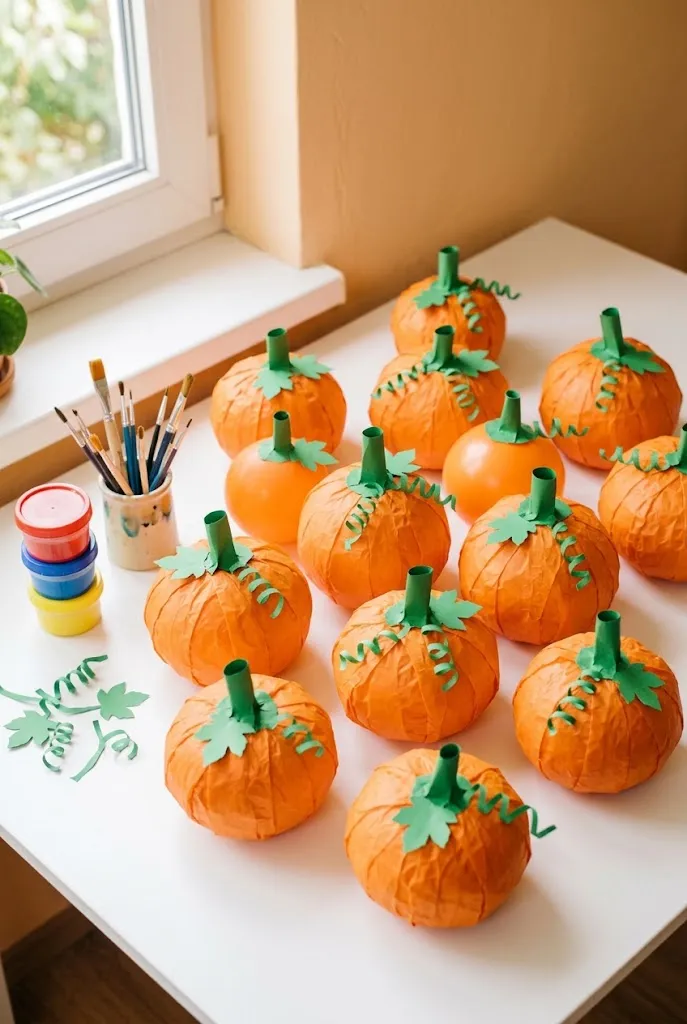
- Tear orange tissue paper into small pieces.
- Blow up a small balloon and set it in a bowl to keep it steady.
- Brush a thin layer of child-safe glue over the balloon and layer on tissue.
- Let it dry fully, then pop the balloon and add a paper stem.
Layered tissue gives each pumpkin a light, crinkled texture. Use several orange shades for a mottled look, or keep the color uniform for a tidy display. An adult should handle the balloon popping, and a small paper leaf can hide the opening at the top.
Cotton Ball Ghosts
| Craft option | Texture | Best for |
| Raised cotton ghost | Soft and puffy | A tactile decoration |
| Flat ghost collage | Smooth and easy to store | A card or scrapbook page |
| Hanging ghost | Light and dimensional | A window or doorway display |
Cotton ball ghosts are easy to adapt for different ages and skill levels. Younger children can fill in a simple ghost outline, while older kids can shape a hanging figure with paper and string. Use a small amount of glue so the cotton stays fluffy instead of flattening.
Paper Bag Luminaries
DO:
- Use clean, unprinted paper bags.
- Punch simple shapes before adding the light.
- Place a battery tea light inside each bag.
- Set luminaries on a dry, level surface.
DON’T:
- Use real candles inside paper bags.
- Place bags near curtains or other flammable items.
- Leave the lights where someone could trip over them.
Paper bag luminaries create a cozy Halloween glow with simple supplies. Children can decorate the bags with markers or cutout shapes, while an adult handles hole punches if needed. Battery lights make the finished display safer for a windowsill or covered porch.
Pinecone Spiders

Cost: Low | Time: About 20 minutes
Best for: Older children with adult help | Materials: Pinecones, pipe cleaners, paper eyes
Pinecone spiders bring natural texture to a playful Halloween project. Bend pipe cleaners into short legs, then attach them to the pinecone with glue. Use paper eyes for a simple face, and supervise closely when children handle small pieces or use scissors.
Monster Pencil Holders
An empty paper cup can become a silly monster desk holder. Wrap it in colored paper, then add paper eyes, a zigzag mouth, and yarn hair. Choose washable markers and glue dots so children can decorate without handling hot tools.
These halloween crafts for children turn an everyday supply holder into seasonal desk decor. Cover sharp can edges with tape if using a recycled tin, or choose cups instead. Supervise scissor use, and make several monsters in different colors for pencils, paintbrushes, or classroom supplies after Halloween.
Paper Plate Webs
- Cut a few wide notches around a black paper plate.
- Punch holes near the edge before children begin weaving.
- Thread white yarn across the plate to form a web.
- Add a paper spider with a glue stick.
Yarn weaving gives children a hands-on way to make a web without complicated materials. Prepare the plate edges in advance for younger crafters, and keep the yarn loose enough to pass through easily. Hang finished webs on a wall or tape them to a window.
Leaf Monster Faces

Quick Tip: Press leaves inside a heavy book for a day so they lie flat. Use paper eyes and drawn mouths instead of small plastic pieces for younger children.
Leaf monsters combine an outdoor nature hunt with a simple art activity. Let children arrange the leaves into funny faces before gluing anything down, so they can change the design as they go. Frame the finished cardstock or hang it on the fridge for seasonal display. Extend the nature theme outdoors with more garden projects like these DIY bird bath ideas.
Witch Hat Bookmarks
BEFORE: A plain paper bookmark can be easy to lose among school supplies. It may not feel special enough for a Halloween reading corner.
AFTER: A pointed witch hat bookmark adds a seasonal detail to story time. A paper corner slips over the page and stays easy to find.
Cut two matching triangles and a small rectangle from cardstock, then glue them into a simple hat shape. Adults can pre-cut pieces for younger children. Add a paper band and a few drawn stars, then let the glue dry before tucking the bookmark into a book.
Clothespin Bats
- Paint wooden clothespins black and let them dry.
- Cut bat wings from black paper or cardstock.
- Glue the wings to the sides of each clothespin.
- Add small paper eyes and let all pieces dry.
Clip-on bats can decorate treat bags, gift tags, or a line of string across a shelf. Adults can prepare the wing shapes ahead of time, leaving children to paint and assemble. Use paper eyes instead of tiny plastic pieces if younger children will handle the finished bats. They also make charming homemade party decor for a Halloween get-together.
Egg Carton Monsters
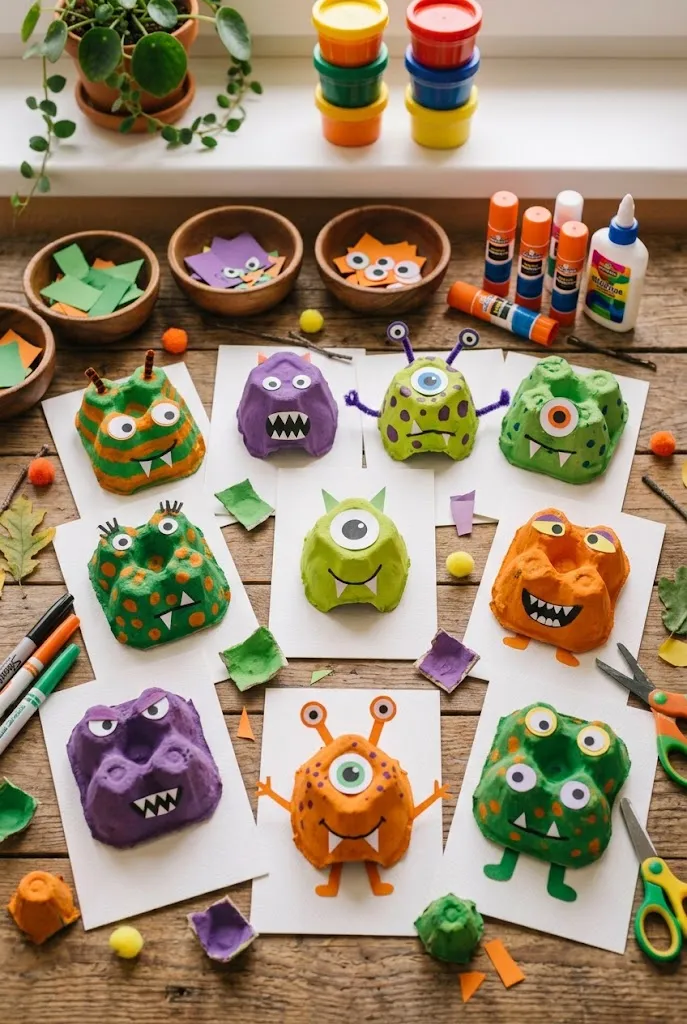
| Decorating method | Materials | Result |
| Painted monster | Washable paint and markers | Bright, smooth color |
| Paper collage monster | Scrap paper and glue stick | Layered shapes and patterns |
| Mixed details | Paint, paper, and yarn | More texture and expression |
Egg carton monsters turn clean recycled packaging into small figures for a shelf or windowsill. Cut the cups apart before the activity, then let children choose a face and color scheme. Add paper teeth or yarn hair, and allow painted pieces to dry before displaying them.
Ghost Garland
DO:
- Cut ghosts from sturdy white paper or cardstock.
- Draw faces with washable markers.
- Attach each ghost to a length of orange twine.
- Space the shapes evenly for a neat garland.
DON’T:
- Hang the string near candles or a heater.
- Use sharp tacks where children can reach them.
- Pull the twine so tightly that paper shapes tear.
A ghost garland is an easy group project because each child can decorate one or two shapes. Tape the finished string to a wall or doorway, keeping it clear of walkways. Store the ghosts flat in an envelope so they can be reused next Halloween. It doubles as festive party decorations for a Halloween celebration.
Pom-Pom Pumpkin Patch
Cost: Low | Time: About 20 minutes
Best for: Older children with adult help | Supplies: Orange yarn, cardboard, green felt
Yarn pumpkins add a soft texture to a fall display. Children can wrap yarn around a cardboard ring, then tie and trim it to form a pom-pom. Add a felt stem with glue, and arrange the finished pumpkins on a shelf or in a small tray.
Paper Lantern Monsters

Folded paper lanterns give kids a chance to practice simple cuts and patterns. Start with a sheet of orange or purple construction paper, fold it in half, and make short cuts from the folded edge without cutting through the end. Unfold it into a curved lantern shape.
Secure the ends with tape, add paper handles, and decorate with bats or moons. These halloween crafts for children work well for a classroom party or a quiet afternoon at home. Use battery tea lights only, keep the paper away from heat, and have an adult guide scissor use.
Halloween Story Stones
- Wash and dry smooth stones before decorating.
- Paint a simple character or symbol on each stone.
- Let each layer dry before adding another detail.
- Use the stones to make up a Halloween story together.
Story stones turn a small art project into a pretend-play activity. Children can draw a character, then take turns choosing stones to build a silly Halloween tale. Keep the finished stones indoors, and choose pieces too large to pose a choking risk for young children.
Black Cat Puppets
Cost: Low | Time: About 20 minutes
Best for: Pretend play | Skill level: Beginner
Paper bag cats turn a few cutouts into characters children can use for Halloween stories. Glue on paper ears, eyes, and whiskers, then draw a nose and mouth with washable markers. Let the faces dry before children slip their hands inside and start a puppet show.
Salt Dough Pumpkins

Salt dough lets children shape a small pumpkin ornament by hand or with a cookie cutter. Mix the dough, roll it out, and press in simple lines for pumpkin ridges. Add a small hole at the top if you plan to hang the finished piece later.
An adult should handle baking and check the ornaments as they dry, following a trusted salt dough recipe. Once completely cool, children can paint the pumpkins and add ribbon through the hole. Label each one with a name or year for a keepsake.
Halloween Window Silhouettes
- Draw simple shapes on black construction paper.
- Cut out the silhouettes, or prepare them ahead for younger children.
- Attach them to the window with removable tape.
- Arrange shapes at different heights for a lively scene.
Window silhouettes create a bold Halloween display with little mess and no paint on the glass. Use removable tape and test it on a small corner first, especially on delicate window frames. Children can choose the shapes and plan the arrangement before anything is attached.
Button Pumpkin Art
Cost: Low if using spare buttons | Time: About 25 minutes
Best for: Older children with adult supervision | Alternative: Paper circles for younger kids
Button pumpkin art adds a raised, tactile finish to a simple paper shape. Draw the outline first, then let children glue buttons inside it and add a paper stem. Use larger buttons for easier handling, supervise closely, and let the glue dry fully before displaying the artwork.
CONCLUSION
A homemade ghost, a silly monster, or a paper pumpkin can turn an ordinary afternoon into a seasonal memory. These halloween crafts for children offer easy projects to make with supplies you may already have. Choose one that suits your child’s age, set out the materials, and enjoy creating together. Save this article on Pinterest so you can revisit the ideas, and share it with a parent, caregiver, or teacher planning a Halloween activity. Each finished project adds a little handmade fun to the season, so pick a favorite and get started.
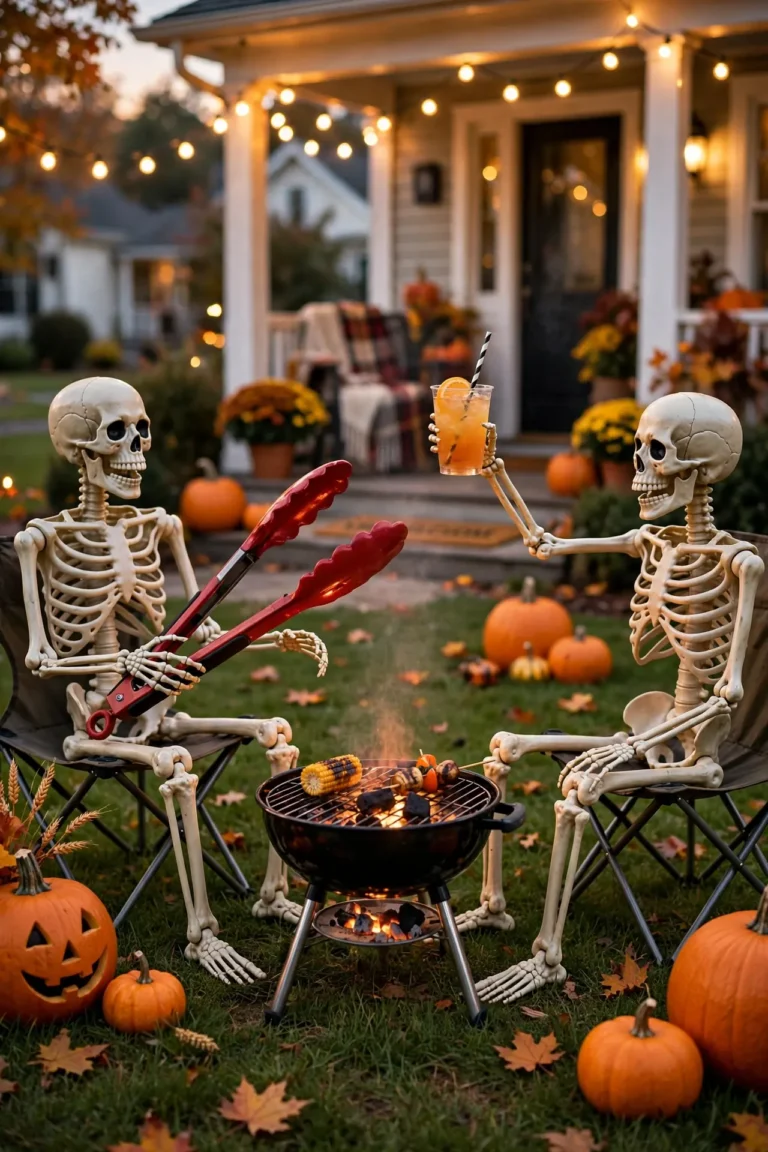
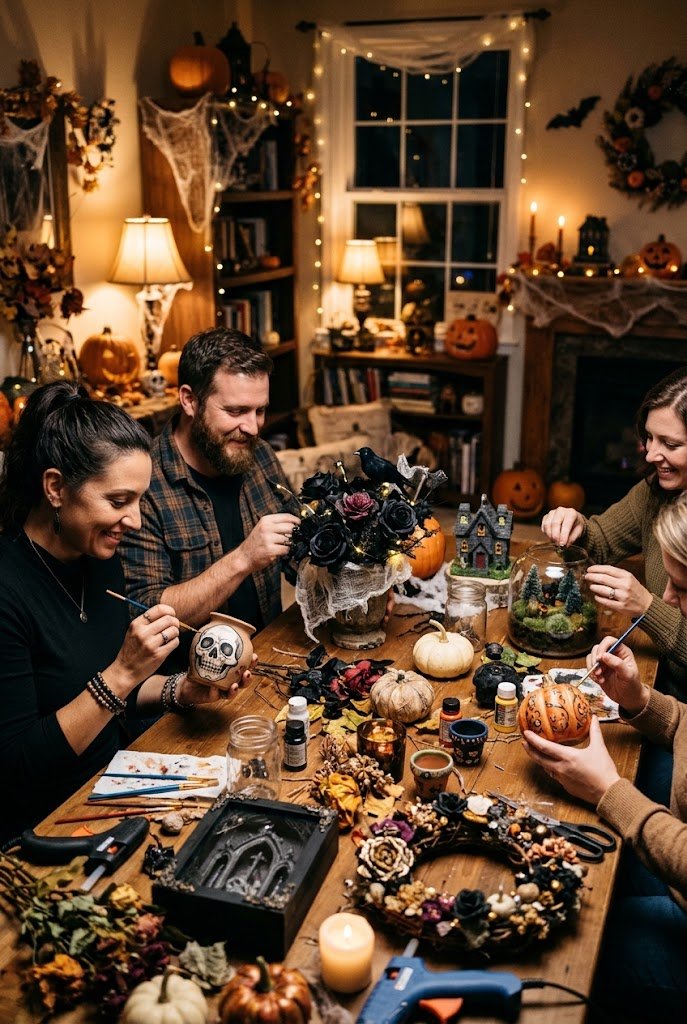
If your Halloween fun is heading outside, these funny outdoor Halloween decorations are a playful way to carry the giggles into the yard. And when the grown-ups want a craft session of their own, these Halloween crafts for adults are made for a spooktacular night in.
5 Comments