21 Mini Pumpkin Painting Ideas for Cute and Creative Fall Decor
Small pumpkins can bring a lovely touch of fall color to a shelf, table, or mantel. With a little paint, each one can become a tiny piece of seasonal decor.
These mini pumpkin painting ideas range from soft ombre shades and delicate flowers to playful faces and crisp patterns. Many use basic craft paint and simple tools, so beginners can join in without needing advanced art skills. Before you start, cover your work surface and let each layer dry fully. That small pause helps prevent smudges and keeps the finished designs neat. Choose a palette that suits your home, or mix a few styles for a cheerful autumn display. There are ideas here for a cozy centerpiece, a craft afternoon with family, or a quick seasonal refresh. For a styled table, browse these fall table centerpiece ideas.
Pastel Ombre Pumpkins

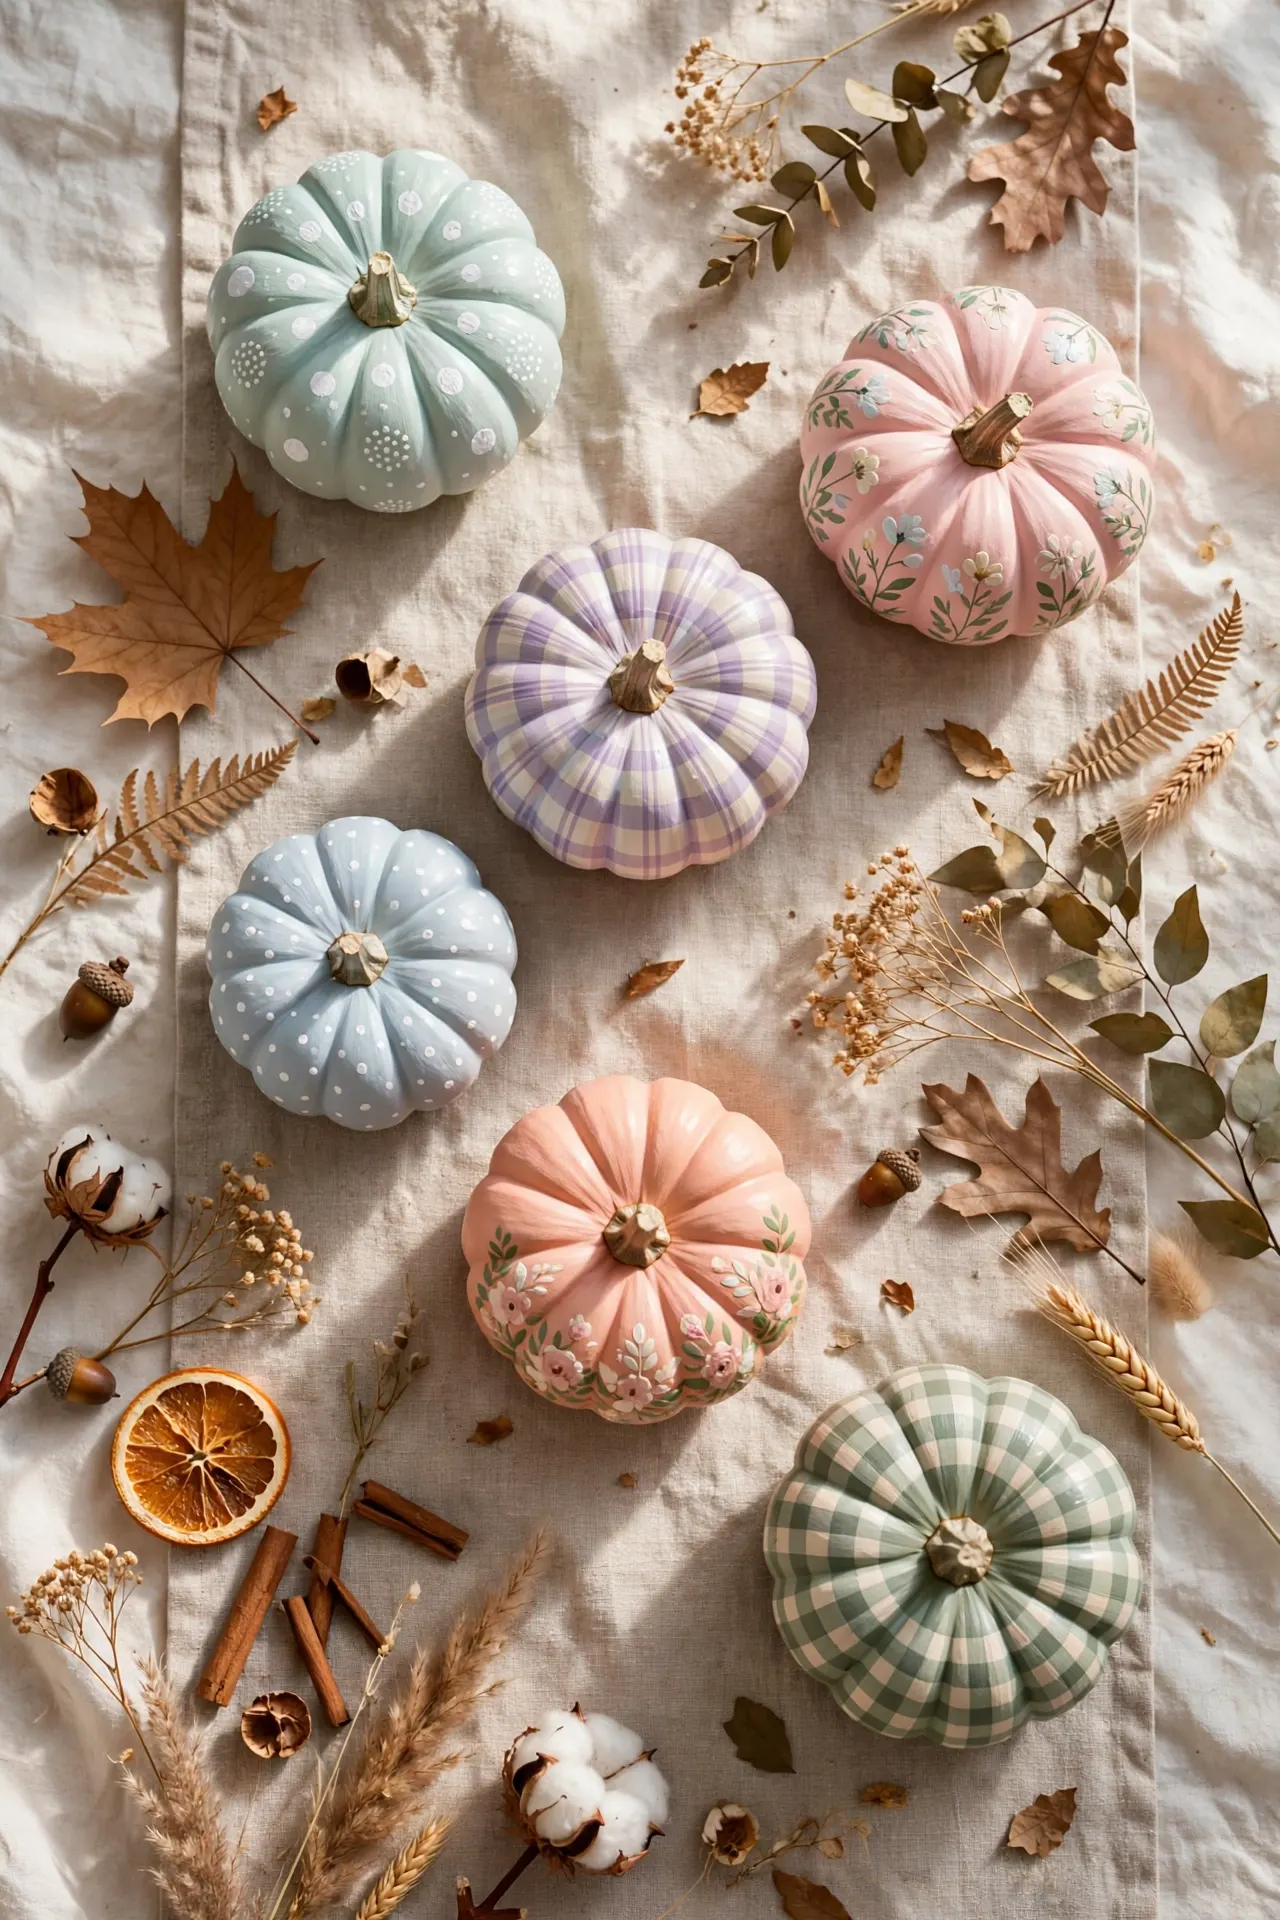
Soft color turns a tiny pumpkin into a sweet seasonal accent. These mini pumpkin painting ideas use a simple ombre effect that looks lovely on a mantel, bookshelf, or autumn tablescape. Choose two or three shades from the same color family so the transition feels gentle instead of busy.
Paint the lightest shade near the stem, then blend a deeper tone toward the base while the paint is still slightly wet. A small makeup sponge can soften the meeting point between colors. Let each pumpkin dry completely before arranging it with candles or fabric, since fresh paint can pick up lint and marks.
Playful Polka Dots

- Start with a cheerful base. Paint each pumpkin cream, blush, or muted sage.
- Use a round brush or cotton swab to make dots in varied sizes.
- Space the dots loosely so the pumpkin’s shape stays visible.
- Repeat two or three colors across the group for a coordinated display.
Polka dots are forgiving, so small differences in size make the design feel handmade rather than uneven. Let the base coat dry first, then rotate the pumpkin as you work to keep the pattern balanced. Pair a few dotted pumpkins with plain ones for a display that feels lively but not crowded.
Tiny Floral Motifs
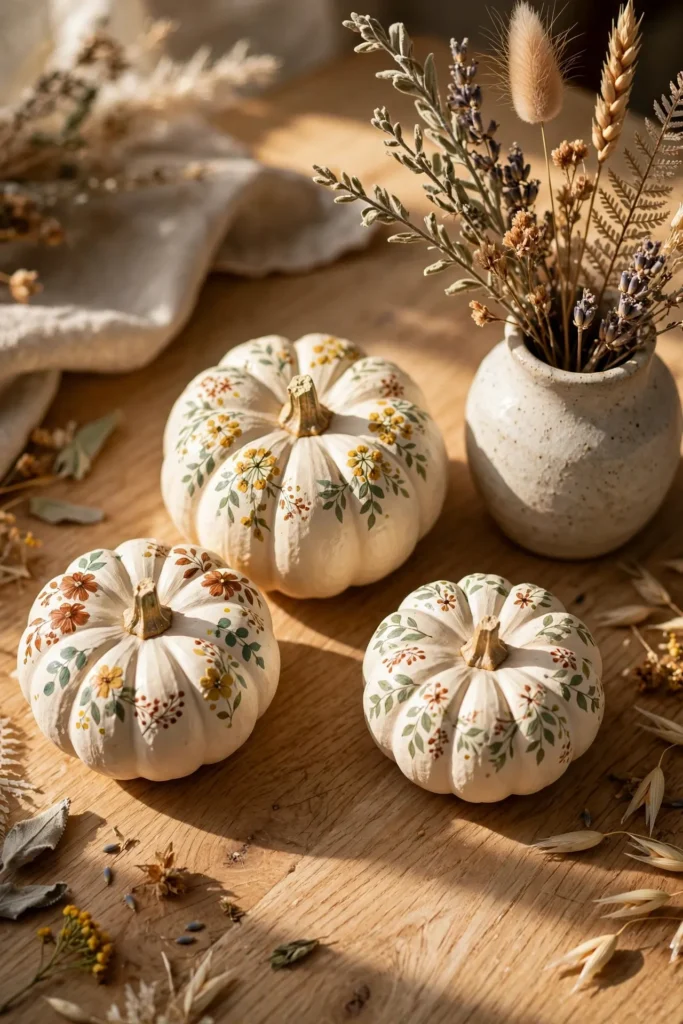
Quick Tip: Use a fine detail brush and test each flower on paper before painting the pumpkin. Keep the petals small so the curved surface does not distort the design.
Tiny blossoms bring a gentle, handmade touch to neutral fall decorating. Paint a few flowers near the top and let the natural ridges guide their placement. A simple green stem or leaf between blooms adds contrast, while leaving some of the base color visible keeps the pattern light and balanced.
Metallic Stem Accents

BEFORE: Plain mini pumpkins can blend into a larger fall display. Their natural stems may also look dull beside polished trays or candleholders.
AFTER: A touch of metallic paint makes each stem a small focal point. The pumpkins still feel natural, but now connect with brass, gold, or warm wood accents nearby.
Use a small detail brush and apply paint only to the stem, keeping the body matte for contrast. Metallic paint can show brush marks, so use thin coats and let each layer dry before adding another. This subtle finish works especially well when several pumpkins share a table or mantel.
Checkerboard Patterns
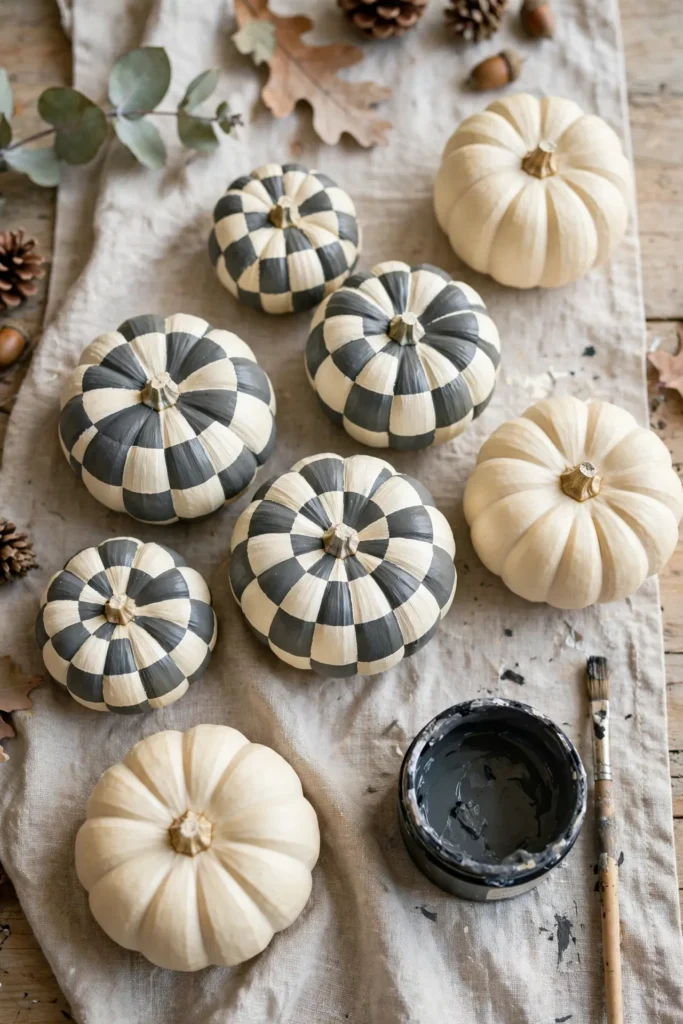
- Choose two contrasting colors. Cream and charcoal create a classic look, while rust and pale pink feel softer.
- Lightly sketch a grid with pencil, following the pumpkin’s ridges.
- Paint alternating squares with a small flat brush.
- Let the pattern dry before turning the pumpkin to finish hidden areas.
A checkerboard design gives a small pumpkin a bold graphic look that stands out among natural textures. Keep the squares slightly imperfect rather than forcing them to line up across every ridge. For easier painting, use fewer, larger blocks and rotate the pumpkin as each section dries.
Whimsical Faces
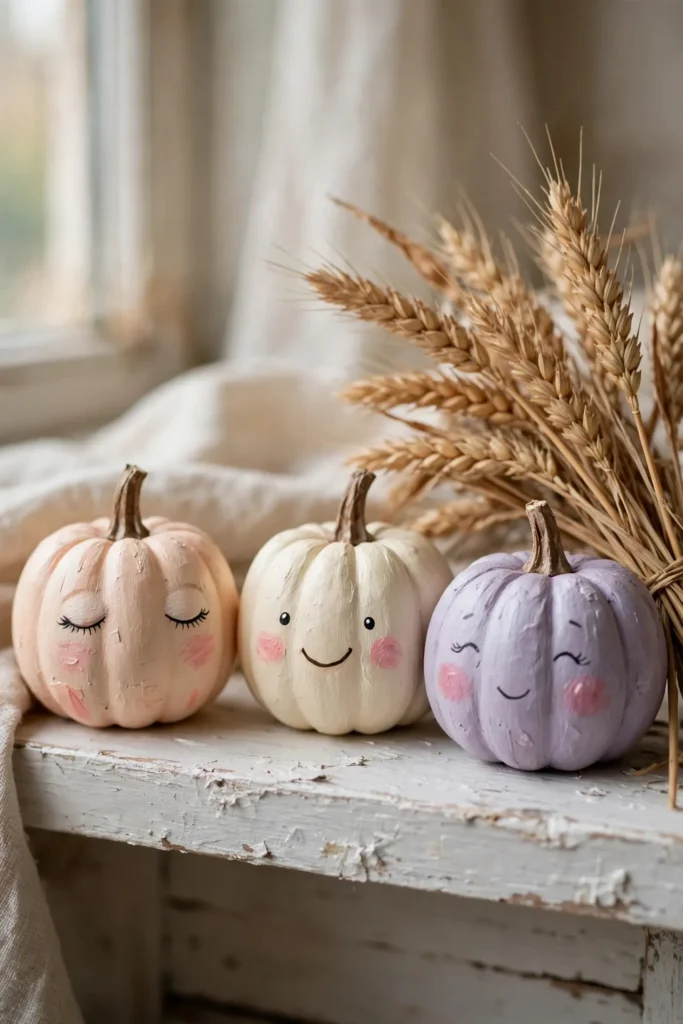
| Simple Faces | Detailed Faces | |
| Design | Two eyes and a small smile | Add brows, cheeks, or lashes |
| Tools | Fine marker or small brush | Fine brushes and several paint colors |
| Time | Quick to complete | Needs more careful layering |
| Best for | A coordinated pumpkin group | One standout display piece |
A few expressive details can give each pumpkin its own personality. Sketch the face lightly before painting, and keep features small so they follow the curved surface. For a matching set, repeat the same palette while changing the expressions. Let the paint dry fully before placing the pumpkins where little hands may reach them.
Rainbow Arch Stripes
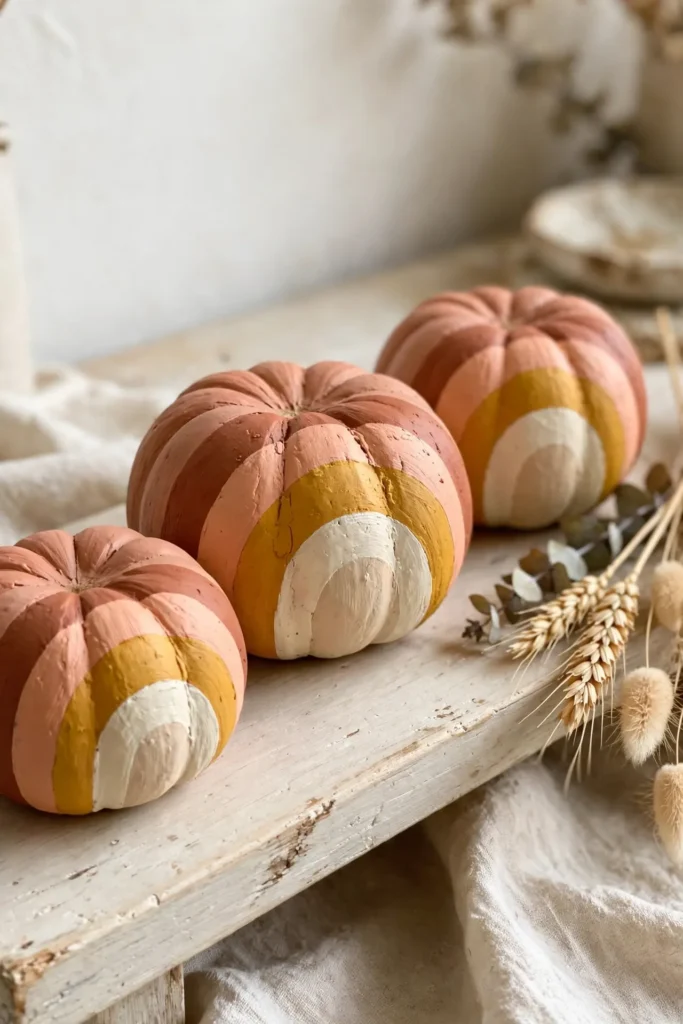
DO:
- Paint a light base coat so the arches stand out.
- Use a thin brush to sketch curved bands before filling them.
- Choose three or four colors that work well together.
DON’T:
- Make each stripe too wide for the pumpkin’s small surface.
- Rush the drying time between colors.
- Press hard with the brush over the ridges.
Curved bands look especially charming when they follow the pumpkin’s natural shape. Start near the stem and work downward, leaving narrow spaces between colors for a clean layered effect. If the lines wobble slightly, refine them with a fine brush once the paint is dry.
Speckled Terrazzo

Cost: Low, using leftover craft paint.
Time: About one hour, including drying.
Skill Level: Beginner friendly.
Best For: A modern, neutral fall display.
A speckled finish gives each pumpkin a subtle pattern without requiring precise brushwork. Dip a stiff brush into a small amount of paint, then flick it gently over the surface while holding the pumpkin over scrap paper. Use just a few colors, and allow each shade to dry before adding another.
Mushroom Cap Pumpkins
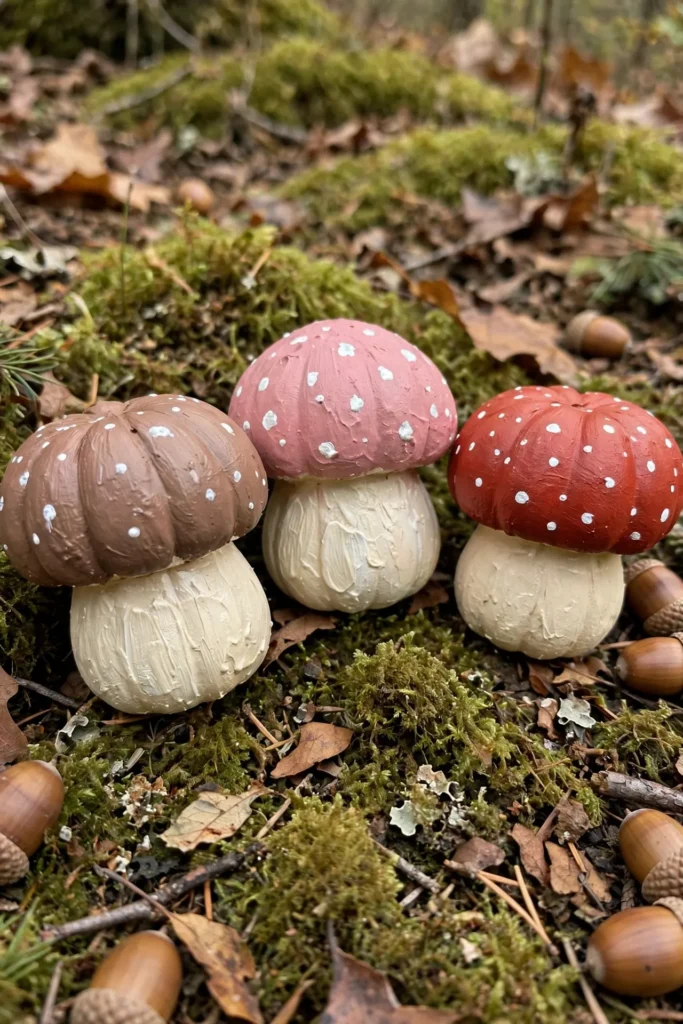
A tiny pumpkin can become a charming woodland mushroom with a simple cap and stem. These mini pumpkin painting ideas work well for shelf displays, craft tables, or a playful centerpiece. Paint the lower section cream, then add a rounded cap in red, pink, or brown once the base is fully dry.
Dot the cap with a small brush handle or cotton swab, keeping the spots spaced apart. A thin line around the cap’s edge helps define its shape, while a little green or brown detail near the base suggests moss. Use acrylic craft paint and let every layer dry before moving the pumpkin. For styling, pair them with dough bowl centrepiece ideas.
Pressed Leaf Motifs
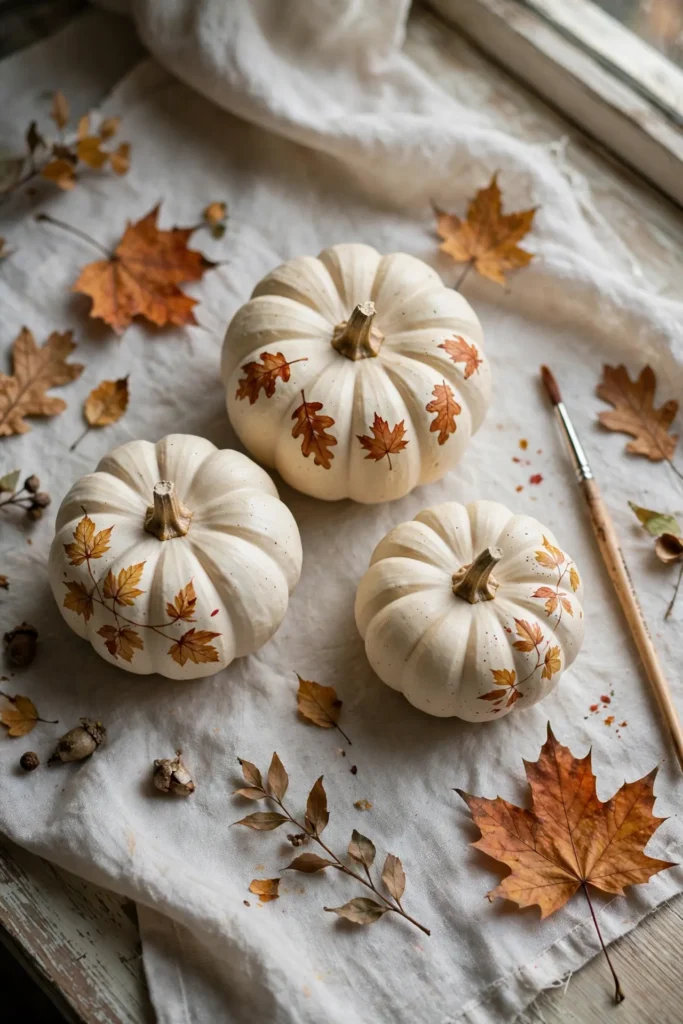
- Gather simple leaf shapes. Use a small real leaf or a printed outline as a guide.
- Paint a pale base coat and let it dry completely.
- Sketch the leaf lightly before filling it with rust, ochre, or olive paint.
- Add a thin stem line for definition, then leave open space around the motif.
Leaf designs bring a natural pattern to the display without covering the pumpkin’s shape. Keep the painted leaves small and place them along one side for a relaxed look. A limited palette helps the pumpkins pair easily with real foliage, wooden trays, and neutral table linens.
Color Block Pumpkins
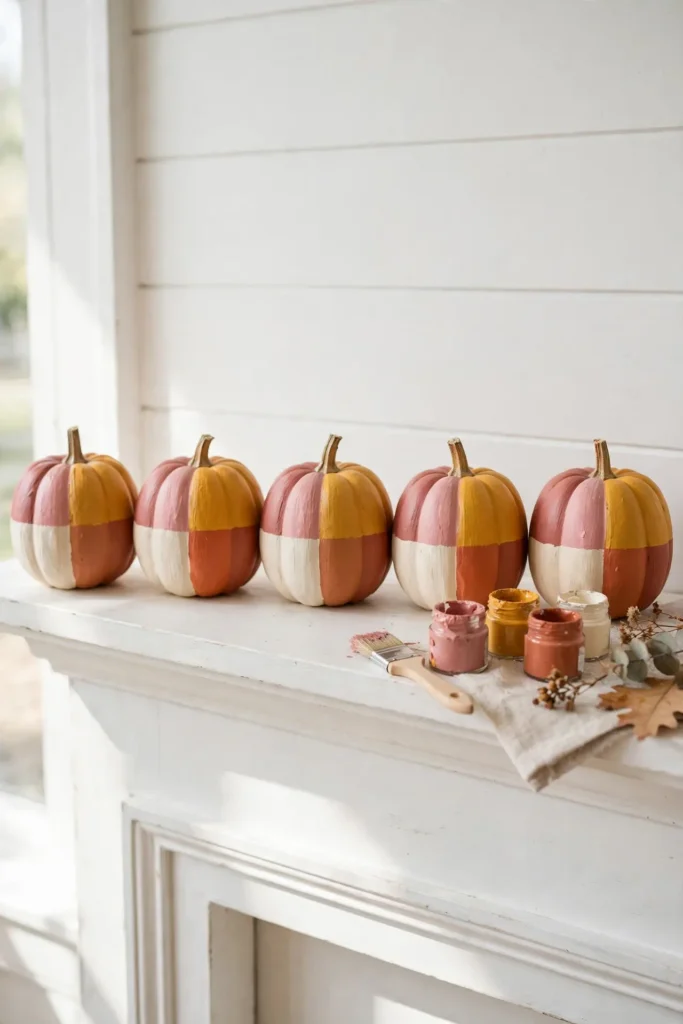
Quick Tip: Mark the color sections with low-tack painter’s tape if you want crisp edges. Press the tape gently over the curved surface, and remove it while the paint is slightly tacky to reduce peeling.
Color blocking makes a small pumpkin feel graphic and polished with only a few paint colors. Divide the surface into halves, thirds, or simple vertical bands, then repeat the same shades across a group. If the pumpkin has deep ridges, use a small brush to touch up any gaps after removing tape.
Mini Plaid Pumpkins

BEFORE: A plain pumpkin can disappear among patterned blankets, table runners, and fall textiles. Adding a large check may also overwhelm its small surface.
AFTER: Fine plaid lines create a coordinated detail that echoes cozy fabrics without competing with them. A light base keeps the pattern easy to read.
Paint one set of thin vertical lines, let them dry, then add horizontal lines in a second shade. Keep the spacing loose and follow the pumpkin’s ridges rather than forcing a perfect grid. A fine liner brush offers more control, especially near the stem and the curved edges.
Metallic Drip Pumpkins
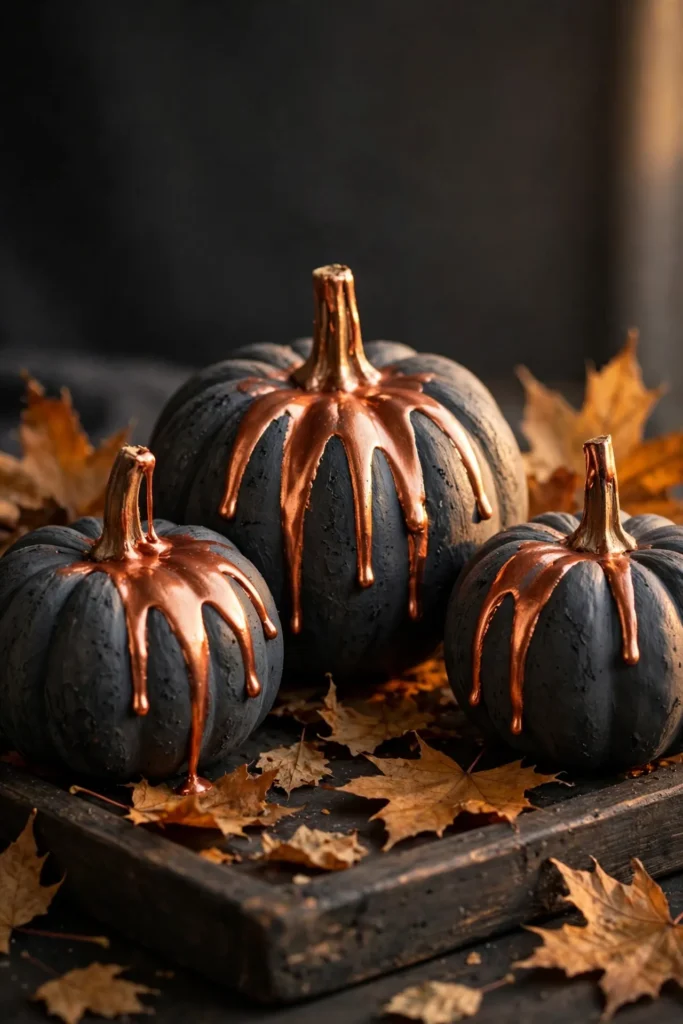
- Paint the pumpkin with a matte base color and let it dry.
- Mix metallic paint to a slightly fluid consistency.
- Add small drops near the stem and tilt the pumpkin gently.
- Stop the flow before the paint reaches the base, then dry it upright.
A few uneven drips create a lively contrast against a dark or neutral base. Work over a covered surface and use less paint than you think you need, since the curved pumpkin can carry it farther than expected. Copper and bronze feel especially warm beside dried leaves and wood.
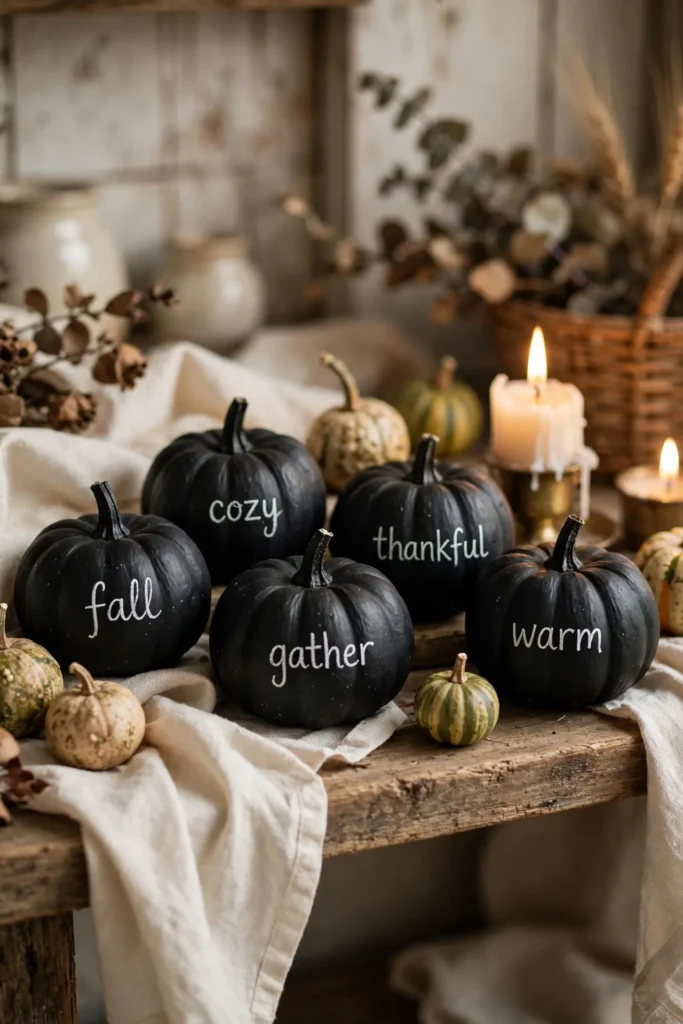
Chalkboard Message Pumpkins
| Chalk Paint | Acrylic Paint | |
| Writing surface | Erasable with chalk | Permanent finish |
| Best use | Names, menu labels, short messages | Decorative lettering |
| Tools | Chalk or chalk marker | Fine brush or paint pen |
| Refresh | Wipe and rewrite | Repaint to change the design |
A chalkboard finish turns a pumpkin into a reusable place card or mini sign. Keep messages short so the lettering stays readable on the curved surface. Let the base coat cure according to its label before writing, and test chalk on the underside first to check how easily it wipes away. They also pair nicely with farmhouse coffee bar ideas.
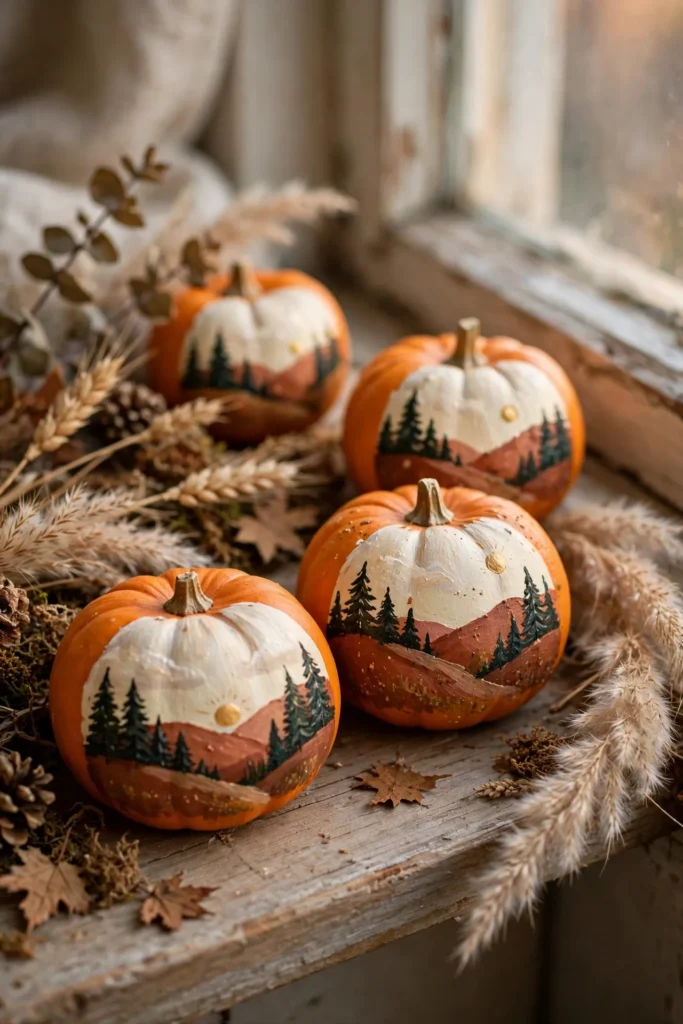
Mini Landscape Scenes
DO:
- Sketch a simple horizon line before painting.
- Limit each scene to a few colors and shapes.
- Use a fine brush for trees, hills, or a small sun.
DON’T:
- Add tiny details that disappear on the curved surface.
- Paint over wet layers and muddy the colors.
- Turn the pumpkin while the fresh design rests against your hand.
A miniature landscape looks thoughtful without requiring advanced painting skills. Let each color dry before adding the next shape, and rotate the pumpkin slowly as you work. A row of pumpkins with slightly different hills or trees feels like a small collection, especially on a mantel or windowsill.
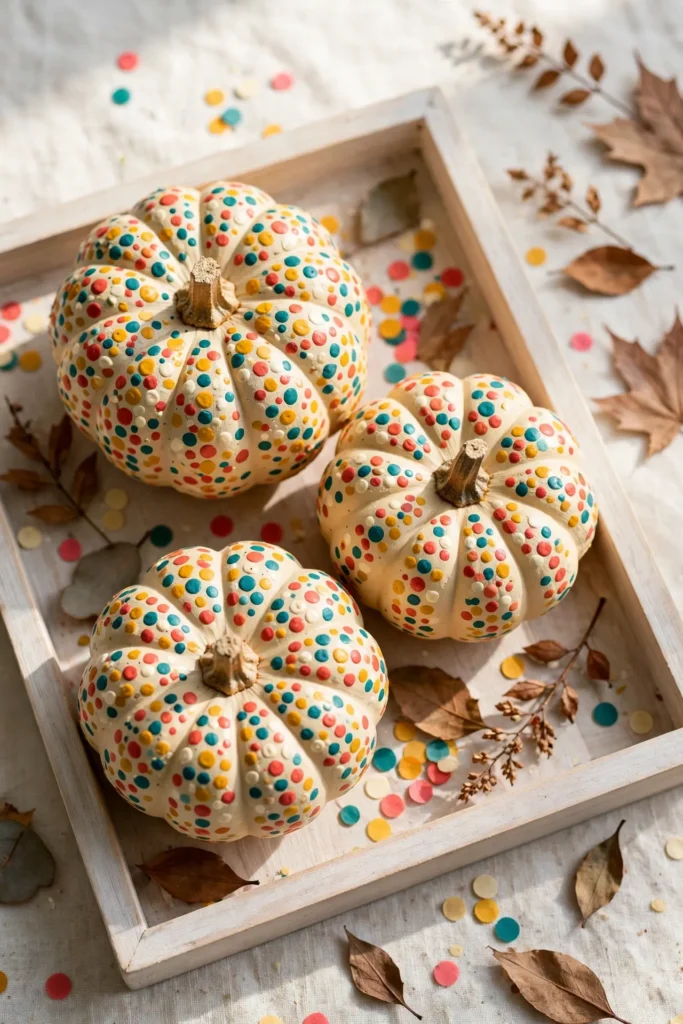
Confetti Dot Pumpkins
Cost: Low, using leftover craft paint.
Time: About 45 minutes, plus drying time.
Skill Level: Beginner friendly.
Best For: Party tables, shelves, or playful fall displays.
Confetti dots bring a burst of color to a small pumpkin without needing a complicated pattern. Use the end of a paintbrush or a cotton swab to make rounded marks, then vary their size for a lively finish. Leave some of the base color visible so the design feels bright rather than crowded.
Leopard Spot Pumpkins
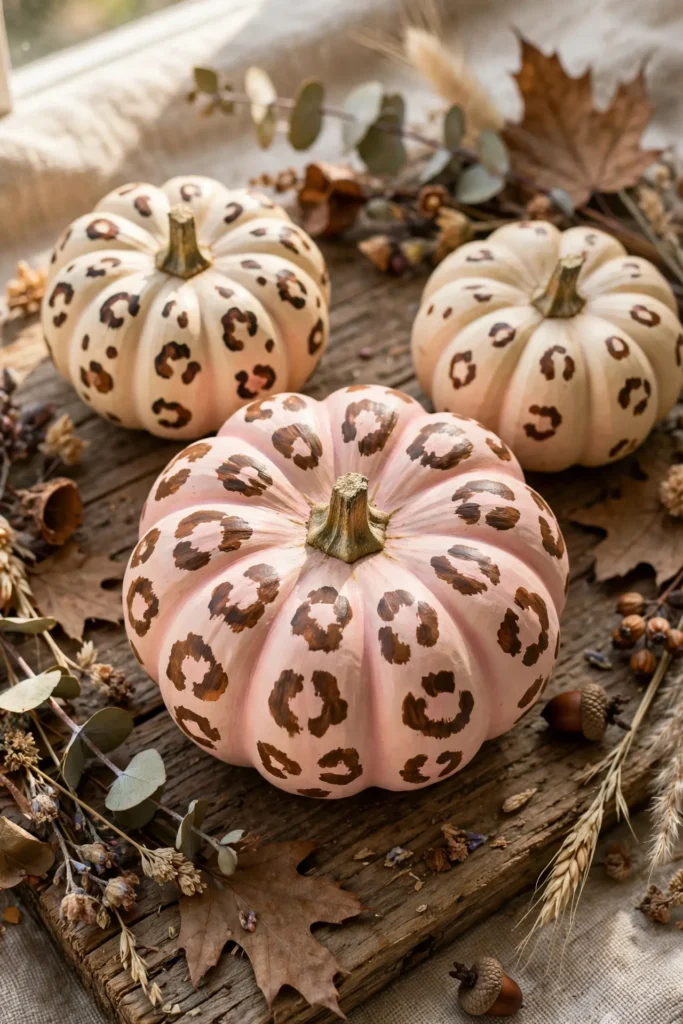
A little pattern can make a small pumpkin the star of a fall display. Paint a warm cream, tan, or soft pink base, then add irregular brown spots with a small brush. Leave open space between markings so the design reads clearly instead of becoming a solid patch of color.
For a softer look, outline only part of each spot in dark brown and leave the center open. This keeps the pattern loose and playful. Let the base dry before adding spots, and turn the pumpkin as you paint so your hand does not smudge the fresh marks.
Moon and Stars
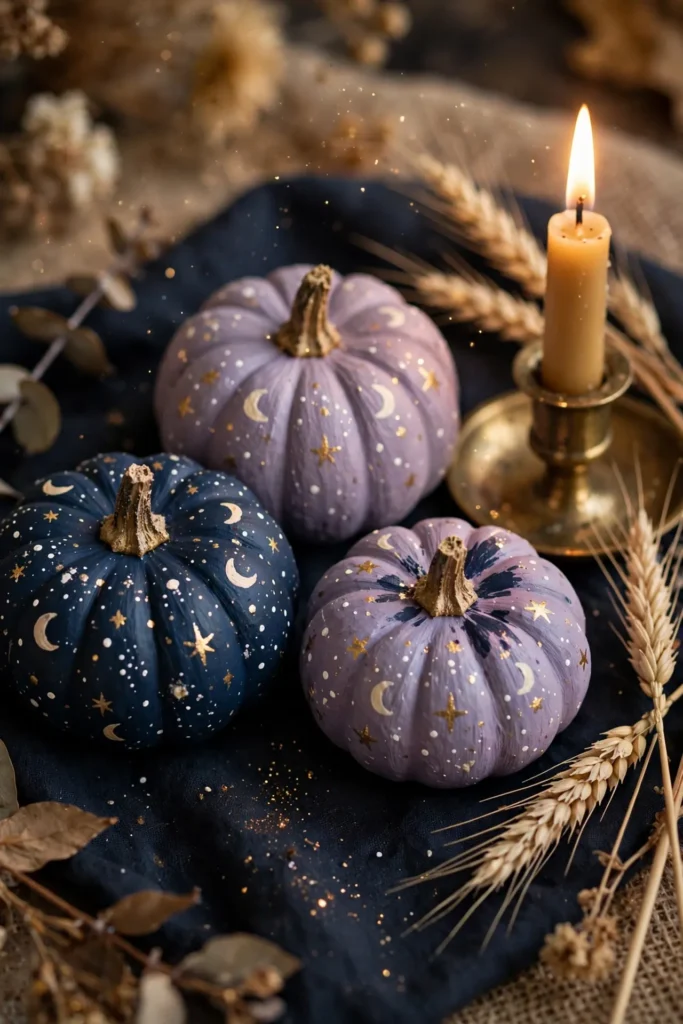
- Paint a dark base and let it dry fully before adding details.
- Sketch a crescent moon lightly near the stem.
- Use a fine brush or paint pen for stars and small dots.
- Add a few metallic gold marks for gentle contrast.
Celestial details give a fall pumpkin a dreamy, slightly unexpected look. Keep the moon larger than the stars so the design stays legible on the curved surface. A small cluster of painted pumpkins looks cohesive in navy, lavender, and cream, while one gold accent ties them together.
Candy Corn Stripes
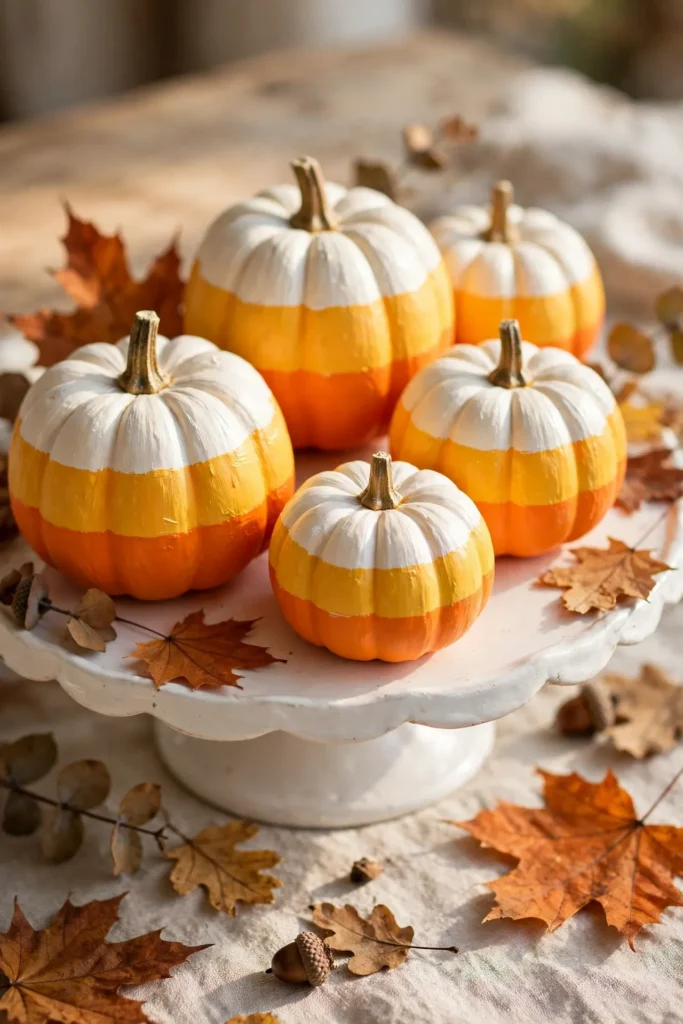
Cost: Low, with basic acrylic paints.
Time: About one hour, including drying.
Skill Level: Beginner friendly.
Best For: Candy bowls, kitchen shelves, and playful fall displays.
Three simple color bands give a mini pumpkin a sweet seasonal look. Paint the narrow area near the stem white, the middle yellow, and the base orange, letting each section dry before adding the next. Painter’s tape can help define the bands, but hand-painted edges also look charming.
Black Cat Pumpkins
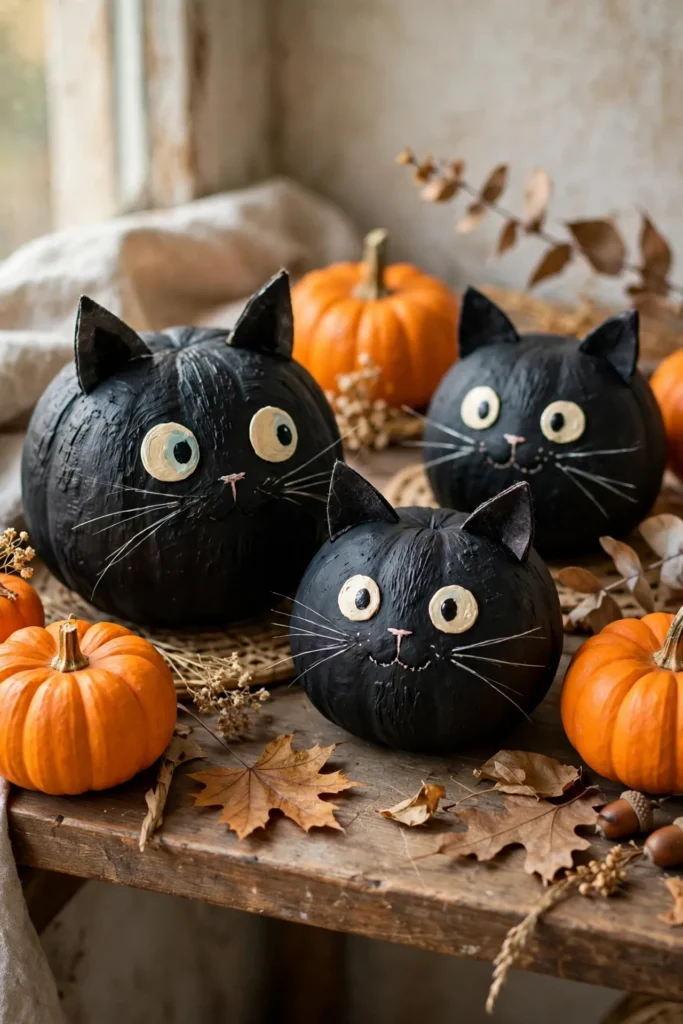
Cute cat faces turn tiny pumpkins into playful seasonal accents for a shelf or entry table. Start with a dark base coat and let it dry before painting the eyes, nose, and whiskers. Use a fine brush for small details, and keep the expressions simple so they remain clear on the curved surface.
For pointed ears, paint two small triangles near the stem or attach lightweight felt shapes after the pumpkin is dry. A mix of black and orange cats adds contrast without needing a large display. If children are helping, let them choose the expressions while an adult handles any small craft pieces. They are a fun pick among halloween crafts for adults.
Blue-and-White Porcelain
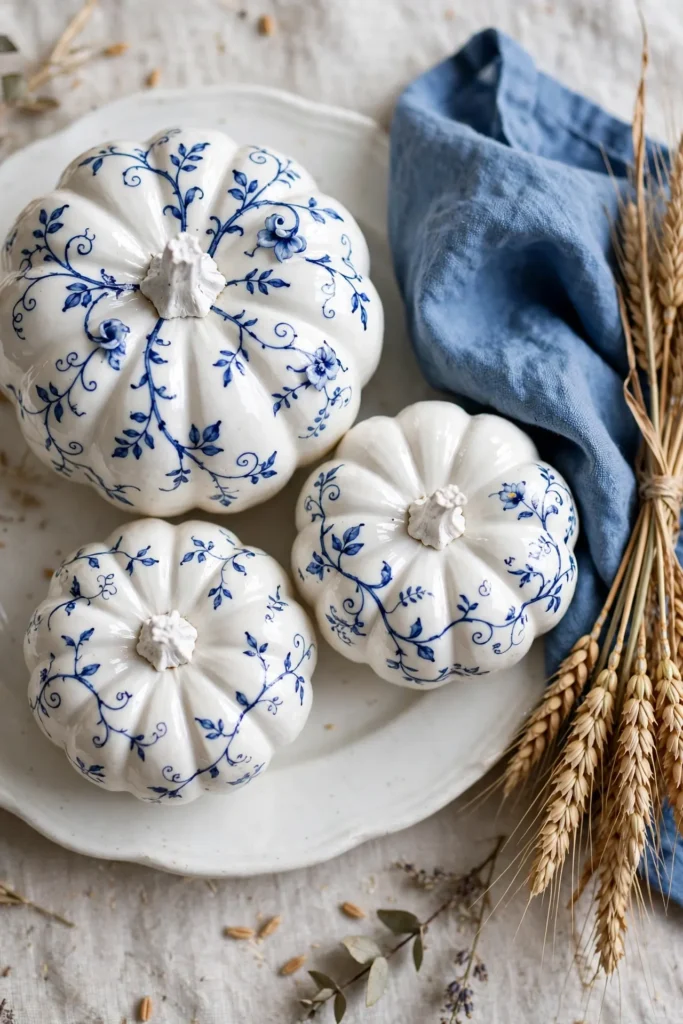
- Paint the pumpkin with a smooth white base coat and let it dry.
- Use a fine brush to add blue vines, leaves, or small flowers.
- Keep the pattern loose and leave plenty of white space.
- Seal the design with a clear craft sealer if the pumpkins will be handled often.
Blue-and-white details bring a refined touch to autumn decorating and pair well with neutral linens or simple ceramics. You do not need to copy a complex pattern; a few curved stems and tiny leaves are enough. Repeat the same two or three motifs across several pumpkins for a coordinated display.
Conclusion
Painting mini pumpkins is an easy way to add handmade charm to your fall decor. From tiny florals and playful cat faces to polished porcelain patterns, these projects offer options for different styles and skill levels. Choose one design that catches your eye, gather a few paints, and enjoy making it your own. Save this collection on Pinterest so you can return to it during your next craft session, and share it with a friend who loves seasonal decorating. A small painted pumpkin can add a cheerful detail to a shelf, table, or mantel, one brushstroke at a time.